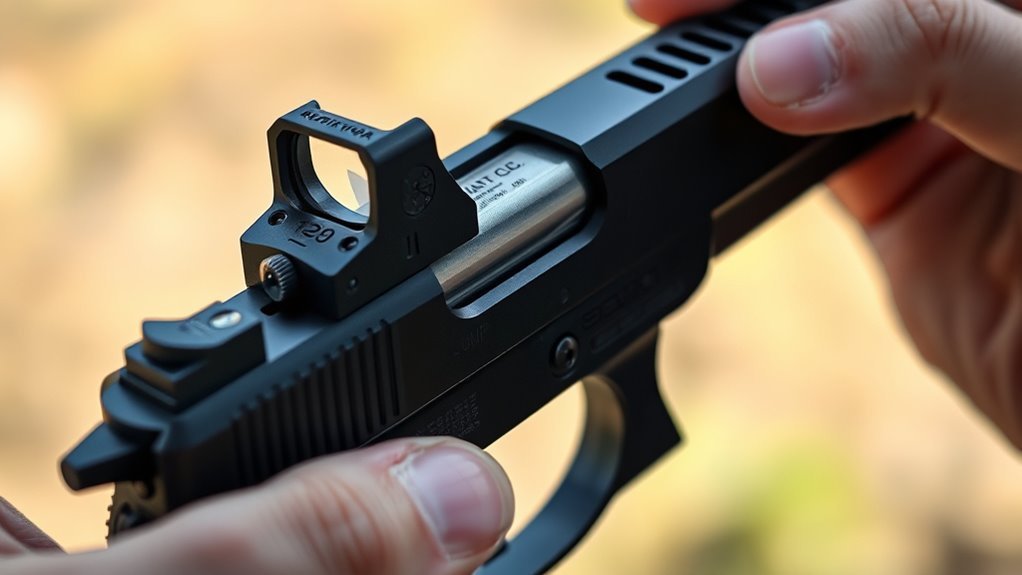
How to Adjust Pistol Sights in 7 Easy Steps
To adjust pistol sights in seven easy steps, first make sure your pistol is completely unloaded. Safety comes first! Next, gather the right tools you’ll need for the job.
Carefully remove the old sights from your pistol. Before installing the new sights, double-check that they fit properly. Using thread locker will help secure them in place.
When it comes to adjusting windage, drift the sights side-to-side until they’re aligned just right.
For elevation, either swap out or tweak the front or rear sights depending on what’s needed.
Once everything is set, test fire your pistol to see how accurate your adjustments are.
Don’t worry if it’s not perfect the first time—fine-tune as needed. Keep reading to discover detailed tips that will help you achieve precision sight adjustments with confidence.
Key Takeaways
- Ensure the pistol is unloaded, gather necessary tools, and prepare a clean, safe workspace before starting sight adjustments. Safety first, right? Always double-check that your gun is clear.
- Remove existing sights carefully using punches or screwdrivers, avoiding damage to the slide or sight dovetails. Take your time here to prevent any scratches or dents.
- Test fit and install new sights securely using thread locker and gentle tapping or a sight pusher for proper alignment. You want those sights snug and straight for the best accuracy.
- Adjust windage by drifting sights left or right with a sight pusher, and modify elevation by changing front sights or using rear sight screws. Small tweaks can make a big difference.
- Test fire at a known distance, observe shot placement, and fine-tune sights iteratively for consistent, accurate grouping. Keep adjusting until your shots hit exactly where you want them.
Prepare Your Pistol and Gather Tools for Pistol Sight Work
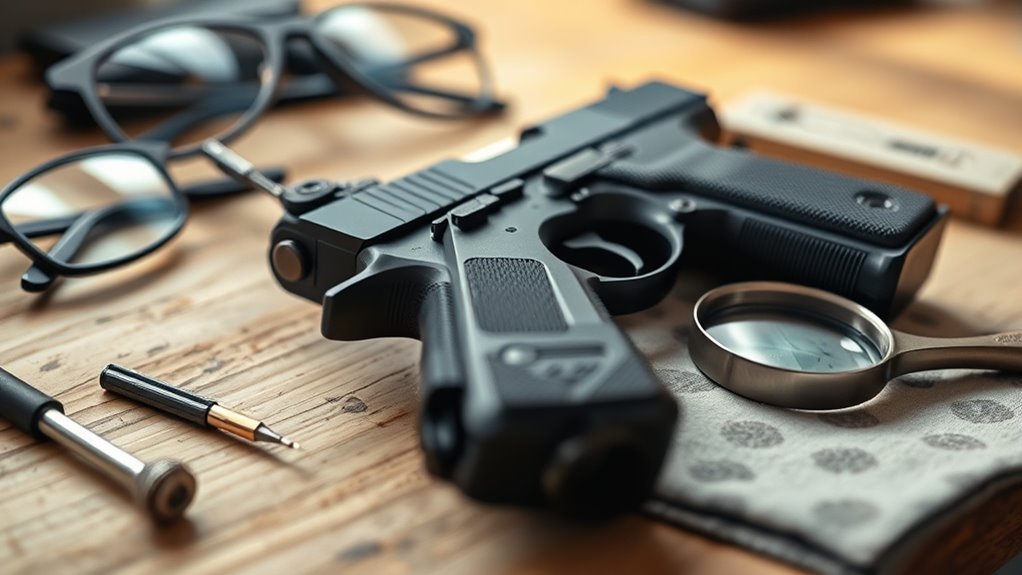
Before you begin adjusting your pistol sights, make sure your pistol is unloaded and pointed in a safe direction.
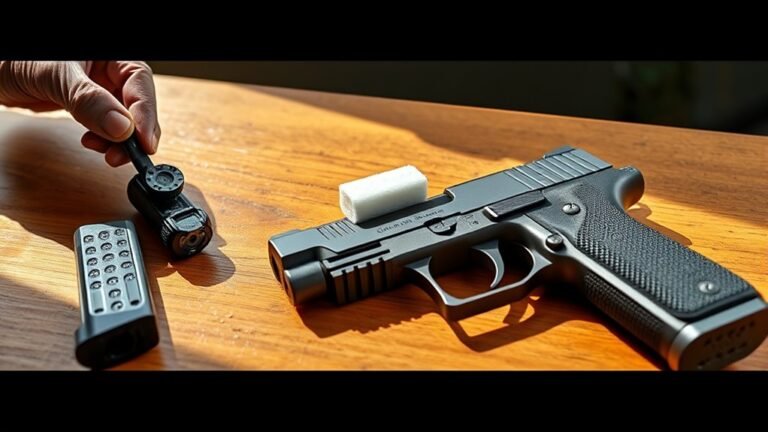
Next, gather the necessary tools to make the process smooth and safe. You’ll need a hammer and pin punch set, a front sight tool or hex wrench, and cleaning supplies like cotton swabs and microfiber towels.
Proper cleaning is essential—use a gun scrubber and Rem Oil to clean the slide slots and sight areas thoroughly before you adjust or install sights.
Also, double-check that your new sights’ dovetail dimensions match your pistol to ensure a proper fit.
Having the right tools and a clean workspace will make adjusting your pistol sight much easier and more precise. It really helps to stay organized and take your time.
Remove Existing Pistol Sights Safely and Effectively
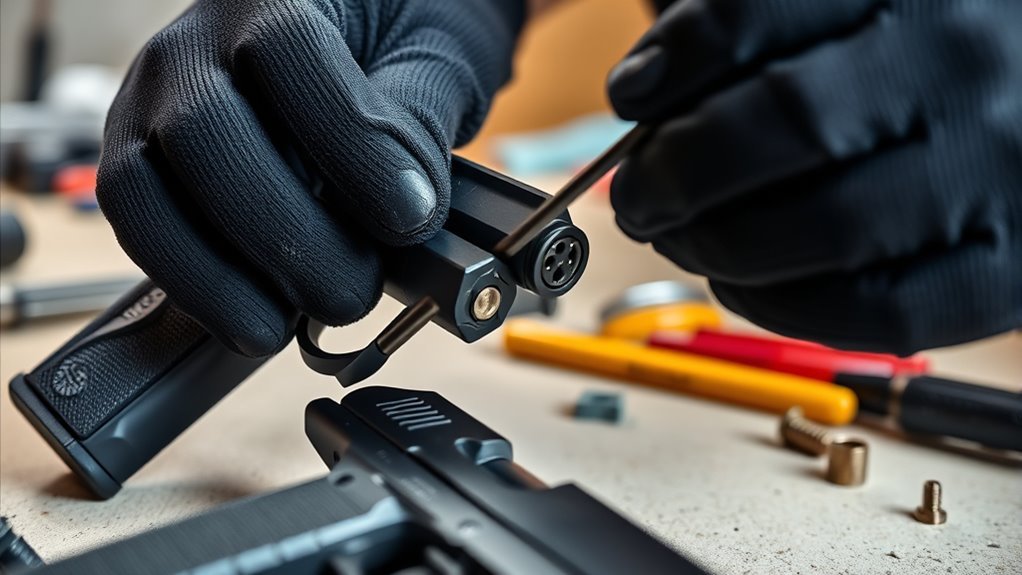
Once you’ve prepared your pistol and gathered the right tools, you’re ready to remove the existing sights. First, make sure the pistol is unloaded and pointed safely.
Secure the slide firmly in a vise or with a trigger clamp to prevent movement. For rear sights or other dovetail sights, use a plastic or nylon punch to gently drift the sight out of its dovetail slot with light taps.
Avoid excessive force to prevent damage. If the front sight is screw-held, use the correct hex wrench or pliers to carefully loosen and remove the screw.
For fixed sights soldered in place, carefully melt or break the solder with a soldering iron before removing. Proper removal lets you adjust or replace sights cleanly and safely.
Make Sure New Sights Fit Your Pistol Before Installing
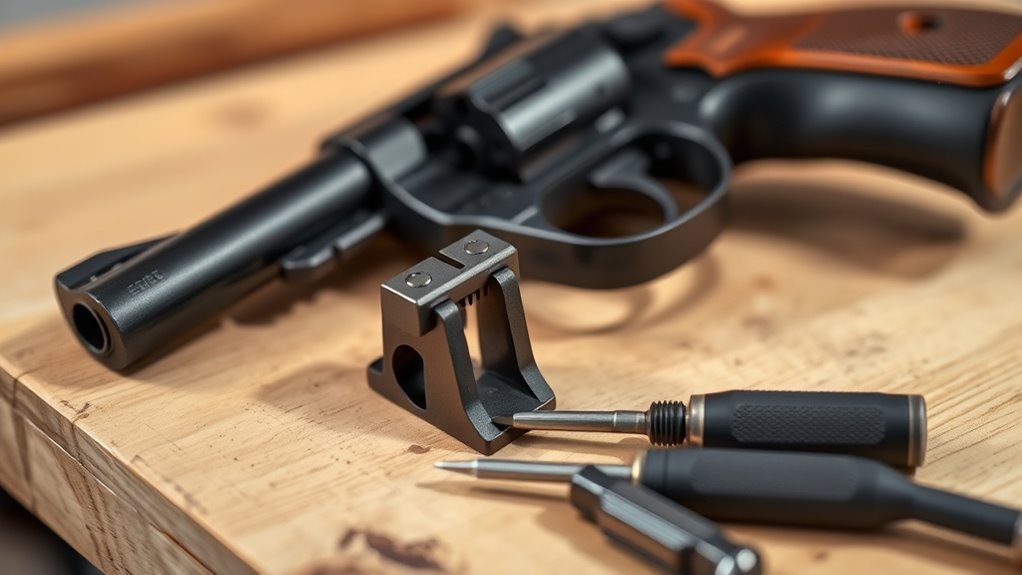
Although installing new sights might seem straightforward, you need to guarantee they fit your pistol perfectly to avoid issues down the line. Start by measuring the dovetail dimensions of your existing sights with calipers or a sight gauge.
This lets you accurately measure dovetail width and height, ensuring the new sights match your pistol’s slide or frame slots. Confirming compatibility prevents poor sight fit that can affect accuracy and safety. Don’t rely solely on measurements—consult the manufacturer’s specifications or a trusted gunsmith if you’re unsure.
Before final installation, perform fit testing by placing the new sights in the dovetail slots without adhesive. This ensures they seat properly and align well, saving you from costly adjustments or damage later on.
Install New Pistol Sights With Proper Alignment and Thread Locker
When you install new pistol sights, make sure your firearm is unloaded and securely clamped to prevent movement. Confirm the dovetail dimensions match before proceeding.
Next, apply a small amount of blue thread locker to the sight’s base. This helps keep the sight secure during use.
Slide the sight carefully into the dovetail. Use a nylon punch to tap it gently, which prevents any metal-on-metal contact and protects the sight from damage.
Then, use a sight pusher tool or carefully drift the sight to achieve proper alignment. Make sure it’s level with the slide to ensure precise shooting.
| Step | Key Point |
|---|---|
| Apply Thread Locker | Secures sights during use |
| Use Nylon Punch | Prevents damage to sights |
| Achieve Alignment | Ensures accurate shot placement |
Adjust Windage: How to Drift Pistol Sights Side-to-Side
To drift your pistol sights side-to-side, you’ll need the right tools like a sight pusher or a vise and a brass or nylon punch. Make sure the sight is properly aligned before you start.
Then, tap it gently in small increments toward your desired adjustment. After each move, test your shots to confirm the impact shifts exactly where you want it.
It’s a bit of a careful process, but taking it slow really pays off. You’ll get your sights drifting just right in no time!
Tools For Windage Drift
Because precise windage adjustments require careful handling, you’ll need the right tools to drift your pistol sights side-to-side accurately. A nylon punch is essential for sight adjustment, allowing you to tap the sight gently without damaging the metal.
This method works well when drifting the sight within the dovetail slot, which must fit properly to avoid unnecessary wear. Mark the direction of movement on the sight or adjustment screw to keep track of your corrections.
Use light, controlled taps with a hammer and the nylon punch, gradually moving the sight until your bullet impact aligns with the target. Always test-fire after drifting to confirm the adjustment and make fine corrections as needed.
This way, you ensure consistent and precise windage adjustments every time.
Proper Sight Alignment
Although drifting pistol sights side-to-side may seem delicate, you can achieve precise windage adjustments with the right technique and tools. Proper sight alignment begins with securing your firearm to prevent movement during the adjustment.
Focus on the rear sight when you shift it gently using a plastic or nylon punch or a sight pusher tool for more delicate sights. Always tap the rear sight in the direction you want the bullet’s point of impact to move.
Confirm your windage adjustment by observing how the impact shifts after each small drift. This way, you make sure you maintain proper sight alignment.
Test your adjustments at the range using the same ammunition to verify accuracy. This careful approach ensures your pistol sights perform exactly as intended.
Step-By-Step Drift Process
When you’re ready to adjust your pistol’s windage, start by firmly securing the slide in a vise or using a trigger clamp to prevent any movement. Use a brass or nylon punch to drift the front sight left or right within the dovetail slot, tapping gently.
Remember, drift the sight in the same direction you want the impact to move. Make small adjustments, test fire, and mark sight positions for accuracy.
| Step | Action | Tip |
|---|---|---|
| 1 | Secure slide | Use a vise or trigger clamp |
| 2 | Tap front sight gently | Use brass or nylon punch |
| 3 | Drift sight in desired direction | Impact moves same way as sight |
| 4 | Test fire and mark sight | Track adjustments for precision |
Adjust Elevation by Changing Front or Rear Pistol Sights
To adjust elevation, you can swap the front sight for a taller or shorter one to raise or lower your point of impact. If your pistol has an adjustable rear sight, turning the elevation screw lets you fine-tune the height quickly.
Make sure to test your changes at the range to confirm your shots hit where you want. That way, you’ll know exactly how the adjustments affect your aim.
Front Sight Elevation Adjustment
How do you adjust the elevation of your pistol’s front sight to improve accuracy? Start by checking your sight alignment: the front sight should be properly centered with the rear sight.
To raise the point of impact, replace the front sight with a taller one or, if adjustable, turn the elevation screw clockwise. To lower the point of impact, file down the top of the front sight or turn the screw counterclockwise on adjustable models.
Always make small adjustments and verify the impact by firing test shots at about 20 yards. Consistent sight alignment and careful front sight elevation adjustment ensure your shots hit where you intend.
Rear Sight Elevation Control
Although front sight adjustments are common, controlling elevation through the rear sight offers another effective way to fine-tune your pistol’s point of impact. Many pistols come with adjustable rear sights that use elevation screws, allowing you to move the rear sight up or down in small increments.
Raising the rear sight typically lowers the point of impact, while lowering it raises the shot placement. This opposite effect compared to front sight adjustments gives you flexibility in how you tweak your sights.
Evaluate Shooting Groups and Test Fire to Fine-Tune Your Pistol Sights
When you test fire your pistol at a known distance like 20 yards, you can clearly see how your shots group together and where they land relative to your point of aim. Mark the center of your shooting groups on the target to identify your current point of impact.
Measure the distance between this center and your actual point of aim, noting any vertical or horizontal deviation. Use these measurements to guide your adjustment: drift the rear sight for windage changes or modify the front sight for elevation corrections.
After each adjustment, test fire again to verify improved accuracy and tighter shooting groups. Keep repeating this process, and you’ll make sure your sights are fine-tuned so your shots consistently hit the desired spot with precision.
Frequently Asked Questions
Which Way to Adjust Pistol Sights?
You’ll turn the rear sight screw clockwise to move impact right, counterclockwise for left. Drift the rear sight left or right to shift horizontally. Adjust the front sight up or down to change elevation accordingly.
What Is the Formula for Adjusting Iron Sights?
You calculate sight adjustment with this formula: (sight radius ÷ target distance in inches) × impact correction in inches. Then, divide that by your sight’s click value to find how many clicks to move.
How to Adjust Left and Right on Iron Sights?
Adjusting left or right on iron sights is like threading a needle in a hurricane—use a plastic punch or windage screw to nudge the rear sight gently, then test and repeat until your shots hit dead center.
How Many Clicks to Adjust Iron Sights?
You’ll usually need 4 clicks to move your point of impact 1 inch at 25 yards, since each click adjusts about 1/4 inch. Check your sight’s manual, because click values can vary between models.
Conclusion
Adjusting your pistol sights is like tuning a finely crafted instrument—it takes patience and precision to hit the perfect note. By following these steps, you’ll turn your pistol into an extension of your own aim, ensuring every shot counts.
Keep testing and tweaking until your sights align just right. You’ll experience the satisfaction of consistent accuracy when everything clicks.
Remember, practice and attention to detail make all the difference in mastering your shot. With the right adjustments, your pistol sights will help you improve your aim and shooting performance every time you step to the range. Stay patient, keep adjusting, and soon you’ll enjoy the confidence that comes with precise pistol sight alignment.