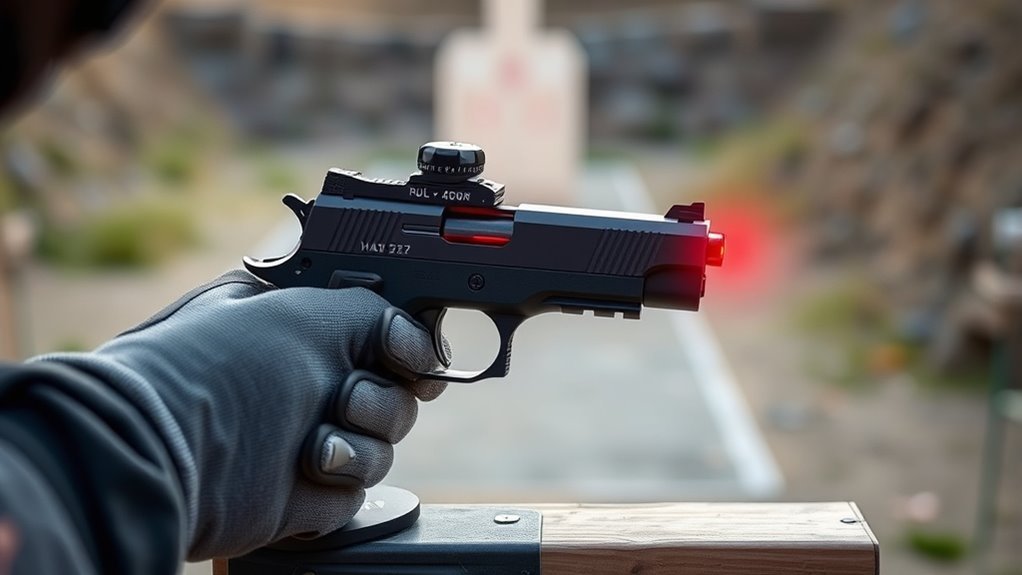
How to Zero a Pistol Red Dot in 7 Easy Steps
To zero your pistol red dot in seven easy steps, start by selecting and marking a clear target at about 10 yards. This distance is perfect for getting your sight dialed in without too much guesswork. Make sure you set up a stable shooting position and keep a consistent grip throughout the process.
Next, fire an initial group of shots and take a close look at the pattern. Don’t forget to exclude any outliers that might skew your adjustments.
Adjust the red dot sight in small increments based on where your shots landed. Then, shoot another group to see how your changes affected accuracy.
Finally, confirm consistent hits on your target to guarantee a reliable zero. Once you’re hitting where you aim, you’re all set.
Keep following along for detailed tips on perfecting your setup and mastering your pistol red dot zeroing.
Key Takeaways
- Ensure the pistol is unloaded, the red dot is securely mounted, and wear proper eye and ear protection before starting.
- Place a target at 10 yards, mark the initial aim point, and maintain a consistent stance and grip.
- Fire a group of five shots, observe the main shot cluster, and ignore outliers caused by shooter error.
- Adjust the red dot sight in small increments based on shot placement until impacts align with the aim point.
- Verify zero by firing multiple groups, make minor adjustments if needed, and document settings for future reference.
Select and Mark Your Target for Red Dot Zeroing
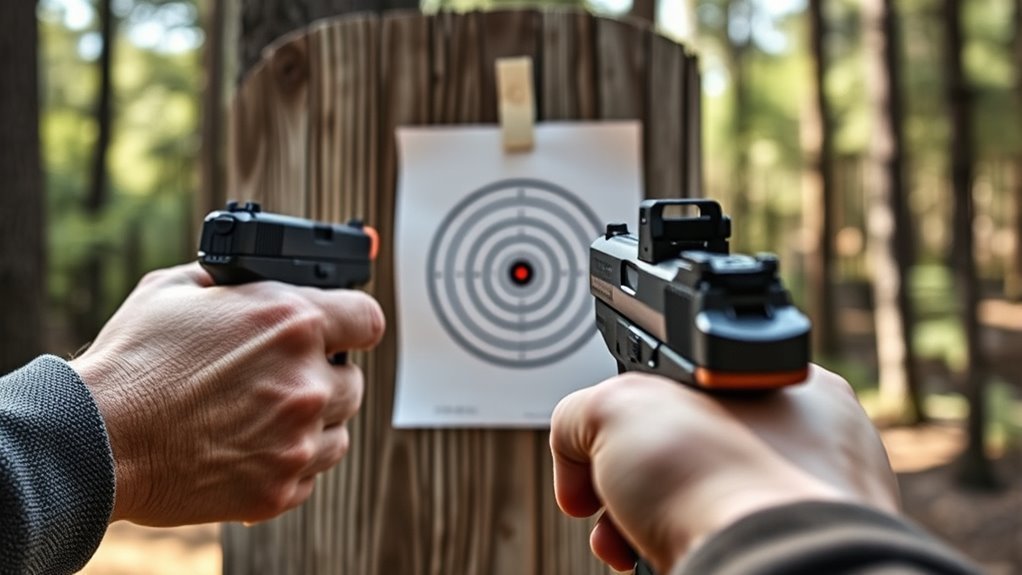
Where should you place your target when zeroing your pistol red dot? You want to choose a target at your desired zeroing distance, usually around 10 yards, to guarantee accurate adjustments.
Start with precise target marking by using a Sharpie to indicate your initial aim point. This gives you a clear visual reference when you shoot.
Begin by marking your exact aim point with a Sharpie for clear visual reference during shooting.
After firing, walk downrange to mark exactly where the bullet hits on the target. This step is vital for adjusting your red dot properly.
Make sure the target is easy to see and mark, so you don’t waste time hunting for your shots.
Finally, confirm the target’s distance and markings before shooting to keep your zeroing process consistent and efficient.
Set Your Shooting Distance and Position for Consistency
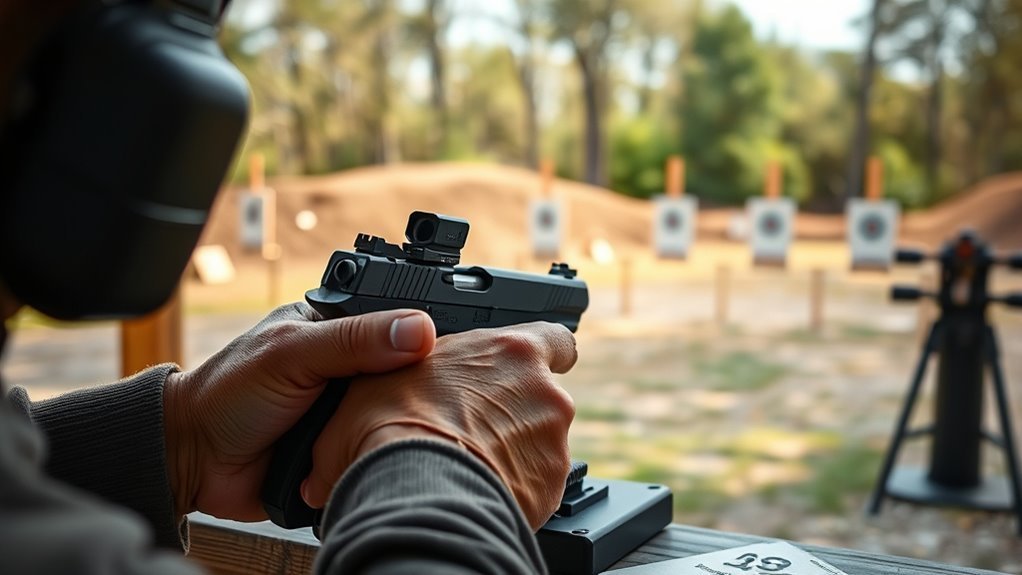
Although selecting the right shooting distance is important, maintaining a consistent position and stance throughout your session is just as essential for accurate red dot zeroing. Choose a reliable shooting distance, like 10 yards, to get dependable results.
Set up a stable shooting position by ensuring your grip, stance, and support remain the same for every shot. Mark your spot clearly on the ground and note your target setup so you can replicate this exact arrangement in future sessions.
Keep your shooting technique consistent to minimize variations and improve zeroing consistency. Recording your shooting distance and position details helps you maintain repeatability, which is key to achieving precise and reliable zeroing with your pistol red dot sight.
Fire an Initial Group to Observe Shot Placement
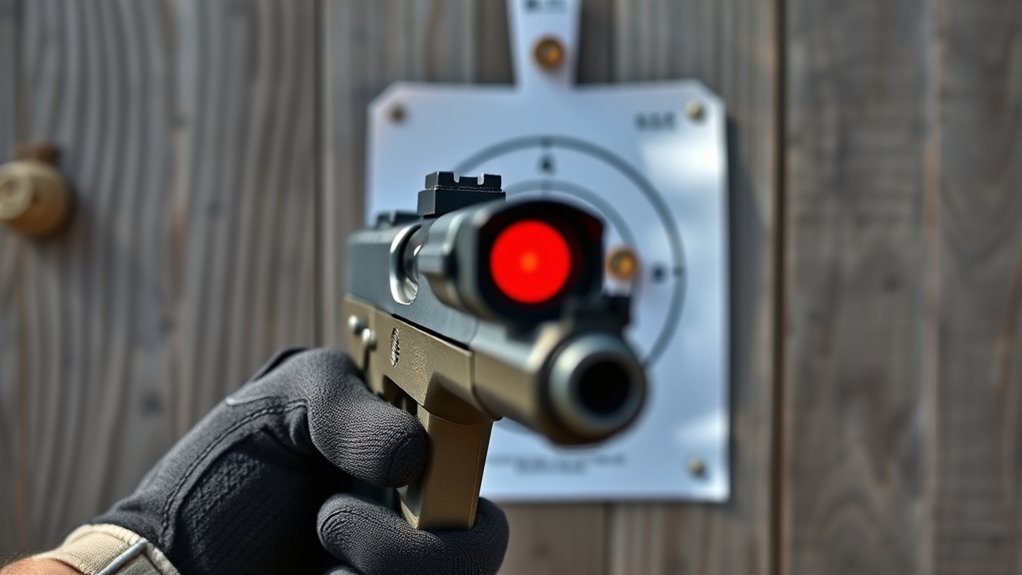
How accurately can you place your shots with your current pistol red dot setup? To find out, fire an initial shot group of five rounds at your target.
Make sure your stance, grip, and trigger pull are consistent to get reliable shot placement. Once you’ve shot your group, observe the pattern carefully. Are the impacts high, low, left, or right of your point of aim?
Maintain consistent stance, grip, and trigger pull, then check if shots land high, low, left, or right of aim.
Use a marker or measuring tool to note how far the shots landed from your aim point. Focus on the main group and discard any obvious outliers.
This data is essential because it tells you how to make your sight adjustment, bringing your red dot closer to perfect zero with each step.
Look Over Your Shots and Spot Any Outliers
Take a close look at your shot group and pick out any shots that fall far from the main cluster. Those outliers often come from mistakes like jerking the trigger and shouldn’t influence your zeroing adjustments.
Focus on the core pattern to make accurate corrections and improve your aim. It’s all about spotting what really matters in your grouping. That way, you’ll get better results faster.
Identify Shot Patterns
When you examine your shot group closely, you’ll want to spot any shots that fall far outside the main cluster—these are called outliers. These outliers often result from flinching, jerking the trigger, or other shooter errors and don’t represent your true point of impact.
To accurately identify shot patterns, focus on the main cluster by drawing an imaginary line through its center. This helps you determine the consistent point of impact.
Exclude Outlier Shots
Although it’s tempting to include every shot in your analysis, you need to carefully exclude outliers that stray far from your main group. Outliers can skew your shot grouping and lead to incorrect zeroing adjustments.
After firing, review each shot to spot those that don’t fit the pattern. These may result from trigger jerk, movement, or other errors, not your sight or firearm.
Here’s how to handle outliers:
- Identify shots that deviate markedly from the main grouping.
- Exclude these outliers from your zeroing calculations.
- Focus on consistent shot placement to make accurate adjustments.
Adjust Your Red Dot Sight Based on Shot Impact
Because your shot impacts reveal how your red dot sight is aligned, you’ll need to modify the sight based on where your rounds land relative to your target.
If your shot impact is low and right, adjust the red dot upward and left. Turn the elevation screw clockwise to raise shots, and adjust windage right if shots hit left.
Make small, incremental sight adjustments—about a quarter or half MOA—to avoid overshooting your zero. This keeps things precise without going overboard.
| Shot Impact | Sight Adjustment Direction | Adjustment Tip |
|---|---|---|
| Low & Right | Up & Left | Elevation clockwise |
| High & Left | Down & Right | Elevation counterclockwise |
| Left or Right Only | Windage opposite side | Adjust windage |
This precise method ensures your red dot aligns perfectly with the point of aim. Just take it step by step, and you’ll get there in no time.
Verify Adjustments With a Fresh Group of Shots
To confirm your adjustments are on target, fire a fresh group of five shots at a new, clearly marked target with a reference dot. This allows you to accurately verify if the point of impact has shifted closer to your aim.
For new shooters equipped with a red dot sight, maintaining consistency is critical. Keep your stance, grip, and trigger pull steady as you test.
Follow these steps to verify your zero:
- Compare the new group’s impact to previous shots.
- Ascertain the shots cluster near the reference dot.
- Repeat adjustments if necessary until your shots align consistently.
Confirm Your Red Dot Zero With Consistent Hits
Now that you’ve made adjustments, fire multiple groups to verify consistent shot placement. If your hits cluster tightly around the red dot, you’ve confirmed your aim point aligns with your point of impact.
Any spread means you’ll need to fine-tune your zero or improve your shooting technique. Keep at it until those shots stay true!
Verify Grouping Consistency
When you consistently group your shots tightly around the same point, you confirm that your red dot zero is stable and reliable. To verify grouping consistency, fire several consecutive groups at a fresh target with a clearly marked center.
Watch if your impacts cluster closely around that reference point. If your shot groups vary widely, revisit your sight adjustments and make sure your stance and technique stay steady. Regularly checking your grouping helps catch any sight shifts early, keeping your zero accurate.
Here’s how to verify grouping consistency:
- Shoot multiple groups at the same target to observe clustering.
- Use a fresh target to accurately assess shot placement.
- Adjust sights or stance if groups show significant variation.
Confirm Aim Point Alignment
Although you’ve verified your grouping consistency, confirming your red dot zero requires firing a group of shots that consistently hit your intended aim point on a clean, clearly marked target. Use a target with a clear reference point to easily see if your shots align with your red dot.
Make sure your firearm and sight are stable and properly mounted before shooting to maintain accuracy. Fire a group, then observe the point of impact relative to your aim point.
If the shots aren’t quite where you want them, make small adjustments to your red dot to bring them closer to your intended spot. Keep repeating this process until your shots consistently hit the same spot as your red dot.
When that happens, you know your red dot is properly zeroed and ready for accurate shooting.
Frequently Asked Questions
How Often Should I Check My Red Dot Zero?
You should check your red dot zero regularly, especially after heavy use, drops, or cleaning. Ideally, verify it before every shooting session to guarantee accuracy and avoid surprises when you’re on the range or in the field.
Can I Zero My Red Dot Without a Tripod?
You can zero your red dot without a tripod by steadying your pistol against a solid surface or using a shooting rest. Just make sure to keep your aim consistent, and you’ll get accurate adjustments without fancy gear.
What Is the Best Ammunition for Zeroing a Red Dot?
You’ll want to use the ammunition you plan to shoot regularly, typically standard velocity FMJ rounds. These provide consistent performance and help you zero accurately, since different loads can shift your point of impact.
How Do Environmental Conditions Affect Red Dot Zeroing?
You might find Mother Nature’s moods gently nudging your red dot off track. Wind, temperature, and lighting can subtly shift your point of aim, so always adjust your zeroing session to the day’s unique conditions.
Should I Zero My Red Dot at the Range or in the Field?
You should zero your red dot at the range first for a controlled environment and precise adjustments. Then, fine-tune it in the field to account for real-world conditions like lighting and movement.
Conclusion
Now that you’ve danced through these seven steps, your red dot will shine like a lighthouse guiding your shots true. Zeroing your pistol isn’t just about precision—it’s about building trust between you and your firearm.
With each adjustment, you’re sharpening your edge, turning chaos into calm. So, take a deep breath, steady your aim, and let your red dot lead the way.
Consistent, confident hits become second nature when your pistol red dot is zeroed right. Remember, zeroing your pistol red dot is key to improving accuracy and boosting your shooting confidence. Keep practicing these steps, and soon your shots will land exactly where you intend every time.