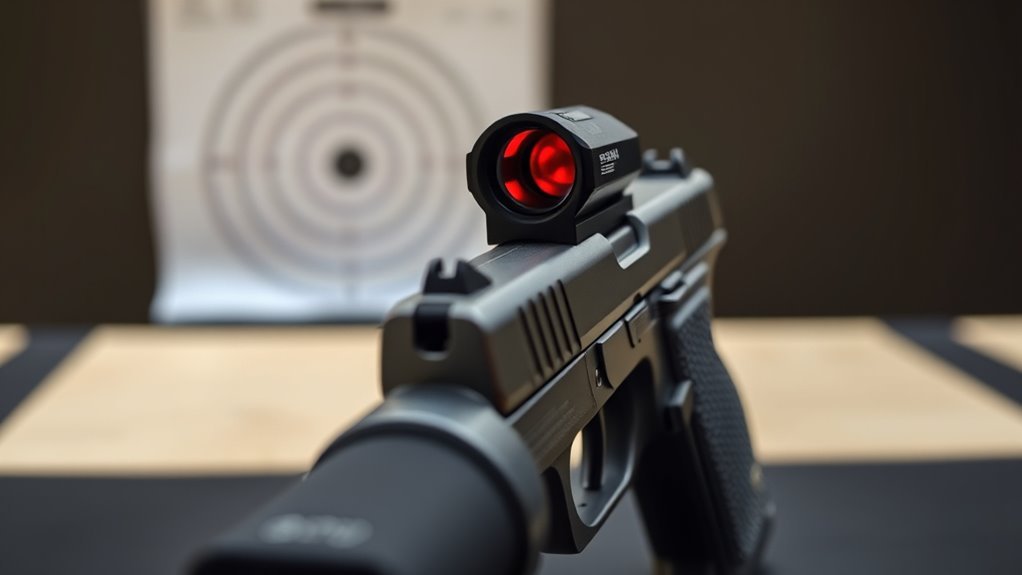
How to Sight a Pistol Red Dot in 5 Easy Steps
To sight your pistol red dot accurately, start by securely mounting it on your pistol at 10 yards. It’s important to avoid holding the pistol by hand during this step to ensure stability and consistency. This helps you get a more reliable zero and sets a good foundation for your shooting.
Next, fire five-round groups to check your accuracy and consistency. Take your time here—don’t rush. After that, adjust the elevation and windage screws. Turning these screws clockwise or counterclockwise will shift your point of impact, helping you get closer to the bullseye.
Keep following up with more shooting to fine-tune your zero with precise 1 MOA turns. If you find you need more elevation adjustment, you can install shims to extend the range.
Keep practicing and experimenting to uncover more tips for perfecting your sighting process.
Key Takeaways
- Secure the pistol on a stable rest and firmly mount the red dot sight aligned with the bore axis.
- Fire a five-round group at 10 yards, observing point of impact relative to the red dot.
- Adjust elevation and windage screws to shift the impact point toward the red dot using small increments.
- Repeat shooting and fine-tune adjustments until the bullet impacts consistently match the red dot.
- If needed, install shims to extend elevation range, then re-zero and verify accuracy.
That’s pretty much it! Just take your time with each step, and you’ll have your red dot sighted in no time.
Set Up Your Pistol and Red Dot Sight at 10 Yards
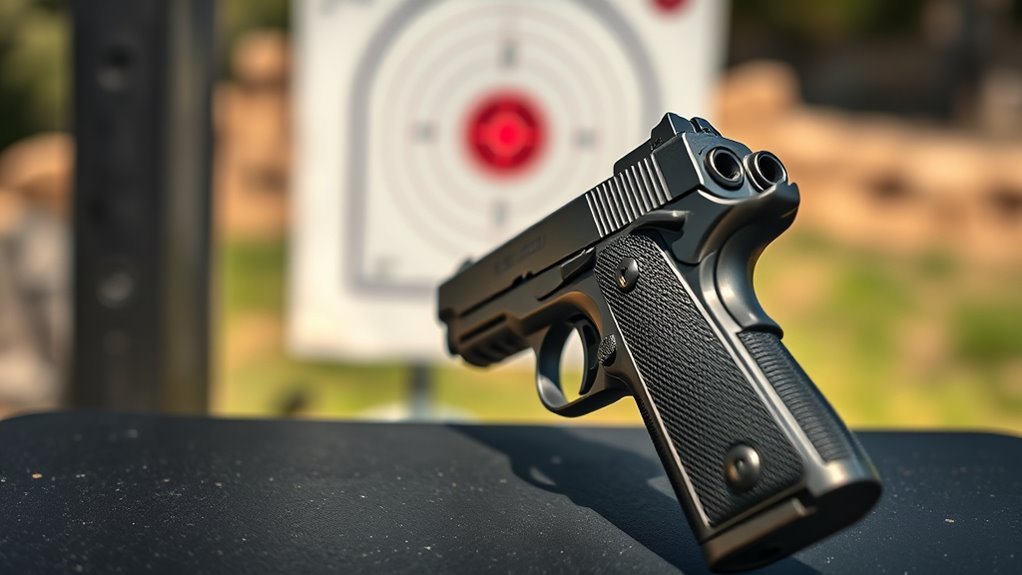
Before you begin sighting your pistol’s red dot, secure your firearm on a stable bench or rest at 10 yards to guarantee consistent shooting conditions. This setup helps you avoid the variability that comes from holding your pistol by hand. It’s especially important when shifting from iron sights to a red dot.
Mount your red dot sight firmly onto the pistol, making sure it’s properly aligned with the slide. Use the sight’s locking screws and tighten them finger-tight to keep everything stable during sighting.
Start by roughly aligning the red dot with the pistol’s bore axis to establish a baseline zero. You might zero at longer ranges later, but beginning at 10 yards gives you a controlled environment. It’s easier to make accurate adjustments here without relying solely on iron sights.
Shoot Five-Round Groups to Measure Accuracy and Consistency
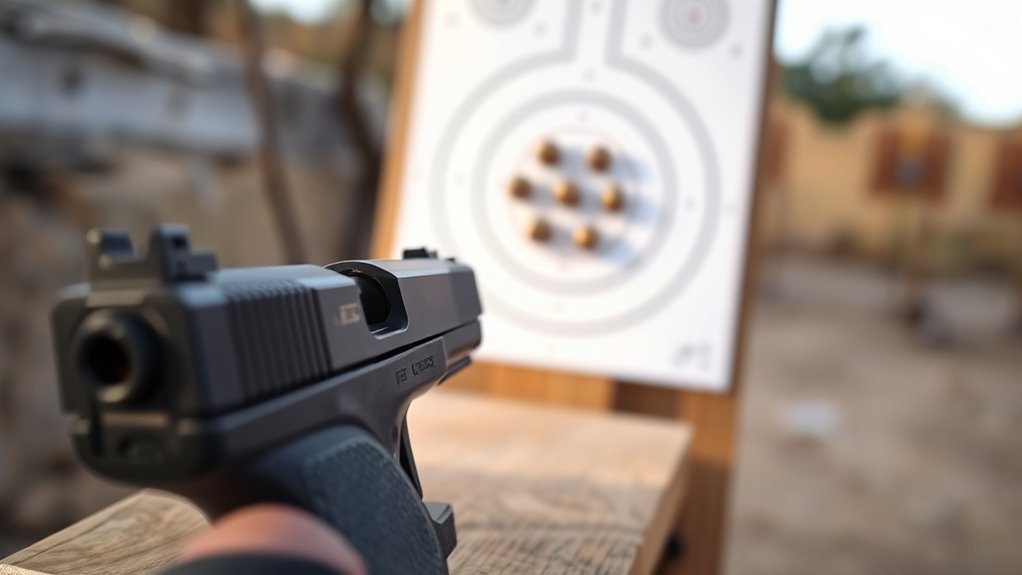
Once you start shooting, aim to fire five-round groups to accurately assess how well your red dot sight aligns with your point of impact. Consistently shooting five rounds provides reliable data to judge your sight’s accuracy and consistency.
Even if the first shots aren’t perfect, fire all five to form a complete group for proper analysis. Focus on maintaining good technique throughout each shot since steady aim and trigger control improve your measurement’s precision.
After you finish, examine the spread and placement of the group carefully. This pattern reveals how close your point of aim is to your point of impact and shows any inconsistencies.
Adjust Your Red Dot’s Elevation and Windage After Shooting Groups
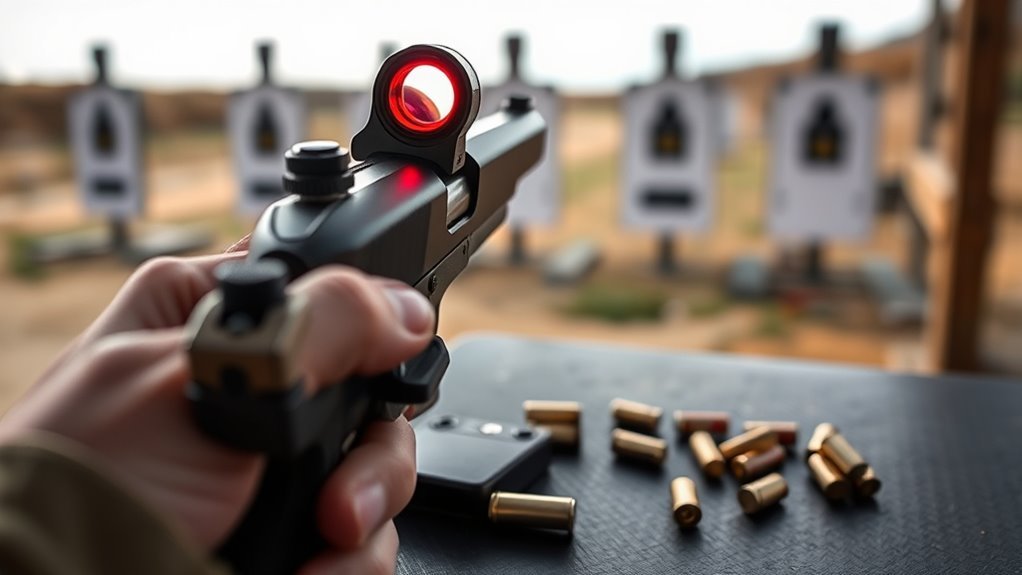
After you analyze your shot group, adjust your red dot’s elevation and windage based on where the rounds landed relative to the red dot. Turn the elevation screw clockwise to raise the impact point or counterclockwise to lower it.
For windage, turn clockwise to shift right and counterclockwise to shift left. Each MOA adjustment moves the impact about 1 inch at 100 yards, so adjust based on your distance.
Use the sight’s hash marks to track your MOA changes carefully.
| Adjustment Type | Direction to Turn | Effect on Point of Impact |
|---|---|---|
| Elevation | Clockwise | Moves impact up |
| Elevation | Counterclockwise | Moves impact down |
| Windage | Clockwise | Moves impact right |
| Windage | Counterclockwise | Moves impact left |
Verify and Fine-Tune Your Zero With Follow-Up Shooting
Confirming your adjustments with follow-up shooting helps guarantee your red dot zero is accurate. After making initial changes, shoot another group and check if the bullet impacts align with your red dot’s aim point.
Analyze your shot placement carefully to see if further tweaks are needed. Make small, precise adjustments—about 1 MOA at a time—to elevation or windage based on where your rounds land.
Then, shoot again to verify the changes. Repeat this process until your point of impact consistently matches the reticle.
To assure your zero works well in different conditions, test multiple groups at varied distances. This methodical approach will help you fine-tune your red dot zero for reliable accuracy in all shooting scenarios.
Install Shims to Extend Elevation Adjustment When Zeroing
If your pistol’s red dot sight doesn’t have enough elevation adjustment to zero properly, installing shims can solve the problem by effectively raising the sight. Shims are small, one-degree accessories that act as a 20 MOA riser. They’re placed between the sight and the pistol to extend the elevation range.
To install, just remove the sight, insert the shim, and securely reattach the sight. It’s a simple step that lets you reach higher elevation settings your sight alone can’t achieve.
After installing shims, you’ll need to re-zero your sight and check the point of impact carefully. Proper installation and verification make sure your red dot is accurately zeroed, even if your pistol’s elevation adjustment is limited. This gives you better precision on target.
Frequently Asked Questions
What Distance Should I Sight in My Red Dot on My Pistol?
You should sight in your pistol red dot at 10 yards for a solid balance between precision and practicality. This distance helps you make easier adjustments before moving to longer ranges or specific shooting scenarios.
What Is the Best Way to Sight in a Pistol Red Dot?
Want to hit your target dead center? Use a stable rest, shoot precise groups, then adjust your red dot’s windage and elevation in small increments. Check your impact repeatedly until your dot perfectly matches your point of aim.
How to Correctly Use a Red Dot Sight?
You’ll focus on placing the red dot directly on your target, keep both eyes open for situational awareness, and maintain a steady grip. Adjust brightness for clarity, and trust the dot to guide your shots accurately every time.
Where Should the Red Dot Be When Aiming?
Did you know shooters improve accuracy by up to 30% using red dots? When aiming, you should place the red dot directly on your intended target point, keeping it clear and centered for precise, quick shots every time.
Conclusion
Now that you’ve got your red dot sight zeroed in with these five easy steps, you’re ready to hit the bullseye every time. Remember, practice makes perfect, so keep shooting and fine-tuning until your pistol feels like an extension of your hand.
Don’t be afraid to make small adjustments—sometimes, it’s the little things that make all the difference. With patience and persistence, you’ll soon have your sights set just right.
Sight a pistol red dot with confidence by staying consistent and focused during every practice session. The more you practice, the better your aim becomes, and the more natural your pistol will feel. Keep zeroing your red dot sight regularly, and you’ll enjoy improved accuracy and quicker target acquisition.
So, take your time, trust the process, and remember that mastering how to sight a pistol red dot is all about steady progress and fine-tuning. Soon enough, you’ll be hitting your target with ease every time you shoot.