How to Adjust Laser Sight on Pistol in 3 Easy Steps
First, make sure your pistol is completely unloaded and the laser sight is securely mounted. Safety is key when adjusting your laser sight, so double-check that everything is clear before you begin.
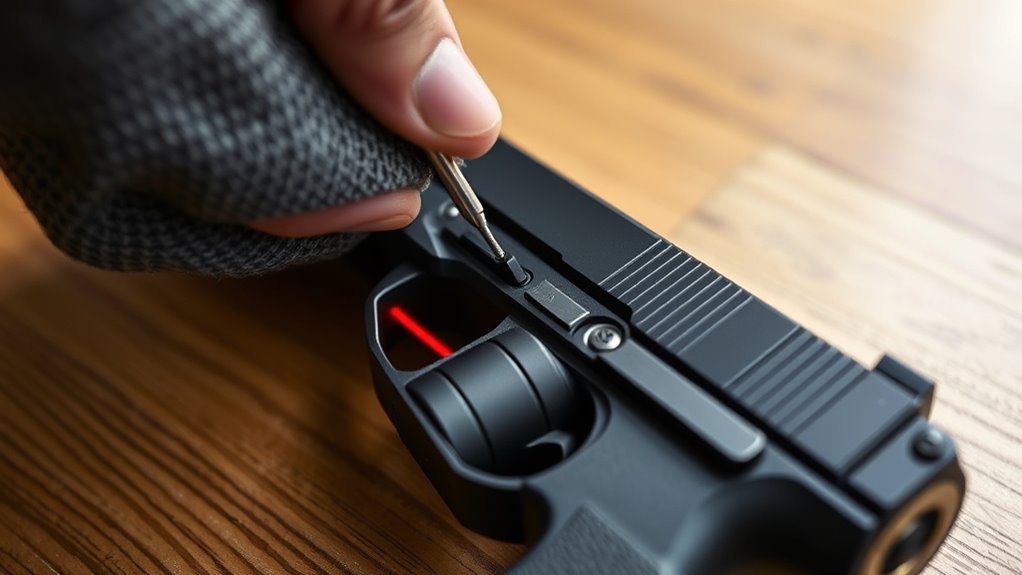
Next, hold the pistol steady about 12 feet from your target. Adjust the laser’s horizontal and vertical screws to align the dot with your iron sights. This step helps ensure your laser sight is perfectly calibrated for accurate shooting.
Finally, test the laser on a target. Make small tweaks until your point of aim matches the laser dot consistently. Keep practicing to master fine-tuning and maintaining peak accuracy with your laser sight.
Key Takeaways
- Ensure the pistol is unloaded and the laser sight is securely mounted before starting adjustments.
- Turn on the laser and align it roughly with the iron sights at a distance of about 12 feet.
- Use the horizontal and vertical adjustment screws to move the laser dot to match the point of aim.
- Make small incremental adjustments, checking the laser alignment after each change for accuracy.
- Test the laser sight on a target at shooting distance and fine-tune as needed for consistent accuracy.
Get Your Pistol Ready for Laser Sight Adjustment
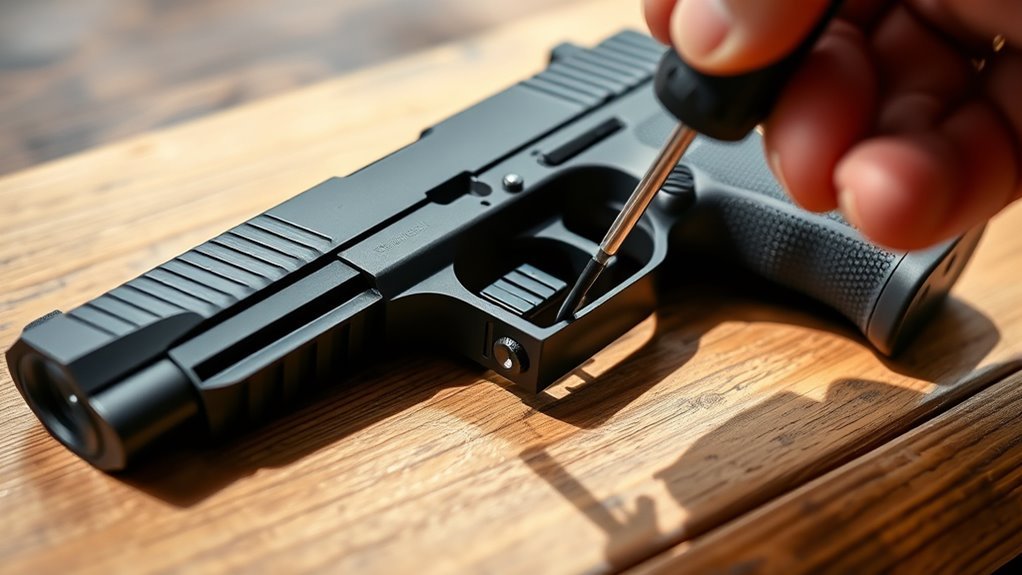
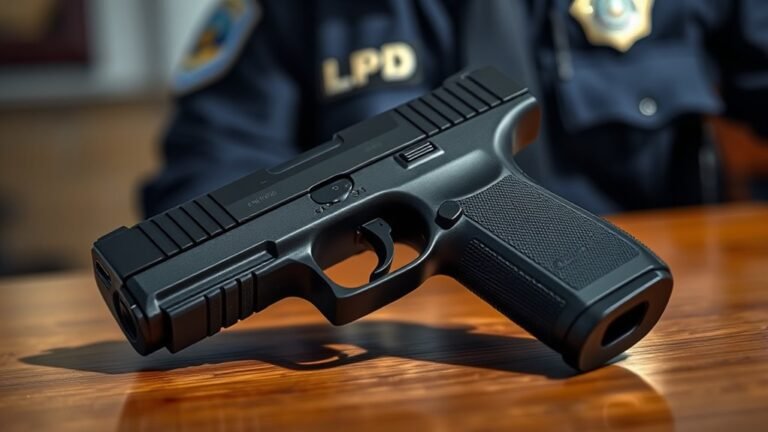
Before you begin adjusting your laser sight, make sure your pistol is completely unloaded and the magazine is removed. Safety is paramount, especially if you carry concealed carry pistols regularly.
Always unload your pistol and remove the magazine before adjusting the laser sight to ensure maximum safety.
Next, place your pistol on a stable surface or secure it in a vise to prevent any movement during adjustments. Check that the laser sight is properly mounted and firmly attached; a loose sight can throw off your zero and affect accuracy.
Turn the laser on and observe the initial position of the laser dot relative to your iron sights. Having your pistol steady and the laser sight reliable sets a solid foundation before you start fine-tuning.
These steps help ensure your concealed carry pistol is ready for accurate laser sight adjustment. It’s all about setting yourself up for success right from the start.
Adjust Your Laser Sight Horizontally and Vertically at 12 Feet
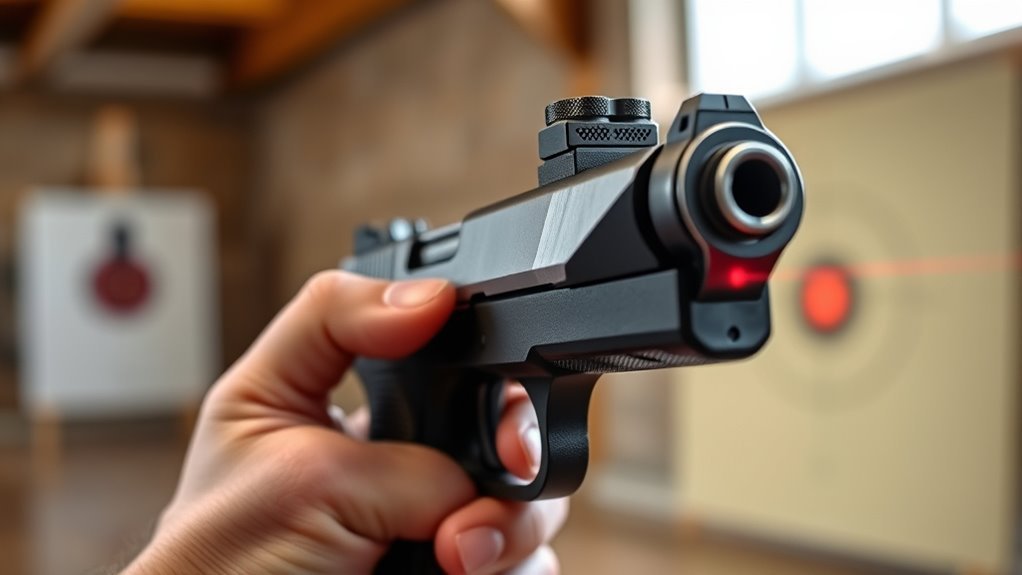
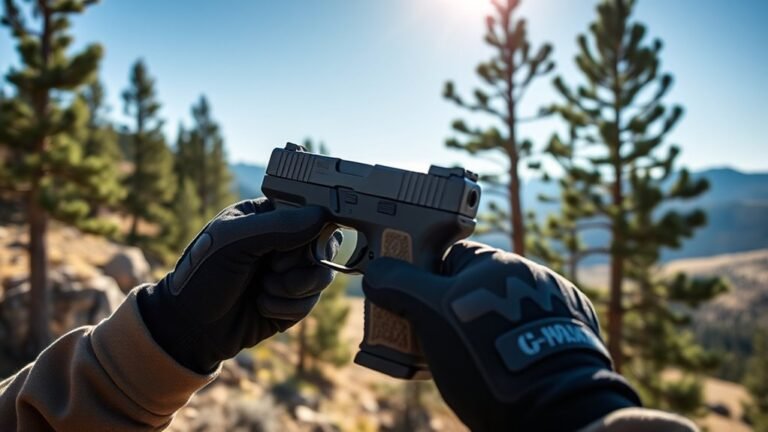
When you hold your pistol steady at about 12 feet, start adjusting the laser sight’s horizontal screw to shift the laser dot left or right until it lines up with your iron sights.
Next, tweak the vertical screw to raise or lower the laser dot so it matches your iron sights’ point of aim. Make small, incremental adjustments while maintaining your typical shooting stance.
Keep checking the alignment by aiming at a target or wall at 12 feet to make sure the laser is properly centered. Getting this right ensures your laser sight is zeroed for your standard engagement distance.
This gives you the confidence to protect yourself and your loved ones. Proper adjustment is key to reliable accuracy in real-world scenarios.
Test and Fine-Tune Your Laser Sight for Real-World Accuracy
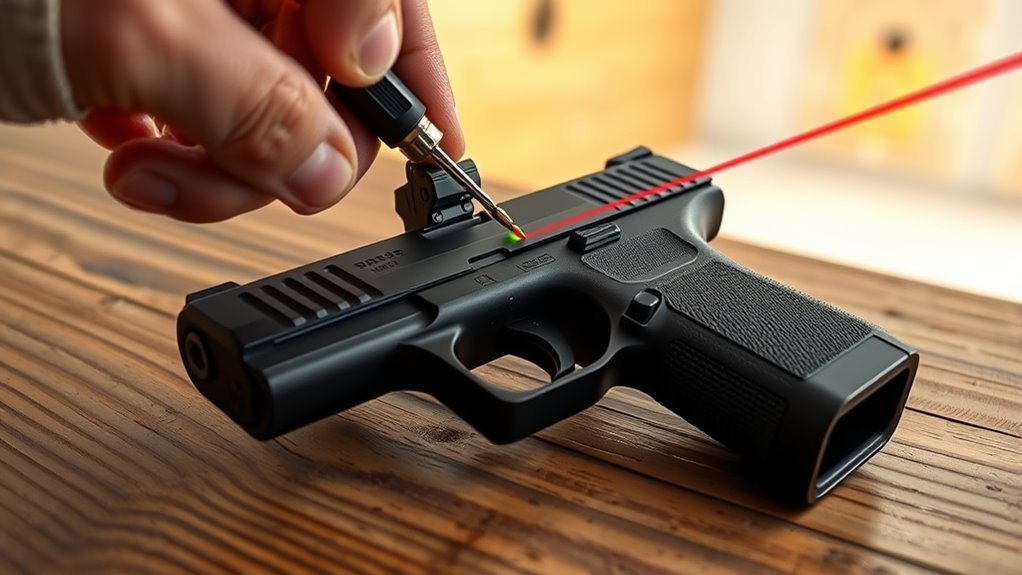
After you’ve aligned your laser sight at 12 feet, it’s important to test it in conditions that mimic real-world use. Set up a target or use a wall and observe where the laser dot hits compared to your iron sights.
If the dot isn’t exactly where you want it, make small adjustments to the horizontal and vertical screws. After each tweak, test again to confirm the laser matches your point of aim at your typical shooting distance.
Remember, laser zeroing depends on your stance and distance, so check and fine-tune regularly. This guarantees your laser remains reliable and accurate across different shooting positions.
Doing this helps you achieve consistent hits when it matters most.
Frequently Asked Questions
How to Adjust Laser Sight on Gun?
You adjust your laser sight by turning its vertical and horizontal screws with a proper tool. Align the laser dot with your target or sights, checking repeatedly at your usual shooting distance for accurate zeroing.
What Distance Should I Zero My Pistol Laser?
Perfectly position your pistol’s point by zeroing your laser at 12 feet. This distance delivers dependable, direct alignment for defense, ensuring your sight syncs smoothly with typical shooting scenarios and sharpens your shot’s success considerably.
How to Set a Laser on a Pistol?
You’ll secure the laser on your pistol, then activate it. Hold steady, adjust the horizontal and vertical screws, and align the dot with your target at your preferred distance. Repeat until it’s perfectly zeroed.
How to Get Laser Level to Correct Height?
You get the laser level to the correct height by using the vertical adjustment screw on your laser sight. Tighten or loosen it while checking alignment above the iron sights until the laser dot sits precisely where you want.
Conclusion
Adjusting your laser sight is like tuning a guitar—you won’t hit perfect notes without a little patience. Just like a musician listens carefully to each string, you’ll want to test your laser at different distances to hit the bullseye every time.
Remember, even a pro needed time to get it right. Stick with these steps, and soon your laser will be as reliable as your favorite song.
When adjusting your laser sight on a pistol, take your time and be patient. Testing at various distances helps ensure accuracy. With practice, your laser sight will improve your shooting precision and become a dependable tool. Follow these simple steps, and you’ll have a perfectly adjusted laser sight that enhances your aim and confidence every time you use your pistol.