How to Draw a Pistol in 10 Simple Steps
To draw a pistol safely, start by making sure your firearm is completely unloaded.
Adopt a balanced stance with your feet shoulder-width apart to maintain stability and control. This foundation is key when learning how to draw a pistol effectively and safely.
Next, position your support hand at chest center and disengage the holster retention first.
Draw the pistol straight up, keeping the muzzle pointed down to avoid any accidental discharge.
Then, rotate your arm 90 degrees downrange.
Extend your arms fully to reach the final firing position.
Align your sights carefully, and press the trigger smoothly for accuracy.
Always finish by reholstering carefully, keeping your finger off the trigger and staying aware of your surroundings.
Mastering these basics sets the foundation for more advanced pistol drawing techniques.
With practice, you’ll build confidence and skill in handling your firearm safely and efficiently.
Key Takeaways
- Ensure the firearm is unloaded and wear your holster and gear consistently for safety and muscle memory.
- Position your support hand at chest center, disengage retention, then grip the pistol firmly with finger off the trigger.
- Draw the pistol straight up, keeping the muzzle pointed downward until fully cleared from the holster.
- Rotate the pistol muzzle downrange with a 90-degree elbow bend, coordinating both hands to reach the final firing position.
- Maintain sight alignment, extend arms with slight elbow bend, and press the trigger smoothly while keeping a steady grip.
Prepare Your Gear and Get Into a Proper Stance
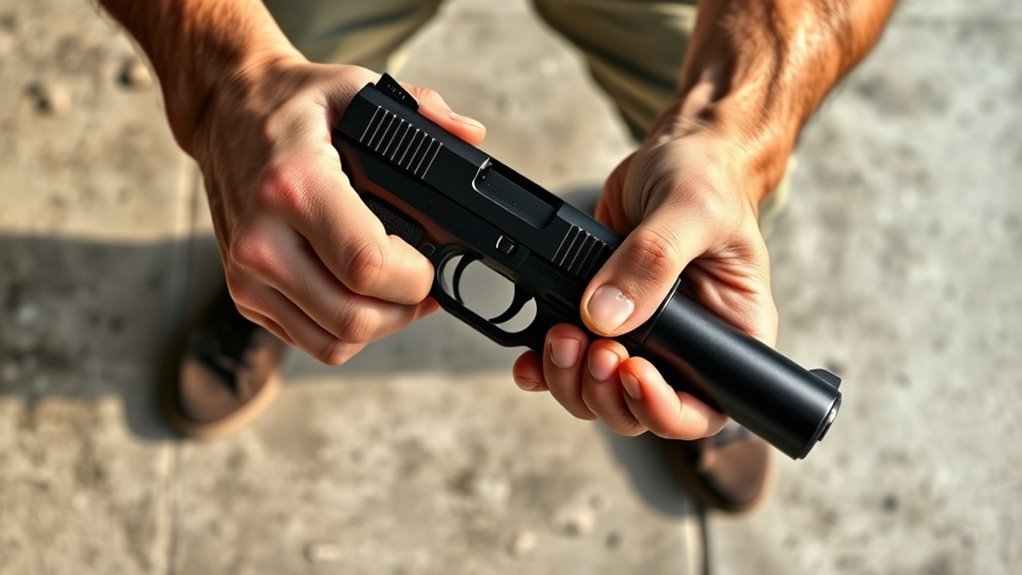
Before you begin drawing your pistol, make sure your firearm is unloaded and safe to handle. Safety is your top priority, so always confirm your weapon is clear before practicing.
Always ensure your pistol is unloaded and safe before practice—safety must come first.
Next, put on your holster and gear consistently to build muscle memory. This consistency helps you draw quickly and smoothly when it counts.
Now, focus on your stance—stand with your feet shoulder-width apart and knees slightly bent. This stance provides balance and stability, essential for controlled movement during your draw.
Stay aware of your surroundings, ensuring the area is secure before handling your firearm. Practice drawing from your holster in a controlled environment, concentrating on safety, a firm grip, and fluid motion.
This preparation sets the foundation for effective and safe pistol handling.
Establish Your Support Hand Position at Chest Center
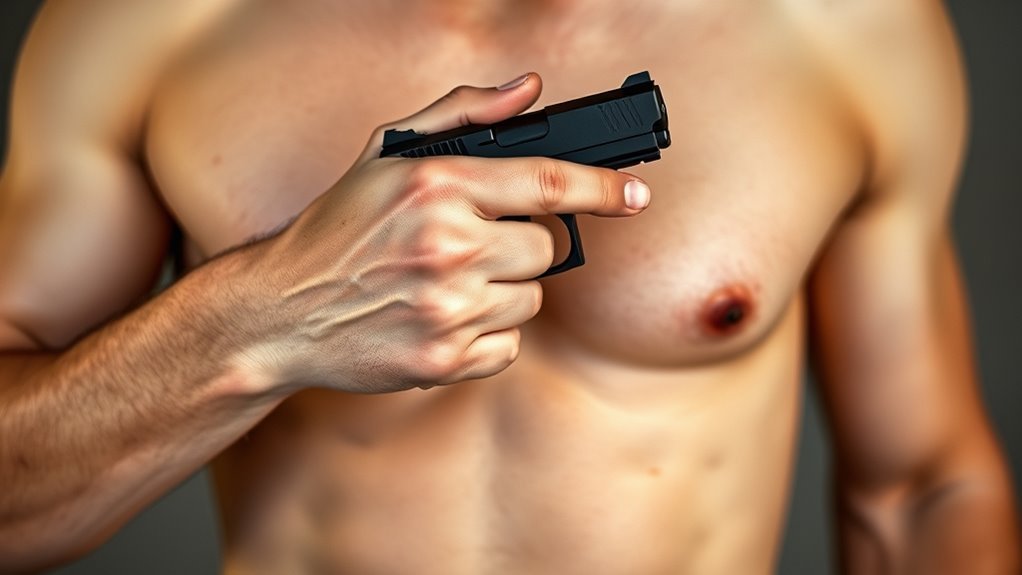
How you position your support hand can make all the difference when drawing your pistol. Place your support hand at the center of your chest with your thumb pointing forward. This setup allows for a smooth, quick shift during the draw.
Keep your fingers angled about 45 degrees to establish a solid, stable grip that supports the firearm effectively. Positioning your support hand at chest center enables natural, fluid movement into your firing stance, which helps improve speed and control.
This placement also plays a vital role in managing recoil and maintaining accuracy once you fire. By consistently positioning your support hand this way, you reduce hesitation and increase overall safety.
Mastering this step guarantees your draw is both efficient and reliable every time.
Disengage Holster Retention and Grip the Pistol Safely
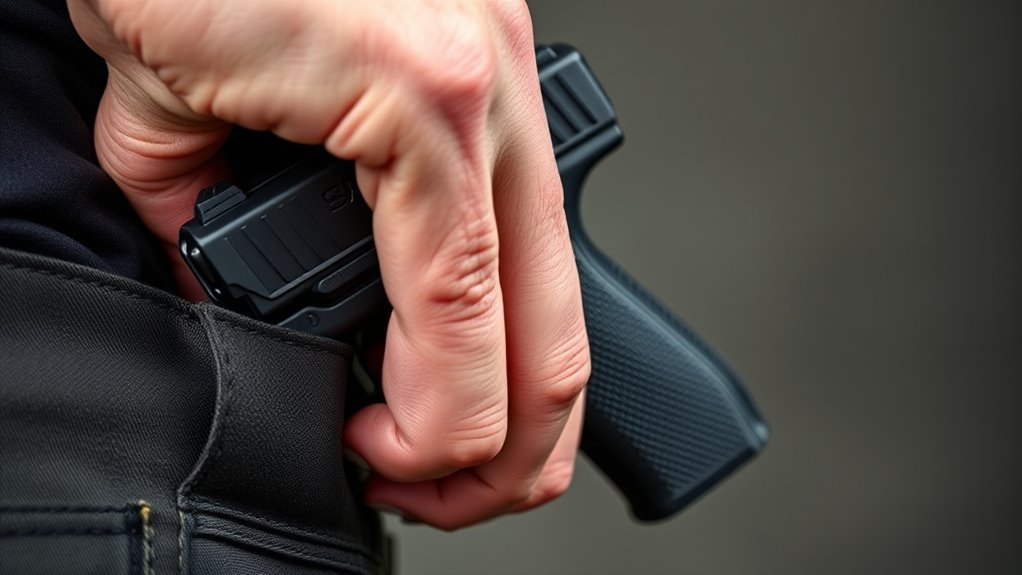
Once you disengage the holster retention, such as releasing a thumb break or hammer hood, immediately establish a firm grip on the pistol to maintain control and safety. Keep your finger off the trigger and outside the trigger guard, practicing strict trigger discipline throughout.
Your support hand should be positioned at your chest center with the thumb forward and fingers angled at 45 degrees, ready to meet your firing hand. As you grip the pistol, make certain the muzzle points in a safe direction to maintain muzzle discipline.
Your support hand will move naturally to meet your firing hand, aiding a smooth, fluid motion. This careful coordination between holster retention release and grip ensures you maintain control and prevent accidental discharges.
Draw the Pistol Straight Up to Clear the Holster
When you draw the pistol, lift it straight up from the holster to clear the muzzle smoothly and fully. Keep the firearm pointed straight down through the holster during this initial lift to maintain proper muzzle discipline and ensure safety.
Over-exaggerate your upward motion slightly to guarantee full clearance of the holster, preventing any snagging or hesitation. Maintain a firm grip on the pistol as you lift, which supports a quick and seamless transition to aiming once it’s free.
Move deliberately and smoothly—avoid jerky motions—to reduce the risk of accidental discharge or loss of control. By focusing on straight, controlled upward movement, you ensure a clean clearance of the muzzle from the holster every time.
Rotate the Muzzle Downrange With a 90-Degree Elbow Bend
After drawing the pistol straight up, rotate the muzzle downrange while keeping your elbow bent at a precise 90 degrees. This angle helps you maintain control and proper sight alignment as you bring the firearm into position.
Focus on smooth, deliberate movements to keep the muzzle pointed safely downrange throughout the rotation. Take it slow and steady—it really makes a difference in staying safe and accurate.
Proper Elbow Angle
Although it might feel unnatural at first, rotating the muzzle downrange with a 90-degree bend at your elbow sets you up for a smooth, efficient draw. Maintaining the proper elbow angle during drawing pistol helps stabilize the firearm, reducing muzzle movement and improving your firearm control.
This position also allows quick arm extension and retraction, making your shift from draw to target seamless while minimizing shoulder strain. It’s all about getting comfortable with that angle—it really pays off.
| Benefit | Explanation |
|---|---|
| Efficient Alignment | Natural aiming position |
| Quick Movement | Fast arm extension and retraction |
| Stability | Reduced muzzle movement |
| Ergonomics | Less shoulder strain, better control |
Focus on keeping that right angle to enhance both accuracy and comfort during your draw. Trust me, it makes a noticeable difference!
Muzzle Orientation Techniques
Keeping your elbow bent at 90 degrees sets the foundation for properly orienting the muzzle downrange. As you rotate the pistol, focus on a smooth, controlled motion to maintain muzzle discipline.
Use your support arm to stabilize the firearm and guide the rotation technique, making sure the muzzle points directly downrange. This controlled rotation is vital for firearm safety, preventing accidental movement and enhancing accuracy.
Maintain a firm grip throughout to keep control and avoid any sudden shifts in muzzle direction. Practicing this rotation technique regularly helps build muscle memory, allowing you to quickly and safely orient the muzzle during a draw.
Prioritizing these steps guarantees your muzzle stays where it should—downrange—every time you draw your pistol. It really makes a difference when you get this right!
Maintaining Sight Alignment
When you rotate the muzzle downrange with a 90-degree bend at your elbow, you set the foundation for consistent sight alignment. This precise positioning ensures the sights align directly with your target, which is vital for accurate shot placement.
Maintaining this consistent elbow angle enhances muzzle control, minimizing unwanted movement during aiming. As you hold this aiming position, your firearm becomes more stable, allowing for a clear and steady sight picture.
Proper muzzle control through the 90-degree elbow bend also creates a natural, repeatable stance that improves your overall accuracy. By focusing on this technique, you’ll develop reliable sight alignment, making each shot more precise and your drawing technique more effective.
This step is fundamental for mastering pistol handling and aiming consistency. Keep practicing it, and you’ll see a real difference in your shooting skills.
Bring Both Hands Together at the Natural Clap Position
As you draw your pistol, bring your reaction hand swiftly to meet your support hand at a natural clap position, with palms facing each other comfortably. Position your support hand at the center of your chest, thumb forward, and fingers angled at about 45 degrees.
This setup helps you draw a pistol quickly and smoothly. Move your hands together in one fluid motion, ensuring control and keeping the firearm pointed safely.
Practicing this movement consistently builds muscle memory, improving your draw speed. Focus on making the hands together motion natural and precise, enabling a quick shift to the next step.
Mastering this natural clap position is essential for a safe, efficient pistol draw every time.
Extend Your Arms to the Final Firing Position (FFP)
Now, extend your arms fully to reach the Final Firing Position, keeping a slight bend in your elbows for stability.
Focus on maintaining a firm grip and aligning your sights smoothly with the target. This controlled extension sets the foundation for accurate shooting.
Achieving Proper Arm Extension
Although it may seem simple, extending your arms properly is essential to achieving the Final Firing Position (FFP). Proper arm extension sets the foundation for a solid firearm stance and accurate target alignment.
To achieve this, start by extending your arms fully until they’re straight, but keep your elbows slightly bent at about 90 degrees. Position your support hand at the center of your chest, thumb forward, and fingers angled at 45 degrees for smooth extension.
Next, push the pistol straight toward the target using your shoulder muscles, maintaining a firm, controlled grip. Avoid jerking motions that can disrupt your arm extension and target alignment.
Keep the muzzle steady and aligned. This precise arm extension ensures stability and readiness for accurate shooting.
Maintaining Sight Alignment
When you extend your arms fully to the Final Firing Position (FFP), you lock in a stable foundation essential for maintaining sight alignment. Keep a slight bend in your elbows, about ninety degrees, to optimize control and reduce fatigue.
Your support arm should be straight and aligned with the target, minimizing muzzle movement and helping you maintain consistent sight alignment. As you draw from the holster, focus on bringing the pistol smoothly into the FFP while keeping the sights aligned with your target.
Before you press the trigger, reassess your stance and sight picture to guarantee precision. Proper trigger control depends on this consistent alignment, so stay focused on keeping your arms extended and sights steady throughout the shot.
Align Your Sights and Establish Sight Picture
How do you guarantee your shots hit the mark once your pistol clears the holster? It all starts with perfecting your sight alignment and establishing a clear sight picture while maintaining strict muzzle control.
Follow these steps:
Follow these steps to ensure precise sight alignment and maintain safe muzzle control with every draw.
- Draw the pistol straight out with the muzzle pointing down, avoiding any early muzzle arc.
- Rotate your arm ninety degrees, bringing the sights up and aligned with your target.
- Halfway out, focus on bringing the front sight into your peripheral vision to ensure proper sight alignment.
- Push the gun fully into the Final Firing Position, stabilizing the sight picture before you press the trigger.
Mastering these steps assures consistent accuracy and safe muzzle control every time you draw.
Practice Smooth, Controlled Trigger Pressing
To achieve consistent accuracy, you need to practice pressing the trigger smoothly and steadily without jerking. Focus on applying consistent pressure until the trigger breaks cleanly. Make sure your support hand stays steady and doesn’t influence the trigger finger’s movement.
This controlled trigger control helps develop muscle memory, making your shots more precise. Try to incorporate dry fire drills regularly to practice trigger control without live ammunition. Dry fire exercises improve your sensitivity and precision, letting you refine your technique safely.
Always confirm the firearm is unloaded before practicing trigger presses to keep things safe. By mastering smooth, controlled trigger pressing, you’ll build confidence and accuracy. These are essential skills when drawing and firing your pistol effectively.
Reholster Safely With Finger off the Trigger and Situational Awareness
When you reholster your pistol, always keep your finger off the trigger to prevent accidental shots. Stay aware of your surroundings and make sure the area is clear before you begin.
Keeping control and focus during this step is just as important as drawing safely. So, take your time and don’t rush it. Your safety depends on it.
Trigger Discipline Importance
Although drawing your pistol quickly is important, maintaining proper trigger discipline is crucial to prevent accidental discharges. Keeping your finger off the trigger until you’re ready to shoot ensures safety during every action, especially when reholstering.
Here’s how you can practice effective trigger discipline:
- Always keep your finger outside the trigger guard when drawing or reholstering.
- Point the firearm only at safe, designated targets while handling.
- Disengage your finger from the trigger when moving or shifting between actions.
- Secure the pistol fully in the holster before placing your finger on the trigger.
Awareness During Reholstering
Before you reholster your pistol, always keep your finger off the trigger and outside the trigger guard to prevent accidental discharges. As you begin reholstering, maintain situational awareness by scanning your surroundings to verify it’s safe to proceed.
Keep the muzzle pointed in a safe direction at all times, avoiding anything unintended. Reholstering isn’t a race—move deliberately and slowly to ensure the firearm aligns properly with the holster.
Before inserting the pistol, visually and physically check for obstacles or debris that could cause misalignment or accidental discharge. Prioritizing safety and situational awareness during reholstering helps you avoid mishaps and handle your firearm responsibly.
Always treat reholstering as a critical step requiring full attention to maintain control and prevent accidents. It’s really about taking your time and staying focused.
Frequently Asked Questions
How to Draw a Pistol Quickly?
You can draw a pistol quickly by sketching simple shapes for the outline, focusing on main contours like the slide and grip, using smooth strokes, and practicing often to build speed and muscle memory for efficient drawing.
How to Draw in 3 Easy Steps?
Want to draw a pistol easily? First, sketch basic shapes for the outline. Next, add details like the trigger and grip. Finally, shade to create depth. You’ll see your drawing come alive step by step!
How to Draw a Hand in 5 Steps?
Start by sketching an oval for the palm and a circle for the wrist. Draw curved fingers with joints, outline the thumb opposite fingers, add details like knuckles and nails, then shade to emphasize folds and muscle structure.
What Are the Basics of Gun Drawing?
You focus on the pistol’s basic shapes—slide, grip, barrel—and keep proportions right. Use clean lines to highlight key parts like the trigger and muzzle, and add simple shading to give your gun drawing depth and realism.
Conclusion
You might think drawing a pistol quickly compromises safety, but following these steps guarantees control and awareness every time. By practicing proper stance, grip, and trigger discipline, you build muscle memory that keeps you safe under pressure.
Remember, speed isn’t just about fast movement—it’s about smooth, deliberate actions done confidently. Keep practicing, and you’ll draw efficiently without sacrificing safety or accuracy.
With consistent practice, you develop the skills to draw your pistol quickly and safely. This means mastering the fundamentals like stance, grip, and trigger control so your movements become second nature.
Ultimately, drawing a pistol efficiently is about balancing speed with control. When you focus on safety and accuracy, you become a responsible and prepared shooter ready to handle any situation calmly and confidently. Keep at it, and you’ll see improvement every time you practice.