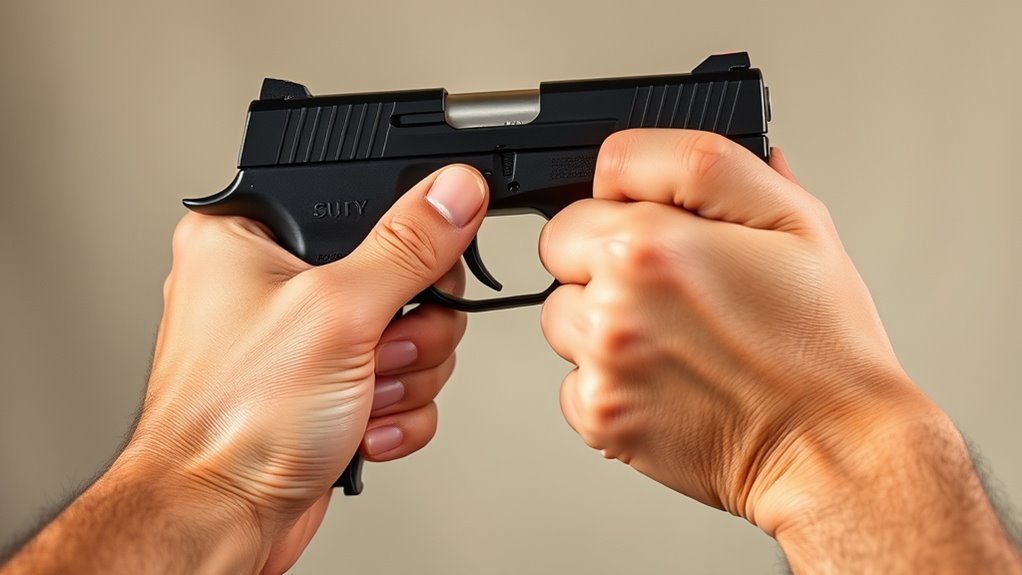
7 Steps to Properly Grip a Pistol
To grip a pistol properly, start by placing your support hand high on the grip with your fingers wrapped tightly and knuckles aligned for a solid hold. This helps you maintain control and stability when shooting.
Position your thumb to support the grip while leaving space to prevent interference with the slide or other moving parts.
Slightly angle your wrists to lock everything in place. Hold the gun firmly, but avoid squeezing too hard, as this can affect your accuracy.
Keep your elbows relaxed to improve control and reduce fatigue during extended shooting sessions.
Use your body’s natural movement to bring the gun on target smoothly.
By following these simple steps, you’ll quickly improve your pistol control and accuracy, making your shooting experience safer and more effective.
Key Takeaways
- Place your support hand high on the grip, wrapping fingers tightly and aligning knuckles with your shooting hand for a strong grip lock.
- Position your thumbs forward and slightly down, keeping them aligned and away from the slide to prevent interference.
- Apply firm but balanced grip pressure, avoiding excessive tension to control recoil without causing fatigue.
- Slightly cant your wrists forward and use smooth shoulder movements to naturally align sights with your dominant eye.
- Let your body guide the pistol into position, maintaining a relaxed grip and using deliberate, fluid movements for overall control and accuracy.
Position Your Support Hand High on the Grip
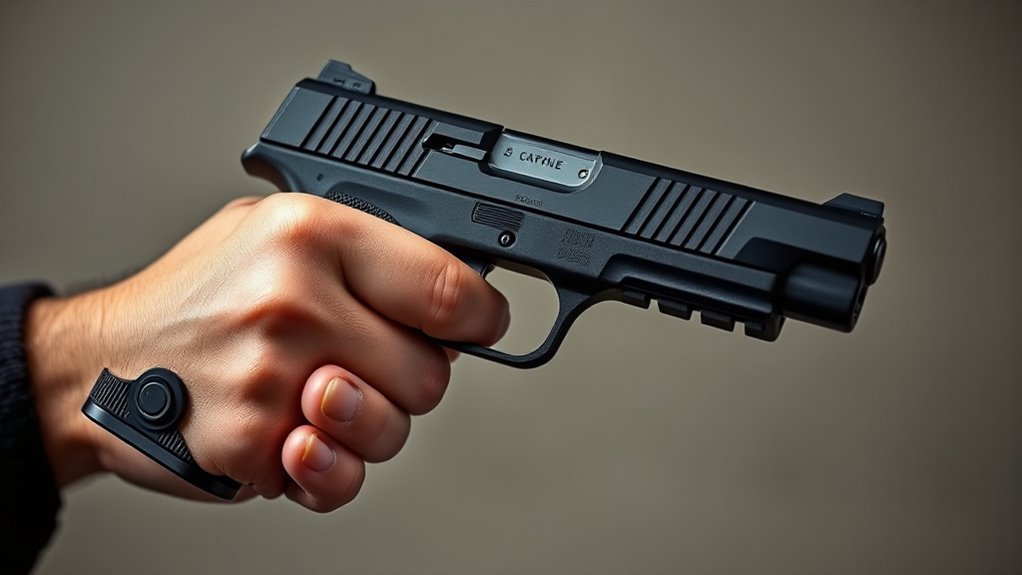
When you position your support hand high on the grip, you maximize contact and leverage for better control. Placing your support hand with a high grip means the web of your hand sits snugly against the backstrap, which helps prevent muzzle rise during firing.
This tight contact boosts stability and lets you apply side-to-side pressure effectively. Your support hand fills the space left by the thumb, ensuring full contact with the pistol, which enhances recoil control.
Wrap Your Fingers and Align Your Knuckles Correctly
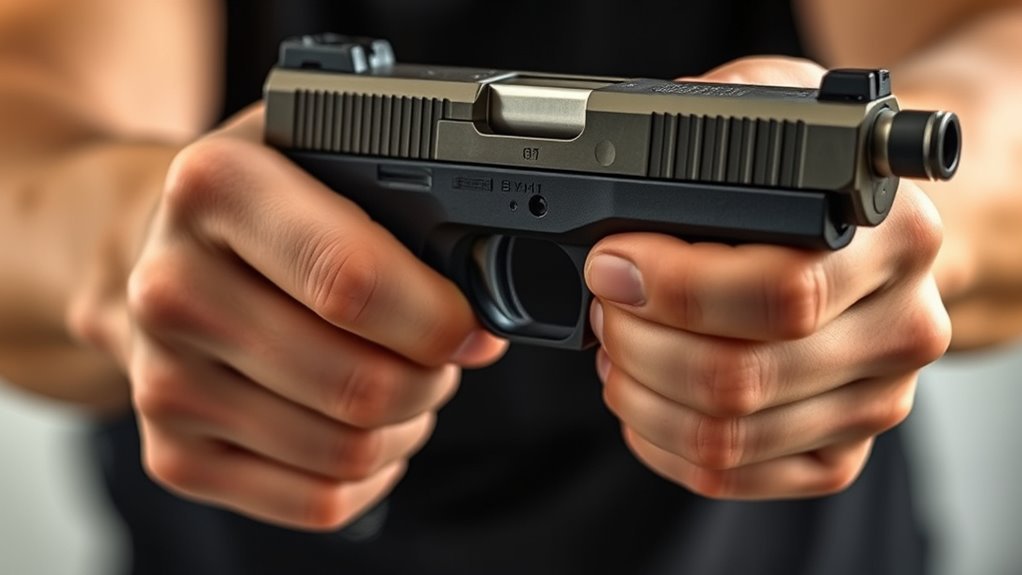
Although gripping the pistol firmly is essential, wrapping your fingers properly and aligning your knuckles correctly will guarantee maximum control and stability. Wrap your fingers tightly around the grip, making sure your support hand fills the space left by your thumb for full contact.
Align the second knuckles of both hands to form a strong grip lock, which improves recoil stabilization. Keep your fingers together on the support hand to maximize grip pressure and maintain consistent finger placement.
Avoid gaps or extended fingers on the trigger guard to prevent weakening your hold. Position your support hand fingers so they press firmly against the shooting hand, ensuring the grip remains stable during rapid fire and recoil.
This technique considerably enhances your accuracy and control. It really makes a difference when you’re handling the pistol under pressure.
Place Your Thumb to Support Your Grip and Leave Space
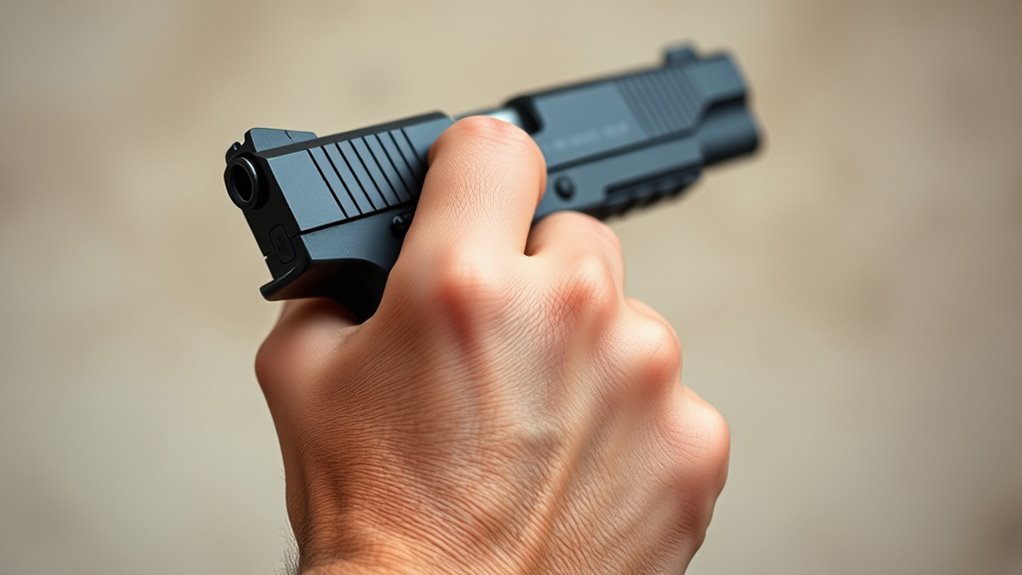
Since a proper thumb position directly affects how well you control your pistol, place your thumb so it pushes forward and slightly down. This creates space for your support hand to engage fully.
Avoid wrapping your thumb tightly around the grip; instead, keep it aligned with your fingers to leave enough grip space. Flag your thumb away from the slide and other fingers to prevent interference and maintain proper placement.
Use the base of your thumb to apply gentle forward pressure, locking the grip and enhancing control.
| Thumb Position | Support Hand Role | Grip Space Importance |
|---|---|---|
| Push forward/down | Engage fully | Leaves room for grip |
| Avoid tight wrap | Stabilize pistol | Prevents interference |
| Flag away slide | Apply pressure gently | Promotes control |
| Align with fingers | Lock the grip | Ensures proper placement |
Angle Your Wrists Slightly to Lock the Grip
To lock your grip effectively, angle your wrists slightly forward. This subtle adjustment stabilizes the firearm and reduces muzzle flip during recoil.
Angling your wrist just right creates tension that boosts your control and keeps the gun steady.
Here’s how to master wrist angling for a locked grip:
- Slightly cant your wrists forward to lock the wrist in place.
- Use your support hand to apply consistent side-to-side pressure.
- Keep the wrist angle subtle to avoid fatigue and discomfort.
- Align the angled wrist with your eye line for faster target acquisition.
Hold the Gun Firmly Without Squeezing Too Hard
You want to grip the pistol firmly enough to control recoil without squeezing so hard that your hands tense up or tire quickly. Finding that balanced pressure helps you maintain consistent control and improves your accuracy.
Keep your grip steady but relaxed to avoid unnecessary tension that can affect your shots. It’s all about being firm, but not too tight—kind of like a handshake that shows confidence without causing discomfort.
Balanced Grip Pressure
Although gripping the pistol firmly is essential for controlling recoil, squeezing too hard can cause your hand to tire quickly and shake. To maintain balanced grip pressure, you want firm control without excessive hand tension.
Here’s how to achieve this:
- Apply grip pressure slightly firmer than a handshake to optimize recoil control.
- Avoid squeezing too tight; it leads to fatigue and less stability.
- Practice a consistent grip to build muscle memory, making your shot placement more reliable.
- Use sensory feedback from your hand to adjust grip pressure during shooting sessions.
Avoid Excessive Tension
While gripping the pistol firmly is essential for control, squeezing too hard can quickly tire your hand and cause trembling that harms accuracy. You want just enough tension to manage recoil control without causing hand fatigue or muscle fatigue.
Think of your grip pressure as slightly stronger than a handshake—avoid the death grip to keep fine motor control intact. Distribute tension evenly around the grip to maintain balance and prevent strain.
Regular practice helps you develop this natural grip, allowing consistent control without overexertion. It’s all about finding that sweet spot where your grip is firm but relaxed.
| Grip Pressure | Effect |
|---|---|
| Too Light | Poor recoil control |
| Slightly Firm | Ideal tension balance |
| Excessive Pressure | Muscle fatigue & trembling |
| Even Distribution | Consistent recoil control |
Maintain Consistent Control
How tightly should you hold your pistol to maintain control without losing precision? You need a firm grip that’s stronger than a handshake but avoids muscle fatigue or trembling.
Consistent pressure keeps your hand steady, improving accuracy and managing recoil effectively.
To maintain consistent control:
- Apply uniform pressure around the entire grip, including your support hand wrapping the shooting hand.
- Keep your grip tight enough to control recoil but not so tight that you lose feel.
- Maintain consistent pressure throughout each shot to prevent hand movement.
- Practice regularly to develop muscle memory for a steady hold under varied conditions.
Keep Your Elbows Relaxed and Slightly Bent for Control
When you keep your elbows relaxed and slightly bent, you absorb recoil more effectively and reduce muzzle flip, making your shots more controlled. Relaxed elbows prevent unnecessary tension from transferring to your grip, helping you maintain consistent control and comfort.
By bending your elbows just enough, you create a stable shooting platform that aligns with your body’s natural recoil movement. This slight bend distributes recoil forces horizontally, minimizing upward muzzle movement and allowing quicker recovery between shots.
Keeping your elbows flexible ensures you hold steady and maintain consistent grip pressure, which is essential for follow-up shots. Remember, tense elbows can lead to jerky movements and less control, so keep them relaxed and slightly bent to improve accuracy and overall shooting performance.
Use Body Movement to Bring the Gun Naturally on Target
You’ll want to use deliberate body movement to align your pistol naturally with the target. Shift your stance and lean slightly, letting your hips and shoulders guide the gun into position.
This smooth, intentional motion helps you place the gun quickly and consistently without relying only on your sights. It’s all about moving your body so the gun just falls into place.
Body Alignment Techniques
Although many shooters focus on arm and wrist positioning, the key to naturally aligning your pistol with the target lies in deliberate body movement. Proper body positioning and a solid stance help you achieve smooth firearm alignment without forcing the gun with your arms.
Use controlled torso rotation and subtle steps to bring the gun into your eye and target line. Here are four body alignment techniques to improve your target acquisition:
- Adjust your stance to maintain balance and stability.
- Use slight torso rotation to guide the firearm naturally on target.
- Align your dominant eye with the pistol’s sights through body movement.
- Step forward or pivot slightly to fine-tune muzzle placement.
Mastering these techniques reduces strain and improves accuracy by integrating your whole body into the aiming process. It really helps make the whole shooting experience feel more natural and less stressful.
Natural Gun Placement
How do you bring your pistol naturally on target without forcing it? Focus on natural gun placement by using deliberate shoulder and arm movement.
Control the gun with a proper grip in your hand, then smoothly align the sights by letting your body guide the firearm. Avoid jerky motions; instead, rotate or shift your shoulders to bring the pistol into your eye line.
This fluid motion enhances accuracy and speed, providing better control.
| Step | Action |
|---|---|
| 1. Hand | Secure proper grip |
| 2. Shoulder Movement | Rotate to guide pistol |
| 3. Arm Movement | Smoothly align on target |
| 4. Control the Gun | Maintain stability |
| 5. Natural Placement | Let body bring gun to aim |
Use these steps to achieve consistent, natural gun placement.
Frequently Asked Questions
What Is the Correct Way to Grip a Pistol?
You grip a pistol high on the backstrap, keep your hand tight against the tang, wrap your support hand fingers around your dominant hand, point thumbs toward the target, and apply firm but balanced pressure for control and recoil management.
What Is the 3-3-3 Rule in Self-Defense?
The 3-3-3 rule means you take three steps to safety, create three feet of distance, and spend three seconds evaluating the threat. You’ll react quicker and stay safer by practicing this rapid, strategic self-defense approach.
What Is the 26 Pistol Rule?
Think of your grip as a handshake with control— the 26 pistol rule tells you to hold your pistol high on the backstrap, about 26 millimeters from the trigger guard, to tame recoil and shoot with steady confidence.
What Is the New Pistol Grip Rule?
The new pistol grip rule says you should grip as high as possible on the backstrap, keep no gap between your hand and the tang, wrap your grip fully around the frame, and position your thumb toward the target.
Conclusion
Gripping a pistol properly is like planting roots—solid and steady, giving you control and accuracy. Follow these steps to build a grip that feels natural and confident.
Remember, it’s not about squeezing tight but holding firm, with relaxed elbows and a keen sense of your body’s movement. Master this foundation, and you’ll bring your target into focus with ease and precision every time you lift your pistol.
A good pistol grip sets the stage for better aim and shooting consistency. When your grip is solid, you reduce recoil and improve your overall control. So take your time, practice these steps, and make sure your grip feels just right.
By focusing on these 7 steps to properly grip a pistol, you’ll develop a steady hand that boosts your accuracy and confidence. It’s all about balance, control, and keeping your body relaxed. Nail this foundation, and hitting your target becomes second nature every time.