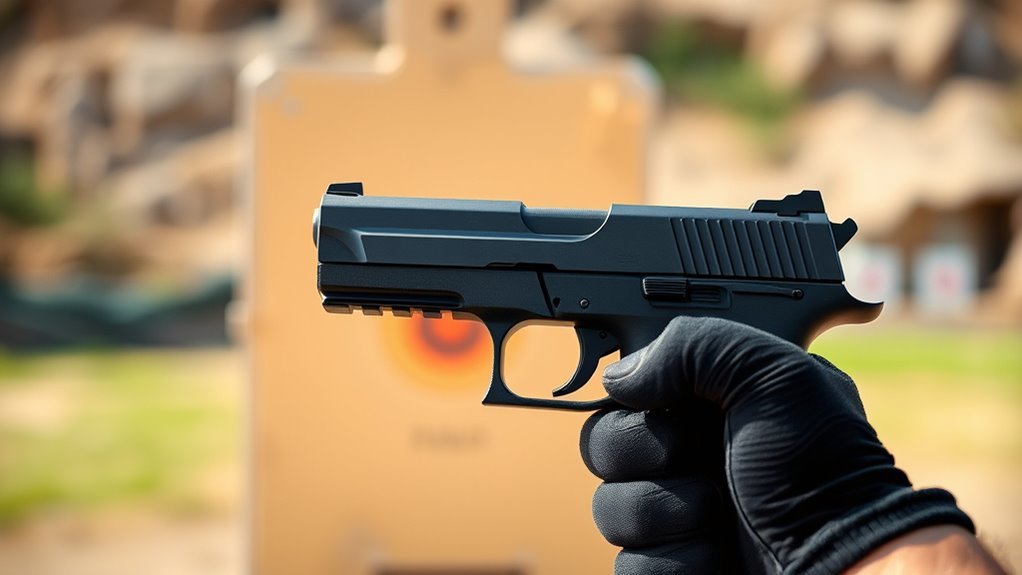
7 Steps to Sight a Red Dot on Your Pistol
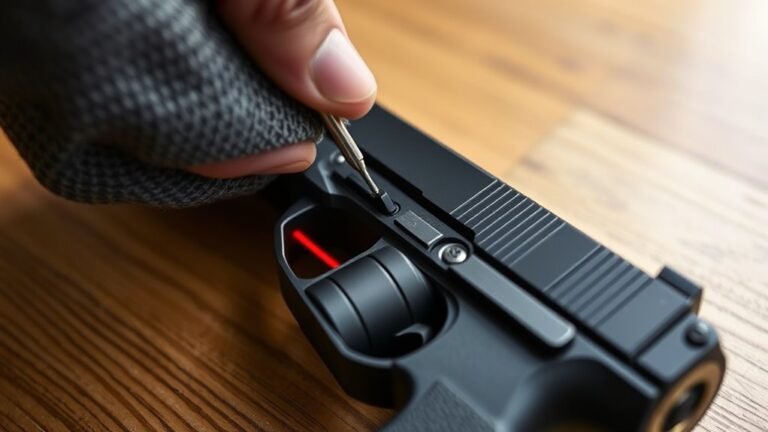
To sight a red dot on your pistol, start by safely mounting it and making sure it’s nice and level. This initial step is crucial for getting your dot aligned correctly.
At about 10 yards, align the red dot with your iron sights to get a rough zero.
Next, fine-tune your sighting using a laser bore sight. This helps you get closer to perfect accuracy before live firing.
When you start shooting, go for consistent three-shot groups from a stable rest.
Adjust windage and elevation based on where your shots land.
It’s important to confirm your zero at both 10 and 25 yards to ensure your sighting holds up at different distances.
Don’t forget to keep up with routine maintenance and regular practice. This will help keep your accuracy sharp over time.
Stick around, and I’ll walk you through all the key details for perfecting your red dot sighting process!
Key Takeaways
– Ensure the pistol is unloaded, then securely mount the red dot sight using the appropriate adapter and torque specifications.
It’s super important to start safe and make sure everything is tightly fitted before moving on.
– Establish a rough zero by aligning the red dot with iron sights at 10 yards for initial reference.
This gives you a good starting point to work from.
– Use a laser bore sight and stable rest to fine-tune windage and elevation adjustments for precise alignment.
Taking your time here really pays off with accuracy.
– Confirm and adjust zero at both 10 and 25 yards, making incremental corrections based on shot groupings.
Shooting a few groups will help you see where tweaks are needed.
– Regularly clean the lens, check zero during practice, and log adjustments to maintain consistent accuracy.
Keeping your sight clean and tracking changes keeps you on point every time you shoot.
Prepare Your Pistol and Securely Mount the Red Dot
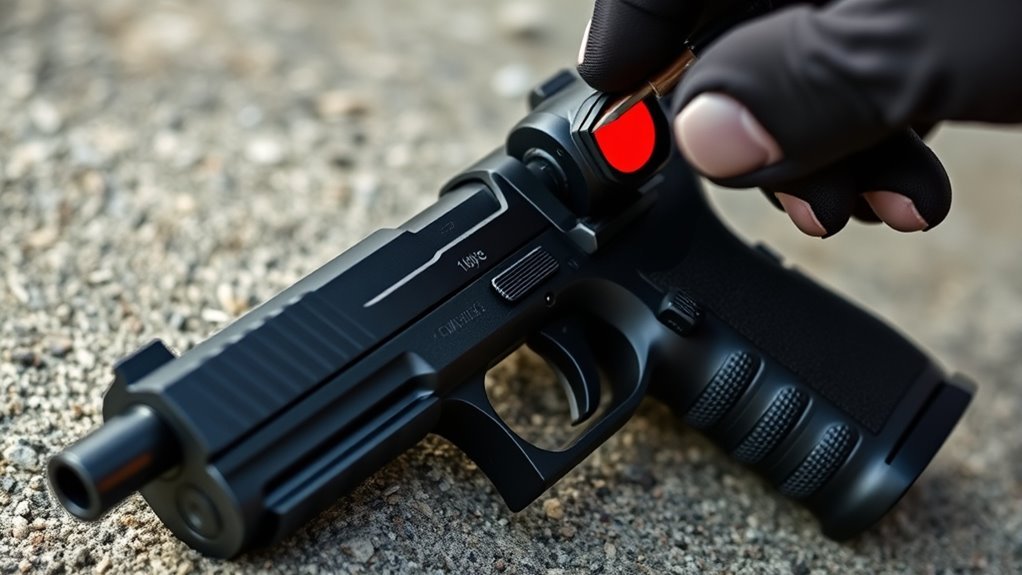
Before you begin mounting your red dot, make sure your pistol is completely unloaded and safe to handle.
Start by selecting a compatible mounting plate or adapter designed specifically for your pistol model and red dot sight. This guarantees a secure fit and proper alignment.
When attaching the red dot to the mount, tighten the screws evenly to avoid misalignment. Use a torque wrench to apply the manufacturer’s recommended torque, usually between 15-20 in/lb. This keeps the mount firmly in place without damaging the pistol.
Finally, double-check that the red dot is mounted straight and level. Proper mounting sets the foundation for accurate zeroing later, so take your time during this essential step to ensure your pistol and red dot work seamlessly together.
Align the Red Dot With Your Iron Sights for a Rough Zero
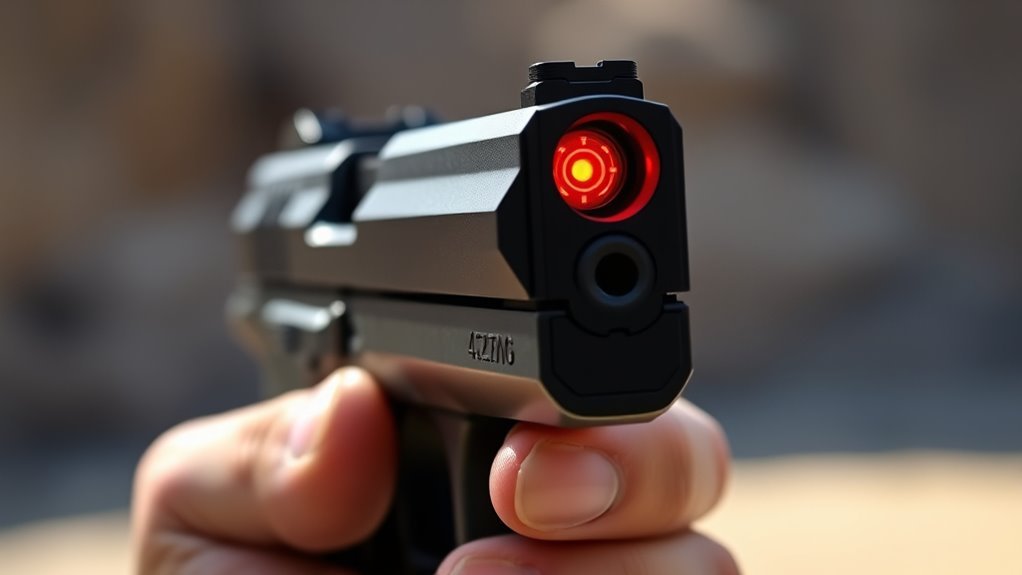
Start by co-witnessing your red dot with the iron sights to get both on the same plane. Focus on aligning the red dot with the iron sights by adjusting elevation and windage controls.
Use your iron sights as a reference point to achieve a rough zero before fine-tuning. This way, you’ll have a solid starting point to work from.
Co-Witnessing Basics
When you align your red dot with your iron sights, you create a co-witness that lets you quickly switch between the two aiming systems without losing accuracy. Co-witnessing means adjusting the red dot’s elevation and windage controls until the dot matches the iron sights’ alignment at about 10 yards.
This setup provides a reliable backup if the red dot fails or gets obscured. To achieve this, aim your pistol at a target and tweak the controls so the red dot lines up both horizontally and vertically with the iron sights.
Proper alignment makes transitioning between sights seamless and keeps you confident under pressure.
- Feel the confidence of a dependable backup sight
- Trust your pistol’s sights, no matter the situation
- Gain speed switching between red dot and iron sights
- Experience peace of mind with precise co-witness alignment
Aligning Dot Position
Once you’ve established a reliable co-witness between your red dot and iron sights, it’s time to align the dot itself for a rough zero. Start by mounting the red dot so it roughly matches your iron sights when you look through the optic.
Center the dot within the lens, making sure it sits in the same plane as your iron sights. Use a stable rest or bench to keep your pistol steady while aligning dot elevation and windage controls.
Adjust these controls to position the red dot close to your iron sights at around 10 yards. This process gives you a solid initial reference, confirming the red dot’s position is roughly aligned before you move on to fine-tuning your zero at the target distance.
Iron Sight Reference
Although it may seem simple, aligning your red dot with your iron sights is an essential step for establishing a reliable rough zero. Start by centering and leveling the red dot with your iron sights, using their position as your baseline.
Adjust the sight’s elevation and windage controls until the red dot matches the same point as your front and rear iron sights. This rough alignment guarantees your zeroing process begins with consistent reference points, saving time during fine-tuning.
Feel confident knowing your red dot and iron sights work together perfectly. Experience the satisfaction of a quick, accurate rough zero.
Trust your pistol’s alignment before heading to the range. Enjoy smoother, faster zeroing with a solid foundation in alignment.
Fine-Tune Alignment With a Laser Bore Sight
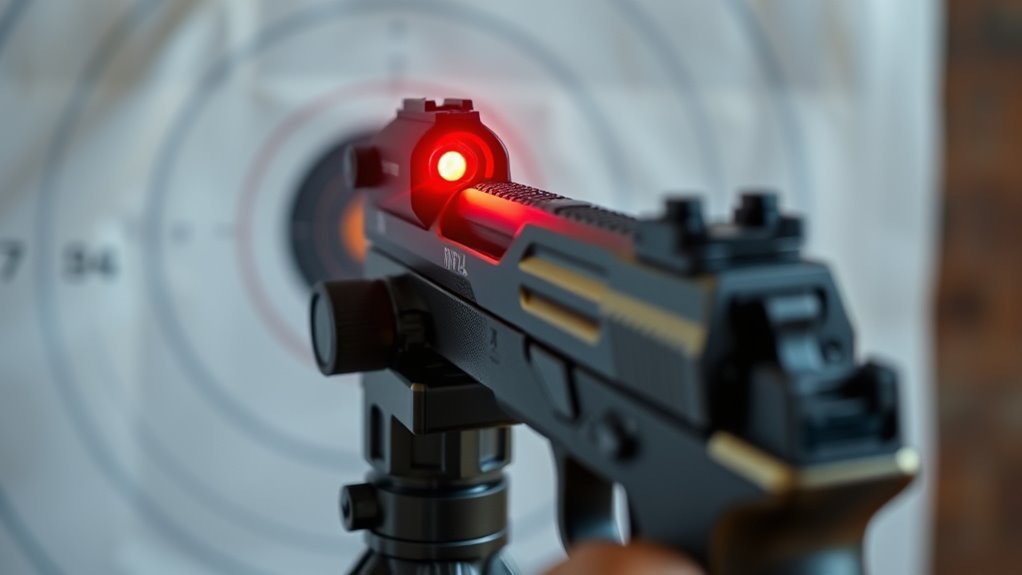
Now that you have a rough zero, use a laser bore sight to fine-tune your red dot’s alignment with the barrel. Make sure the laser is accurately calibrated and stable before adjusting the reticle to match the laser beam.
This step helps you achieve precise alignment quickly and avoids wasting ammo during live-fire zeroing. It’s a smart way to save time and rounds at the range. Just take your time and double-check everything before moving on.
Benefits of Laser Bore
Using a laser bore sight offers several key benefits that make zeroing your red dot faster and more accurate. This tool projects a laser beam aligned perfectly with your barrel, giving you a clear visual reference to fine-tune the alignment without firing a single shot.
With a laser bore sight, you save time and ammo by reducing the number of shots needed during zeroing. It also helps you quickly spot and correct any misalignment between your barrel and sight, ensuring your red dot hits where you intend.
- Streamline zeroing with precise initial alignment
- Cut down on wasted ammunition and time
- Easily detect and fix alignment issues
- Maintain consistent accuracy across shooting sessions
Aligning Dot Precisely
A laser bore sight not only speeds up zeroing but also lets you fine-tune your red dot’s alignment with exact precision. Start by inserting the bore sight into your barrel, guaranteeing it’s centered and properly calibrated.
Then, adjust the red dot’s windage and elevation until the dot matches the laser beam’s point of impact. This aligning process guarantees your initial calibration is spot on before live firing. Use the table below to track adjustments:
| Adjustment | Purpose |
|---|---|
| Bore sight | Projects laser for aiming |
| Windage | Horizontal alignment |
| Elevation | Vertical alignment |
Make sure to regularly check your bore sight’s calibration, especially after disassembly. This helps keep your alignment precise and ensures reliable accuracy on your pistol.
Verifying Laser Accuracy
Although you’ve aligned your red dot with the laser bore sight, you’ll need to verify the laser’s accuracy before live firing. Start by confirming your laser bore sight is properly calibrated and centered in the barrel.
Project the laser beam and measure its point relative to a target at close range. If the impact point doesn’t match the laser dot, fine-tune your red dot sight accordingly. Repeat this process to maintain consistent accuracy.
Here’s how to confidently verify laser accuracy:
- Use a high-quality, calibrated laser bore sight for precision.
- Check the laser alignment with the bore axis before insertion.
- Measure the actual impact point against the laser dot on a target.
- Repeatedly adjust and confirm alignment to ensure reliable accuracy.
This ensures your red dot’s perfect sight picture and dependable performance. Easy, right? Just take your time and double-check everything.
Shoot Three-Shot Groups From a Rest to Check Impact Point
To accurately check your red dot’s impact point, shoot three-shot groups from a stable rest like a bench or bipod. This helps minimize human error and lets you see if your red dot is zeroed properly.
Make sure to aim all shots at the same target point so you can evaluate consistency. After shooting, measure the distance between your point of aim and where the shots land.
Then, repeat the process to confirm your results and ensure accuracy.
| Step | Action | Purpose |
|---|---|---|
| 1 | Use stable rest (bench/bipod) | Reduce movement |
| 2 | Aim at same point | Ensure consistent reference |
| 3 | Fire three-shot groups | Minimize error, check impact |
| 4 | Measure shot group location | Determine impact point offset |
| 5 | Repeat | Verify zeroing accuracy |
Interpret Shot Groups and Adjust Red Dot Windage and Elevation
When you analyze your three-shot groups, measure how far the shots are horizontally and vertically from your point of aim to decide if your red dot needs windage or elevation adjustments.
A group consistently right means you’ll want to turn the windage screw clockwise to shift impacts left. Shots low and centered call for clockwise elevation adjustment to raise the impact point.
Use incremental clicks, usually 1/4 to 1/2 MOA, and fire new groups after each tweak to confirm changes. This process guarantees your sighting is precise and tailored to your pistol.
Feel the satisfaction as your shots cluster tighter. Experience confidence with every accurate windage adjustment.
Enjoy the clarity from precise elevation adjustment. Embrace control over your pistol’s performance through shot groups.
Confirm Your Zero at 10 and 25 Yards for Precision
Since zeroing your red dot sight accurately is essential for reliable shooting, start by confirming your zero at 10 yards. Fire three-shot groups using a stable rest and consistent technique. Then, measure the point of impact against your point of aim.
Make precise adjustments to windage and elevation to bring your shots in line. Once you’re happy with the results, move to 25 yards and repeat the process. Remember, 1 MOA equals roughly ¼ inch at this distance, so adjust accordingly.
Verifying zero at both distances ensures your sight delivers precise hits at close and moderate ranges. Be sure to perform multiple confirmation checks at 10 and 25 yards to verify consistency. That way, you can trust your red dot for any critical use.
This thorough zeroing process really sets the foundation for dependable accuracy. It’s worth taking the time to get it right!
Maintain and Verify Your Zero With Routine Checks and Practice
Although zeroing your red dot sight is critical, maintaining and verifying that zero through routine checks and practice is just as important to guarantee consistent accuracy.
You need to regularly inspect and clean the lens and mounting hardware to preserve zero stability. After any impact or change in conditions, recheck your zero to catch impact deviations early.
Routine checks during practice sessions ensure your point of impact stays consistent.
- Keep your red dot lens spotless for maximum visibility and zero stability.
- Reconfirm zero after every significant impact or adjustment.
- Use targets with clear reference points to spot impact deviations in MOA.
- Log all zero settings and adjustments for quick restoration if needed.
Stay diligent, and your red dot will perform reliably every time.
Frequently Asked Questions
How Far Should You Sight in a Red Dot on a Pistol?
You should sight in your red dot between 10 and 25 yards, depending on your typical shooting distance. This range balances close-quarters accuracy and bullet trajectory, ensuring your pistol performs well in most practical situations.
Where Should a Red Dot Sight Be on a Pistol?
You should place your red dot sight on the slide or frame, centered and level. Keep it close to the barrel, aligned with the bore axis, so you can quickly acquire the dot without awkward head movement.
Do You Keep Both Eyes Open When Using a Red Dot?
Yes, you should keep both eyes open when using a red dot. It improves your situational awareness, reduces eye strain, helps with recoil control, and allows faster target acquisition, making your shooting more accurate and natural.
Do You Need to Sight in a Red Dot on a Pistol?
Yes, you need to sight in a red dot on your pistol to guarantee accuracy. Without zeroing, your shots won’t align with the dot, reducing effectiveness. Regularly check and adjust it after mounting or impact shifts.
Conclusion
You prepare your pistol and mount the red dot. Then, you align sights and laser, shoot groups, and interpret impacts.
Next, adjust windage and elevation. Confirm your zero at multiple distances to ensure accuracy.
Maintain your setup with routine checks. You build confidence, sharpen accuracy, and master your aim with every step.
Bringing your red dot into focus turns sighting into skill, and skill into second nature. Keep practicing, keep adjusting, and keep hitting your mark every time.
Remember, mastering your red dot sight on your pistol takes patience and consistency. The more you practice these steps, the sharper your accuracy becomes. Stay committed to routine zeroing and maintenance, and you’ll see your confidence soar. With dedication, sighting your red dot becomes second nature, helping you consistently hit your target with ease.