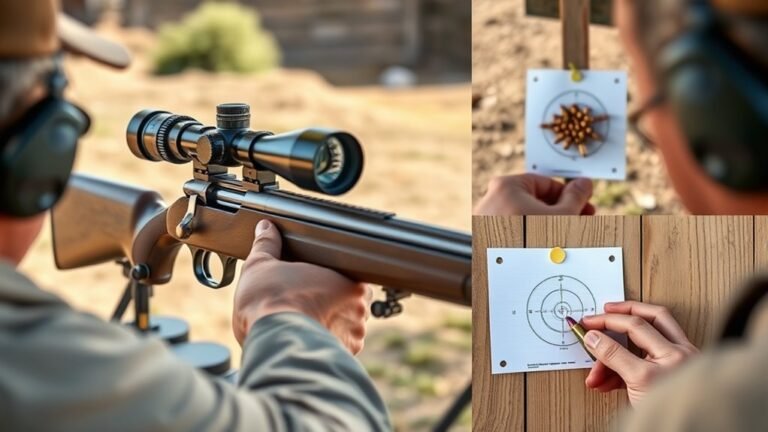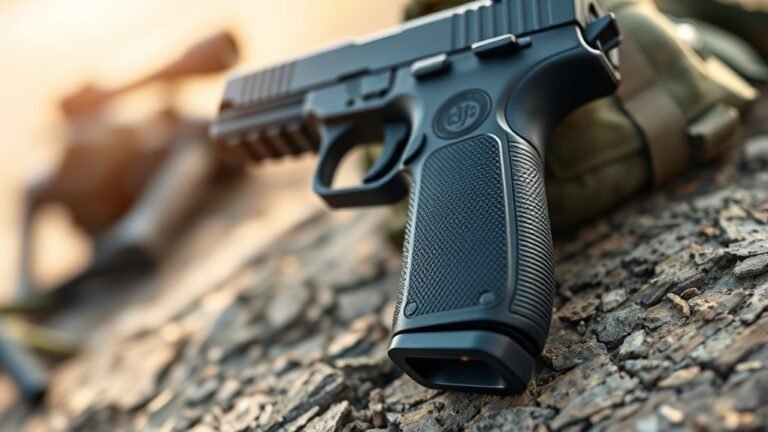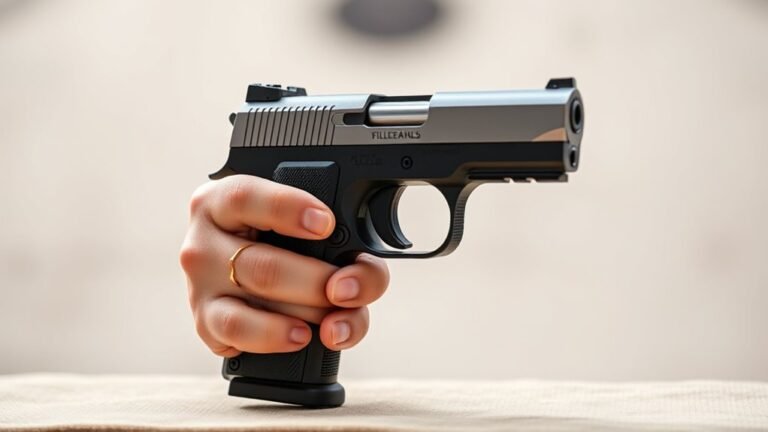
How to Clean a Pistol in 10 Easy Steps
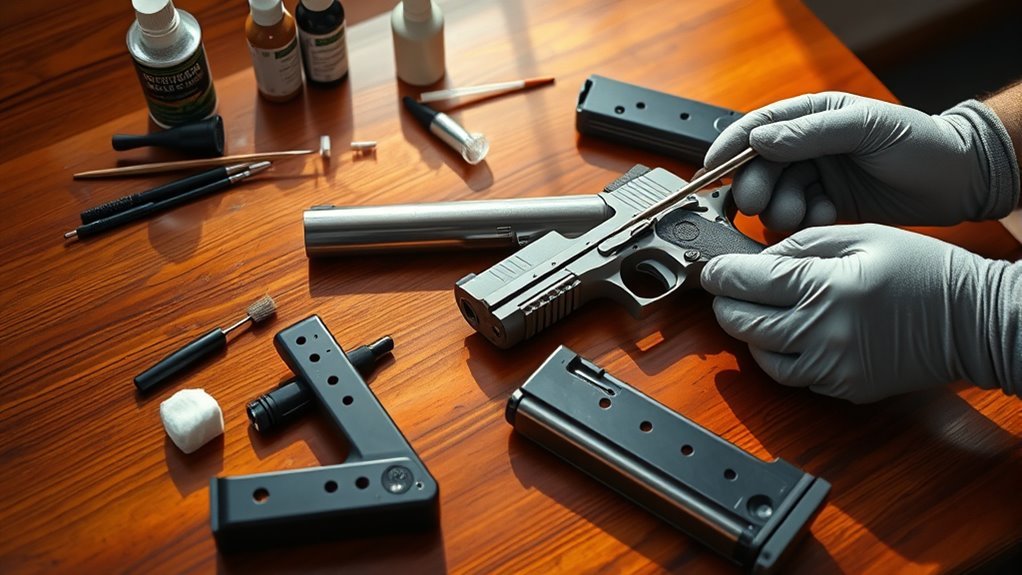
To clean your pistol in 10 easy steps, start by making sure it’s completely unloaded. Safety first! Set up your workspace with all the necessary supplies like cleaning solvent, brushes, and lubricant. Having everything ready makes the process smoother and safer.
Next, disassemble your firearm carefully, following the manufacturer’s instructions. This helps you access all the parts that need cleaning.
Use solvent and brushes to thoroughly clean the barrel, slide, and all the small components. Don’t rush this part — a clean pistol functions better and lasts longer.
After cleaning, apply a light coat of lubricant to key components to keep everything running smoothly.
Then, carefully reassemble your pistol, making sure each part fits correctly.
Once assembled, perform a function check to ensure everything works properly.
Finally, wipe down the exterior of the pistol to remove any leftover solvent and prevent rust.
Keep practicing these steps, and you’ll master every detail for maintaining your pistol’s reliability and safety. Regular cleaning not only extends your pistol’s life but also ensures it performs well when you need it most.
Ensure the Pistol Is Completely Unloaded
Before you begin cleaning, make certain your pistol is completely unloaded by removing the magazine and checking the chamber both visually and physically. Always point the firearm in a safe direction during magazine removal and chamber check to maintain safety.
Never assume your pistol is unloaded; you need to verify this every time before disassembly or cleaning. After removing the magazine, perform a thorough visual inspection of the chamber, then use your finger to feel inside the chamber to ensure no round remains.
Always confirm your pistol is unloaded by visually and physically checking the chamber before cleaning.
Follow your manufacturer’s guidelines precisely for clearing your specific pistol model. This careful process ensures your firearm is safe to handle and prevents accidental discharge.
Properly verifying your pistol is unloaded is the vital first step before any cleaning or maintenance. It’s a simple step, but you can’t skip it!
Prepare Your Cleaning Workspace and Gather Supplies
While setting up your cleaning workspace, choose a clean, well-lit area with a flat surface, like a garage or an outdoor table, to avoid contamination. Make sure the area is free of food, drinks, and distractions to maintain safety and focus.
Before starting, confirm your pistol is unloaded and keep all ammunition out of the workplace. Gather all essential cleaning supplies such as solvent, lubricant, brushes, patches, cloths, gloves, and a cleaning mat.
Organize your tools and supplies within easy reach to streamline the process and prevent fumbling. Having a well-prepared workspace not only enhances efficiency but also ensures you maintain safety throughout the cleaning.
Taking these steps upfront sets the stage for a smooth, effective pistol cleaning session. It really makes the whole process easier and safer.
Disassemble the Pistol Safely
Once you’ve confirmed your pistol is unloaded by removing the magazine and checking the chamber, you can begin disassembling it safely. Start by putting on safety glasses to protect your eyes from any springs or debris released during disassembly.
Follow your manufacturer’s manual closely for specific safety precautions and disassembly steps. Use the proper tools, such as a takedown lever or slide lock, to perform slide removal without forcing parts.
Handle small components carefully to avoid damage or loss, and keep all parts organized in a designated area. Remember, maintaining control and attention during this process ensures a smooth disassembly and prevents accidents.
Taking these steps seriously will make your cleaning process safer and more efficient.
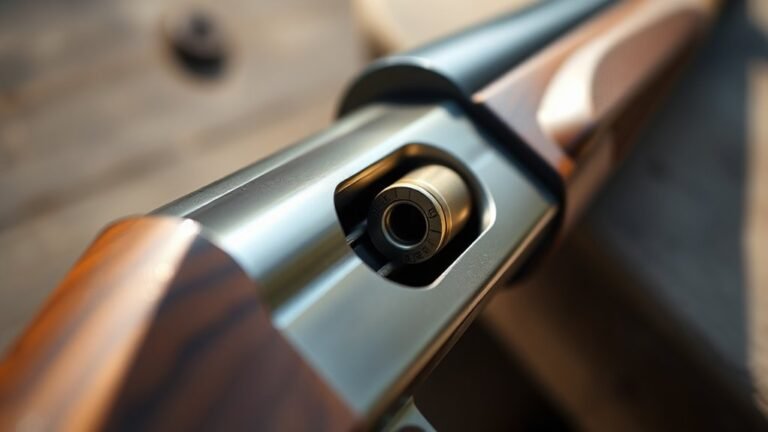
Clean the Barrel Thoroughly
After carefully disassembling your pistol, it’s time to focus on cleaning the barrel thoroughly. Start by running a bore brush soaked in solvent through the barrel in a single direction to loosen fouling and carbon buildup.
Let the solvent sit inside the barrel for 10-15 minutes to dissolve stubborn residues. Then, use clean patches attached to a cleaning rod to wipe the inside of the barrel until the patches come out clean and free of debris.
Finally, insert a bore brush or patch soaked in lubricant to protect the rifling and internal surfaces. Always inspect the barrel for cleanliness and any damage or obstructions before reassembling your firearm.
- Use solvent and a bore brush for initial cleaning
- Let solvent work inside the barrel for 10-15 minutes
- Wipe with clean patches until no debris remains
- Lubricate rifling and inspect barrel carefully
Remove Debris From the Slide and Frame
Because dirt and residue tend to build up in the slide and frame, you’ll want to use a nylon brush or soft toothbrush to scrub these areas thoroughly. Focus on scrubbing the grooves, serrations, and feed ramp where debris often hides.
Dampen cotton swabs or a microfiber cloth with solvent to reach tight spots and loosen stubborn grime. Be cautious using compressed air to blow out dirt from hard-to-reach crevices, but avoid directly targeting springs in this step.
After scrubbing, wipe down the slide and frame with a clean, dry cloth to remove any remaining solvent or loose debris. Taking these careful steps ensures your pistol’s slide and frame stay clean and function smoothly during use.
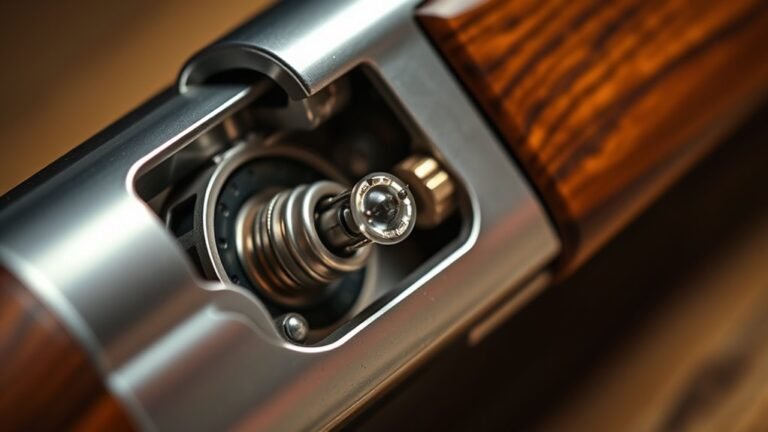
Clean Springs, Small Parts, and Magazines
Start by removing and thoroughly cleaning the springs with a lint-free cloth and a light lubricant to prevent rust and wear.
When it comes to magazines, take them apart carefully and clean each component, especially the feed lips and internal spring housing, using a small brush and solvent.
Always inspect these parts for damage before reassembling to guarantee your pistol functions reliably.
Cleaning Springs Thoroughly
When cleaning your pistol, you’ll want to remove the recoil spring assembly from the slide and separate the spring from its guide. This way, you can clean every part thoroughly. Proper spring cleaning is essential to maintain function and prevent wear.
Use a nylon brush and solvent to scrub the recoil spring, removing dirt and carbon buildup along its length. Then, soak the guide rod and springs in solvent. After soaking, wipe them clean with a lint-free cloth.
Make sure all parts are completely dry before applying a light lubrication. This helps protect against corrosion. When you’re done, reassemble carefully. Be sure each spring and guide rod is clean and properly lubricated for smooth operation.
Thorough cleaning and proper lubrication of all spring parts will keep your pistol reliable and extend its lifespan. It’s a simple step that really makes a difference.
Magazine Maintenance Tips
Although magazines might seem simple, maintaining them properly is crucial for your pistol’s reliability. Regularly remove and disassemble the magazine following the manufacturer’s instructions.
Clean the magazine spring with a dry cloth or soft brush to remove dirt and prevent rust or corrosion. It’s also important to inspect small parts like the follower, base plate, and spring for wear or damage. Replace any compromised components to keep things running smoothly.
Use a lightly lubricated cloth or just a small amount of gun lubricant on the spring to protect it without causing sticking or malfunctions. When you reassemble the magazine, make sure the spring and follower move freely and are properly seated.
Proper magazine maintenance keeps your pistol feeding rounds reliably and extends the life of your firearm’s essential components. It’s a small effort that pays off big time!
Apply Lubricant to Key Components
Since proper lubrication is essential for your pistol’s reliable function, you’ll want to apply a small amount of oil to key components like the slide rails, barrel locking lugs, and recoil spring assembly. During the cleaning process, focus on these areas to maintain smooth operation and enhance firearm performance.
Here’s how to do it:
- Use a cotton swab or lint-free cloth to apply lubricant to the front and rear sections of the slide rails.
- Place a drop of oil on the barrel’s locking lugs and chamber area to ensure smooth firing.
- Lightly coat the recoil spring assembly to reduce wear and maintain tension.
- Spread lubricant along the slide’s internal surfaces and other moving parts to prevent friction and corrosion.
Just remember, avoid over-lubricating, as excess oil attracts dirt and can impair your pistol’s performance. Keep it light and precise!
Reassemble the Pistol Correctly
Start by inserting the barrel and recoil spring into the slide. Make sure each component fits securely.
Then, carefully align the slide with the frame and slide it back into place. Take your time with this step.
Finally, confirm the slide locks firmly. This ensures proper engagement before moving on.
Align Slide and Frame
How do you guarantee your pistol is reassembled correctly? The key is to carefully align the slide and frame during reassembly. Follow these steps to ensure proper alignment and smooth operation:
Match the slide rails with the frame guides to align the slide assembly perfectly. Keep the slide level as you slide it onto the frame to avoid binding or misalignment.
Push the slide fully forward until it locks into place with the slide lock or takedown lever. Then, check that the slide moves smoothly back and forth without resistance, confirming proper alignment.
Insert Barrel and Spring
Where do you begin when reassembling your pistol’s barrel and spring? Start by carefully inserting the barrel into the slide assembly. Make sure to align the locking lugs with the slide’s recesses until it clicks into place.
Next, place the recoil spring assembly into the slide. Ensure the guide rod fits properly into the slide’s grooves. Compress the recoil spring slightly, positioning the guide rod into the designated hole or notch.
Once both barrel and recoil spring are seated securely, check that they move freely during slide operation. Finally, reassemble the slide onto the frame, aligning it correctly to guarantee smooth locking.
Proper alignment and seating of these parts are vital for reliable slide operation and overall firearm function. Taking your time here really pays off.
Verify Slide Lock Engagement
Why is verifying slide lock engagement essential after reassembling your pistol? Ensuring the slide lock works properly confirms correct slide engagement and overall reassembly.
This step prevents malfunctions and guarantees safe operation. To verify slide lock engagement, follow these steps:
- Push the slide fully rearward and check if the slide lock lever engages into the slide stop notch.
- Confirm the slide lock stays engaged when the slide moves forward, indicating proper component alignment.
- Perform a function check by pressing the slide lock lever to ensure it holds the slide open smoothly.
- If the slide lock fails to engage, disassemble and verify all components, like the slide stop and follower, are correctly positioned.
Taking the time to verify slide lock engagement ensures your pistol functions reliably after cleaning and reassembly.
Perform a Function Check
When should you perform a function check on your pistol? You should do it right after reassembling to ensure everything works correctly without live rounds.
Perform a function check immediately after reassembling your pistol to ensure proper operation without live ammunition.
Start by manually cycling the slide operation to confirm it moves freely and locks back properly. Next, dry fire the pistol safely to verify the trigger reset and firing pin release smoothly.
Check all safety features like safeties and decockers, making sure they engage and disengage as intended. Don’t forget to test the controls functionality, including the magazine release and slide lock, confirming they operate properly in their positions.
This function check guarantees your pistol is safe and ready to use, preventing malfunctions during actual operation. So, always take the time to do it!
Wipe Down and Store Your Pistol Safely
Once you’ve confirmed your pistol functions properly after reassembly, the next step is to wipe it down thoroughly. Use a dry microfiber cloth to remove any cleaning residue, dirt, or moisture from the slide, frame, and barrel. This prevents rust and corrosion while keeping your pistol safe for storage.
Before storing, apply a light coat of lubricant to key contact points, then wipe off any excess.
To protect and store your pistol safely:
- Wipe down all surfaces with a microfiber cloth until completely dry.
- Make certain no cleaning residue remains to avoid damage.
- Apply lubricant sparingly and remove excess oil.
- Store your pistol in a clean, dry gun case or holster designed for your firearm type.
Following these steps will keep your pistol protected and ready for use. Easy, right? Just a little care goes a long way!
Conclusion
Cleaning your pistol regularly is essential for safety and performance. Did you know that about 70% of firearm malfunctions are caused by poor maintenance?
By following these 10 easy steps, you’ll keep your pistol reliable and ready when you need it most. Remember, a clean gun isn’t just about appearance—it’s about your safety and confidence every time you handle it.
Make cleaning a routine, and you’ll protect both your firearm and yourself. Keeping your pistol clean ensures smooth operation and helps prevent jams or misfires. Plus, regular cleaning extends the life of your firearm and maintains its value.
So, take the time to clean your pistol properly. It’s a simple habit that boosts your safety, reliability, and overall shooting experience. A well-maintained pistol means peace of mind every time you carry or use it.