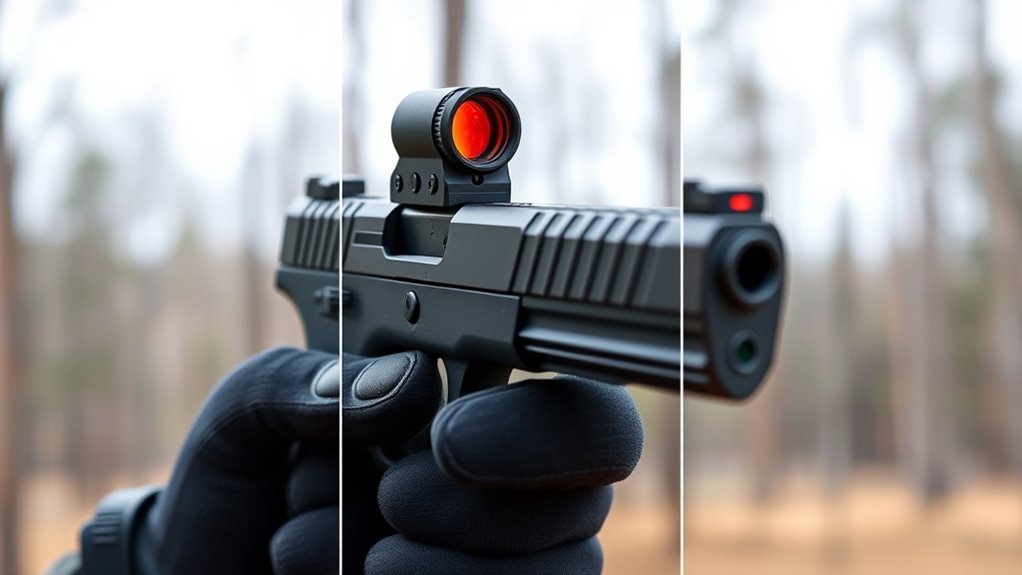
How to Sight in a Red Dot on a Pistol in 3 Easy Steps
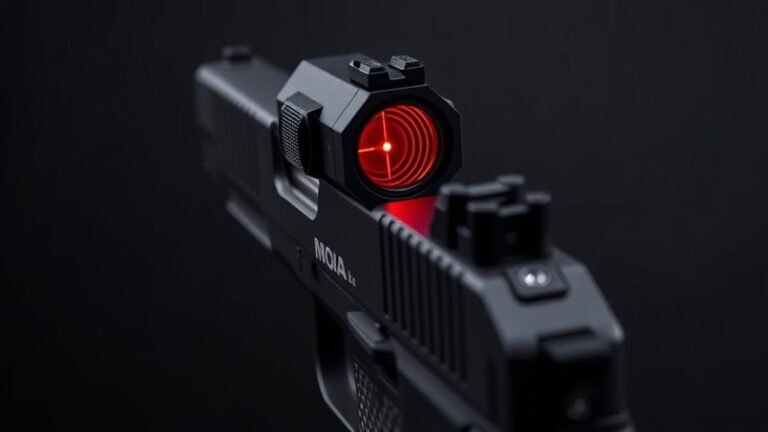
First, mount your red dot securely on the pistol slide and roughly align it using a bore sight tool. This initial step helps get you close to your target without wasting ammo. It’s important to make sure the red dot is firmly attached to avoid any movement while shooting.
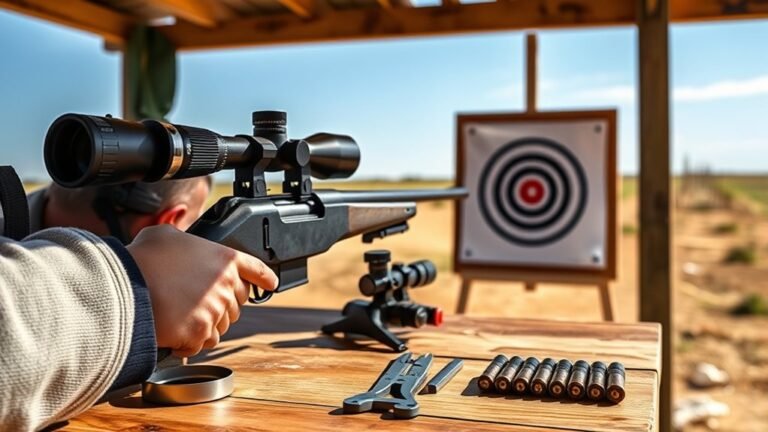
Next, fire groups of three shots at a target from a stable position. Take your time with this part.
Then, adjust windage and elevation turrets in small increments to bring your point of impact to the reticle. Small changes make a big difference, so be patient and precise.
Finally, verify your zero by checking impact alignment at both 10 feet and 25 yards for accuracy and consistency. This ensures your red dot sight is dialed in perfectly for different distances.
Keep following along to master precise adjustments and fine-tuning.
Key Takeaways
- Securely mount the red dot sight on the pistol slide and tighten screws to the recommended torque. Use a bore sight tool to roughly align the red dot reticle with the barrel’s bore.
- Next, fire a three-shot group at a target to observe impact. Adjust windage and elevation turrets accordingly.
- Keep firing and adjusting in small increments until the point of impact matches the point of aim. Finally, verify zero at close range (10 feet) and at 25 yards to confirm consistent and accurate sight alignment.
Mount and Bore Sight Your Red Dot on the Pistol
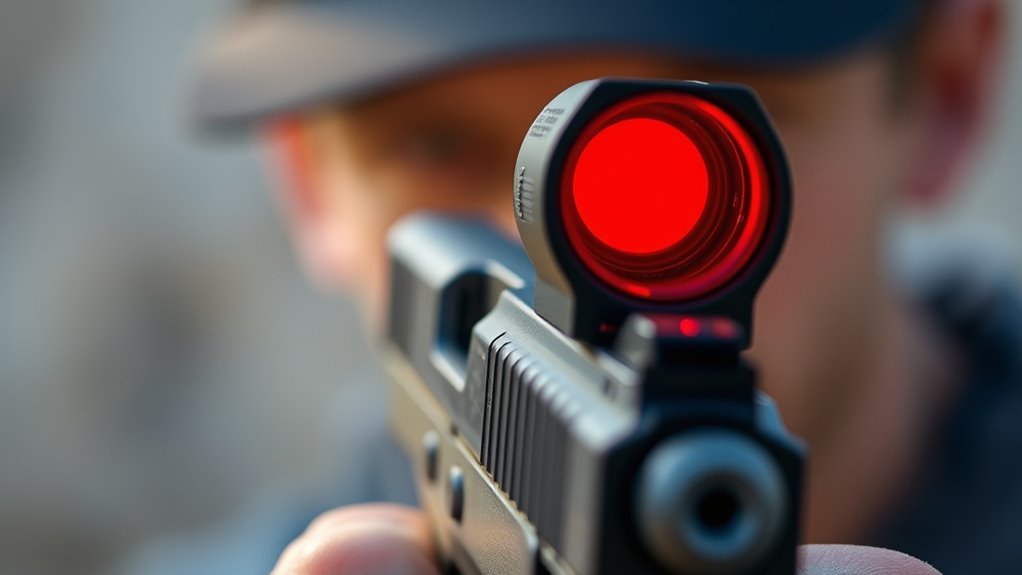
Before you start live firing, securely mount your red dot sight onto the pistol’s slide using the manufacturer’s screws. Make sure to tighten them to the recommended torque.
Next, grab a bore sight tool and place it in the barrel to align the red dot sight’s reticle with the bore’s line of sight. Adjust the elevation and windage controls to roughly center the reticle, so it matches up with the bore.
Take a look through the sight to confirm everything is lined up properly. Don’t hesitate to make small fine-tuning adjustments as needed.
Once you’re happy with the alignment, remove the bore sight and get ready for live fire zeroing. Keep your pistol stable and consistently aimed at the target while you check and refine your zero. This way, you’ll ensure accurate shooting during your live fire sessions.
Fire Groups and Adjust Your Red Dot Sight
Once you’ve mounted and bore sighted your red dot, fire a three-shot group at your chosen distance to see where your shots are landing. This initial grouping reveals the current impact point relative to your point of aim.
After mounting and bore sighting, fire a three-shot group to identify your shots’ impact point.
Measure how far the group is off-center, then adjust the windage and elevation turrets on your red dot sight in small increments—usually 1/4 MOA—to move the impact closer to the target center.
After adjusting, refire another group to check if the correct impact aligns with your point of aim. Repeat this process, firing groups and making fine adjustments until your red dot sight is zeroed.
Consistent grouping at the center confirms your sight is properly adjusted and ready for accurate shooting. It’s a simple step that makes all the difference when you’re out on the range.
Verify Your Zero at 10 Feet and 25 Yards
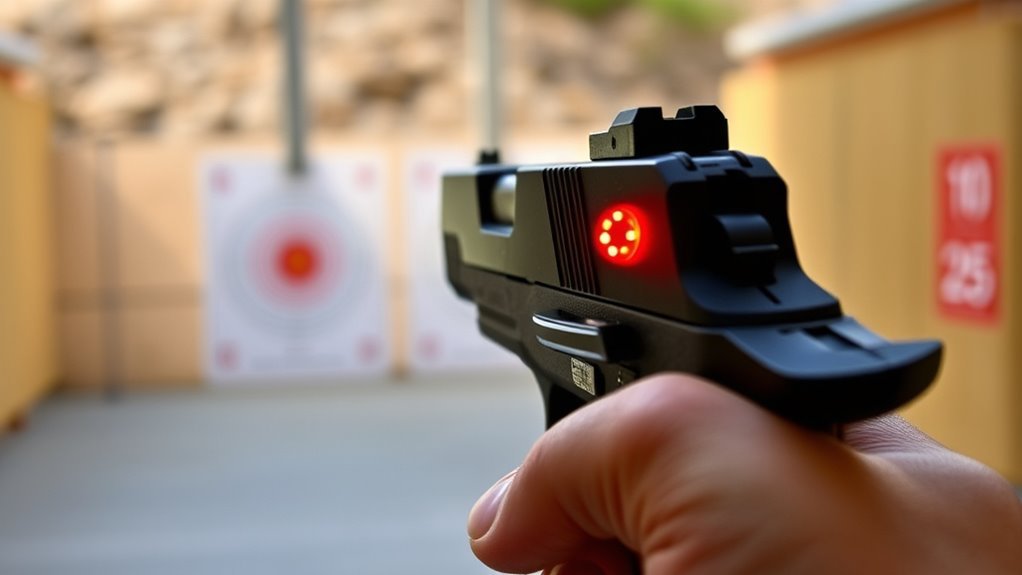
Even if your red dot sight looks perfectly aligned, you’ll want to verify its zero at close range by shooting a group at 10 feet. Use a stable rest to minimize human error during this initial check. This quick grouping helps confirm your red dot is roughly aligned with your point of aim.
Next, move back to 25 yards and fire another group to fine-tune your zero for practical distances. Measure the impact points at both 10 feet and 25 yards, then make small windage and elevation adjustments as needed.
After adjusting, recheck your zero at 25 yards to ensure consistent accuracy. Confirming your zero at these distances guarantees your red dot sight performs reliably before you engage targets at longer ranges.
Frequently Asked Questions
How Often Should I Re-Zero My Red Dot Sight?
You should re-zero your red dot sight whenever you change ammo types, notice a drop or shift in accuracy, or after significant impacts or adjustments. Regular checks keep your shot precise and reliable every time you shoot.
Can I Use Any Ammunition Type When Sighting In?
Of course, you can use any ammo—if you enjoy wildly inaccurate shots and confused targets. But seriously, stick to the ammo you plan to shoot regularly; it guarantees your sighting is precise and reliable when it counts.
What Tools Do I Need to Adjust the Red Dot Sight?
You’ll need a small screwdriver or the tool that comes with your red dot sight to adjust windage and elevation. A stable rest or shooting bench helps keep your pistol steady while making precise adjustments.
How Do Weather Conditions Affect Red Dot Accuracy?
Weather conditions like rain, fog, or bright sunlight can distort your red dot’s visibility and accuracy. You’ll need to adjust brightness or clean the lens to maintain a clear, precise aiming point in changing environments.
Is It Necessary to Wear Eye Protection During Zeroing?
Yes, you should always wear eye protection during zeroing. It keeps your eyes safe from debris, hot brass, and unexpected malfunctions. Don’t skip it—you’ll protect your vision and stay focused on getting accurate shots.
Conclusion
Now that you’ve zeroed in your red dot, your pistol and sight work together like a well-tuned orchestra. Each shot will sing with precision, turning your aim into a confident dance of accuracy.
Remember, practice sharpens this harmony, so keep your sights true and your skills steady. With these steps, you’re not just shooting—you’re commanding your target with the steady flame of focus and control.
Your mark awaits; make every shot count. Sight in your red dot carefully, and you’ll enjoy improved accuracy and faster target acquisition. Keep practicing, and your pistol will feel like an extension of your hand, ready to perform when it matters most.