How to Sight a Pistol in 7 Easy Steps
To sight your pistol in 7 easy steps, start by picking a clear target at your desired distance. This is key to getting an accurate zero and improving your shooting skills.
Fire initial groups to see where your shots land, then analyze the patterns to confirm your zero.
Next, adjust your sights to align the point of impact with your aim. This step is crucial for precision, so take your time.
Confirm your zero with follow-up shots to make sure your adjustments are spot on.
After that, fine-tune elevation and windage for even better accuracy.
Remember, regular checks are important to maintain your pistol’s accuracy over time.
Keep practicing, and you’ll uncover tips for long-term precision and care.
Key Takeaways
- Choose a stable target with a clear aiming point at your desired distance (10 or 25 yards). Make sure the lighting is good so you can see everything clearly.
- Fire initial groups from a steady stance. Mark the main cluster and ignore any outliers to get an accurate idea of your shots.
- Adjust your sights based on how the shot group deviates from your point of aim. Then, fire again to check if the changes worked.
- Confirm your zero by firing follow-up groups. Make fine windage and elevation tweaks as needed to get it just right.
- Regularly check and maintain your sights. Also, re-zero when you switch ammunition or if the environment changes to keep your accuracy consistent.
Pick Your Target and Distance for Zeroing
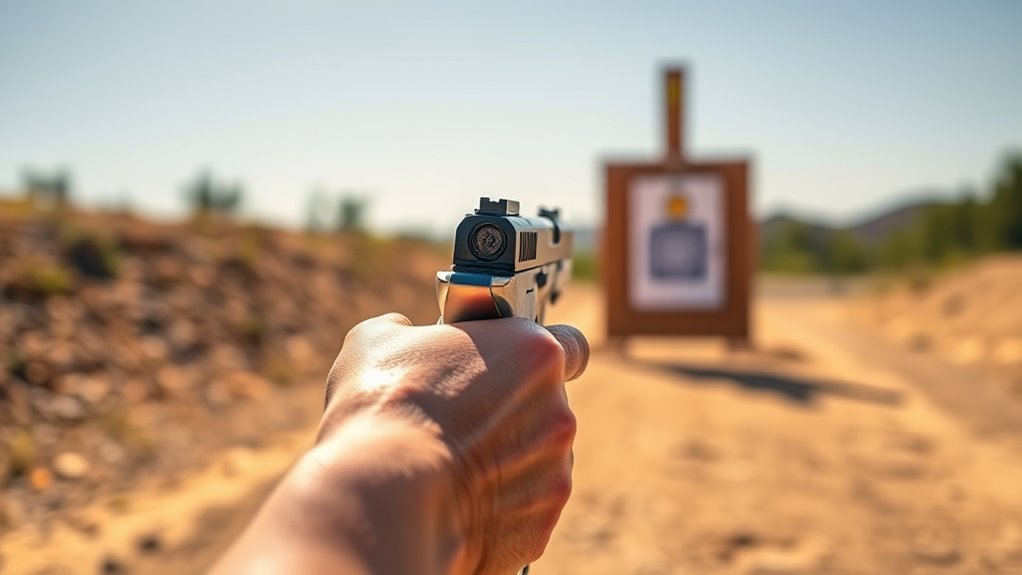
Before you begin zeroing your pistol, pick a target at the distance that matches your shooting goals—commonly 10 or 25 yards. Choosing the right target and distances is vital for accuracy during shooting.
Select a target with a clear aiming point, like a dot or crosshair, and mark it precisely to guarantee consistent shot placement. Position your target on a stable, level surface to avoid errors while aiming.
Pay attention to lighting conditions so your aiming point stays visible throughout your session. Whether you’re preparing for concealed carry, target practice, or competition, matching your zeroing distance to your purpose improves your shot accuracy.
Fire Initial Groups to Zero Your Pistol
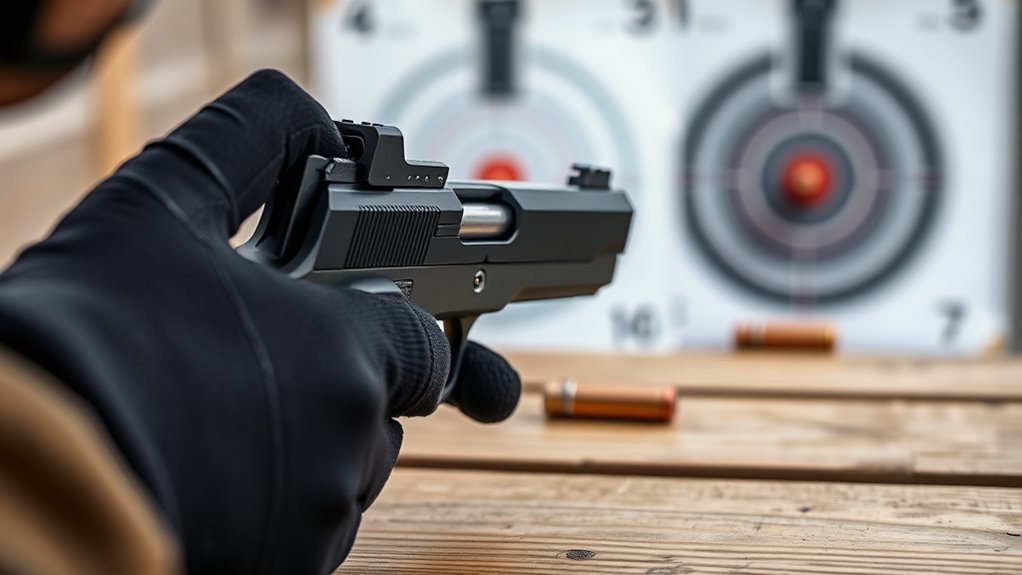
Fire a five-shot group from a steady stance to see where your pistol naturally hits. Pay close attention to the cluster’s position compared to your aim point.
This initial pattern shows exactly how you need to adjust your sights to zero in accurately. It’s all about spotting those small differences and making the right tweaks.
Initial Shot Grouping
Once you’ve settled into a stable shooting position, you’ll want to shoot a five-shot group aimed at the target’s center to evaluate where your pistol’s rounds are hitting.
This initial shot grouping helps you see if your shots land high, low, left, or right of the bullseye. Mark the main cluster with a marker and ignore any outliers that stray too far.
This way, you can focus on consistent impacts and make precise sight adjustments to zero your pistol.
| Shot Location | Action |
|---|---|
| Centered | Maintain current sights |
| High or Low | Adjust sights vertically |
| Left or Right | Adjust sights horizontally |
Use this initial shot grouping as your baseline for fine-tuning.
Assessing Point Of Impact
To zero your pistol accurately, you’ll want to start by shooting an initial five-shot group at the target’s center from a steady position. Next, assess the point of impact by analyzing where the bullets hit relative to your point of aim.
Focus on the main cluster of shots, ignoring any outliers that stray far from the group. Determine whether your impacts are low, high, left, or right of the intended target.
Use this information to adjust your sights or red dot accordingly, shifting them in the opposite direction of the point of impact. Then, repeat this process—firing groups and making adjustments—until your shot impacts consistently match your intended point of aim.
This way, you’ll ensure your pistol is accurately zeroed for reliable shooting.
Analyze Shot Patterns to Confirm Zero
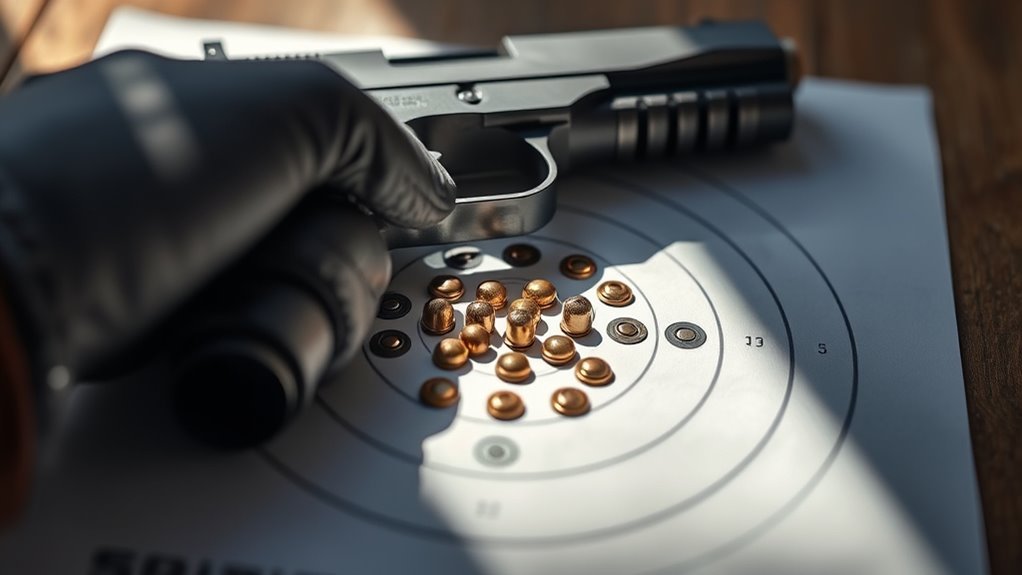
Now that you’ve fired your groups, it’s time to identify where your shots are landing. Focus on spotting tight groupings and set aside any outliers that might skew your results.
Confirming the point of impact helps you decide if your sights are truly zeroed. It’s all about making sure your shots are going exactly where you want them to.
Identifying Shot Groupings
Although sighting your pistol carefully is essential, analyzing your shot groupings plays a crucial role in confirming that your sights are properly zeroed. When you examine shot groupings, focus on the pattern and consistency of your shots on the target.
Tight, well-centered groups indicate your sights are aligned correctly, while widely spread or off-center groups suggest you need adjustments. Pay close attention to the shape and spread of the main cluster to decide whether to tweak windage or elevation.
Ignore outliers when evaluating the group to avoid skewed results. Consistent placement in a small area confirms your pistol’s point of impact matches your sights, helping you achieve precise zeroing and improve your shooting accuracy.
Recognizing Outlier Shots
Examining your shot groupings closely will reveal patterns that help you spot outlier shots—those that stray far from the main cluster. Ignoring these outliers is vital because they can skew your zeroing results.
By analyzing whether an outlier stems from shooter error, equipment issues, or environmental factors, you guarantee more accurate adjustments. You’ll want to repeatedly shoot and observe patterns to base your zero on consistent shot placement.
| Factor | Impact on Outlier Identification |
|---|---|
| Shooter Error | Usually inconsistent, random shots |
| Equipment Issue | Consistent deviation in same area |
| Environmental | Wind or lighting causing drift |
| Outlier Impact | Skews zero if not excluded |
Recognizing and excluding outliers refines your sighting process effectively. It’s all about making sure your zero is as precise as possible.
Confirming Point Of Impact
Once you’ve identified and excluded outliers, analyze your shot pattern to confirm whether your point of impact matches your point of aim. Focus on the main cluster of shots and use its center to determine if your shots consistently group around the target’s center.
Verifying point of impact means checking if this group intersects with your reference point or target mark. If the group is off—left, right, high, or low—you’ll need to adjust your sights accordingly.
This process helps you verify your zero and make sure your pistol is accurately sighted. By carefully analyzing your shot pattern and confirming point of impact, you build confidence that your pistol’s sights align with where your bullets actually hit.
Adjust Your Sights to Zero Your Pistol
When you’re ready to zero your pistol, start by placing a target at your chosen distance, like 10 or 25 yards, so you can clearly see where your shots land. Fire a group of five shots and note the bullet impacts relative to your aiming point.
Use sight adjustment to correct windage by moving the rear sight left or right until your group shifts horizontally to the point of aim. To correct elevation, either raise or lower the front sight or adjust the rear sight’s elevation.
Make small, precise adjustments, then shoot another group to check changes. Repeat this process until your point of impact matches your point of aim consistently.
Take your time with sight adjustment—it guarantees your pistol will be accurately zeroed for reliable shooting.
Confirm Zero With Follow-Up Shooting Groups
Although you’ve zeroed your pistol, you need to confirm that your adjustments hold by shooting a follow-up group of five rounds at the same target. This follow-up shooting group helps you verify consistency and guarantees your point of impact matches the intended zero.
Use a fresh target or a clearly marked spot to see if the group stays aligned with your sights. Compare this follow-up group to your initial zero group carefully. If you notice any deviation, make small adjustments to windage or elevation and repeat the follow-up shooting.
Consistent follow-up groups prove that your zero is stable and reliable, giving you confidence in your pistol’s accuracy at your chosen distance. This step is essential before moving forward with fine-tuning your sights.
Fine-Tune Elevation and Windage Settings
Confirming your zero with follow-up groups guarantees your adjustments are reliable, but achieving pinpoint accuracy often requires fine-tuning both elevation and windage settings.
Start by firing a group at your zeroing distance and observe where the bullets land relative to your sights. If shots fall left, turn the windage adjustment screw to shift the point of impact right; if shots land right, turn it left. Make these changes in small, precise clicks to avoid overcorrecting.
Next, adjust elevation by raising or lowering the sight so your shots hit at or just above the point of aim. Always confirm your changes by firing more groups, ensuring the impact consistently matches your aiming point.
This careful process sharpens your pistol’s accuracy for reliable shooting.
Maintain Your Pistol Zero With Regular Checks
To keep your pistol performing accurately, you need to regularly check its zero by shooting groups at your chosen distance. Environmental factors like temperature and humidity can shift shot placement, so periodic re-zeroing is vital for consistent accuracy.
When you switch ammunition brands or loads, expect to make sighting adjustments to maintain precision. Pay close attention to any deviations in shot grouping or impact points over time, and inspect your sights for wear or misalignment.
Performing regular maintenance and making timely adjustments will guarantee your pistol stays true to your zero. Keep a shooting log to track these zero checks and adjustments, helping you maintain reliable sighting and accuracy for every session.
This proactive approach preserves your pistol’s performance and shooting confidence. It’s all about staying on top of things so your shots stay spot on every time.
Frequently Asked Questions
What Is the Best Way to Sight in a Pistol?
The best way to sight in your pistol is to start close, shoot consistent groups, then adjust sights slowly using windage and elevation. Keep practicing regularly to maintain accuracy and confidence in different conditions.
What Distance Should I Sight in a Pistol?
Think of zeroing distance as your pistol’s sweet spot. You should sight in at 10 to 25 yards for balanced accuracy, or 7 yards if you want quick, reliable hits for self-defense situations.
What Are the 7 Fundamentals of Gun Safety?
You should always treat every firearm as loaded, keep your finger off the trigger until ready, never point it at anything unintended, be sure of your target and surroundings, maintain safe muzzle discipline, store guns securely, and respect firearm rules.
What Is the 3-3-3 Rule in Self-Defense?
The 3-3-3 rule means you take three steps back, draw your weapon, and fire three shots within three yards. It trains you to react quickly and accurately in close-range self-defense situations under pressure.
Conclusion
Now that you’ve followed these steps, you might wonder if perfect zeroing is even possible. The truth is, while no sighting is flawless, consistent practice and careful adjustments bring you incredibly close.
Each shot you take teaches you more about your pistol and your technique. So don’t stress about perfection—embrace the process. With patience and regular checks, your sights will stay true.
This means your pistol will be sighted accurately, helping you hit your target every time you pull the trigger. Remember, sighting a pistol is all about practice, patience, and making small corrections along the way. Keep at it, and you’ll see your confidence and accuracy improve with every session!