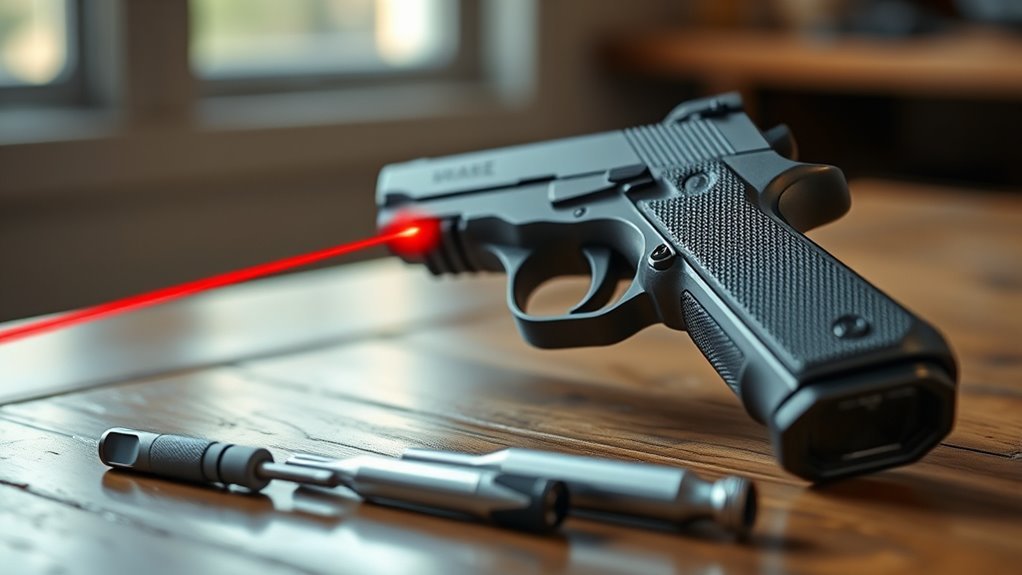
How to Zero a Laser on a Pistol in 7 Simple Steps
To zero a laser on your pistol, start by choosing a distance between 7 and 12 feet for the best alignment. This range helps you get the laser dot as close to your point of impact as possible.
Securing your pistol firmly on a stable platform is key to making precise adjustments.
Next, adjust the laser dot so it sits just above the front sight. Make small vertical and horizontal tweaks carefully.
Test your shots at this range to verify your accuracy and ensure the laser lines up perfectly.
Once you’ve got a good zero, confirm it at multiple distances to check for consistency.
Don’t forget to practice drawing your pistol to build quick targeting skills.
Stick with this guide, and you’ll sharpen your precision even further.
Key Takeaways
- Secure the unloaded pistol on a stable platform at 7–12 feet to start zeroing the laser sight accurately. This gives you a consistent baseline to work from.
- Adjust the laser dot to align just above the front sight. Doing this helps with quick and natural target acquisition when you’re aiming.
- Fire test shots at the zeroing distance. Make small adjustments to the vertical and horizontal settings as needed until the laser is spot on.
- Confirm zero by testing the laser impact at multiple ranges, like 10, 25, and 50 yards. This ensures your laser is consistent across different distances.
- Regularly recheck and maintain laser zero after handling, bumps, or ammunition changes. It’s a good habit to keep your performance reliable every time you shoot.
Pick the Best Distance to Zero Your Laser (7–12 Feet)
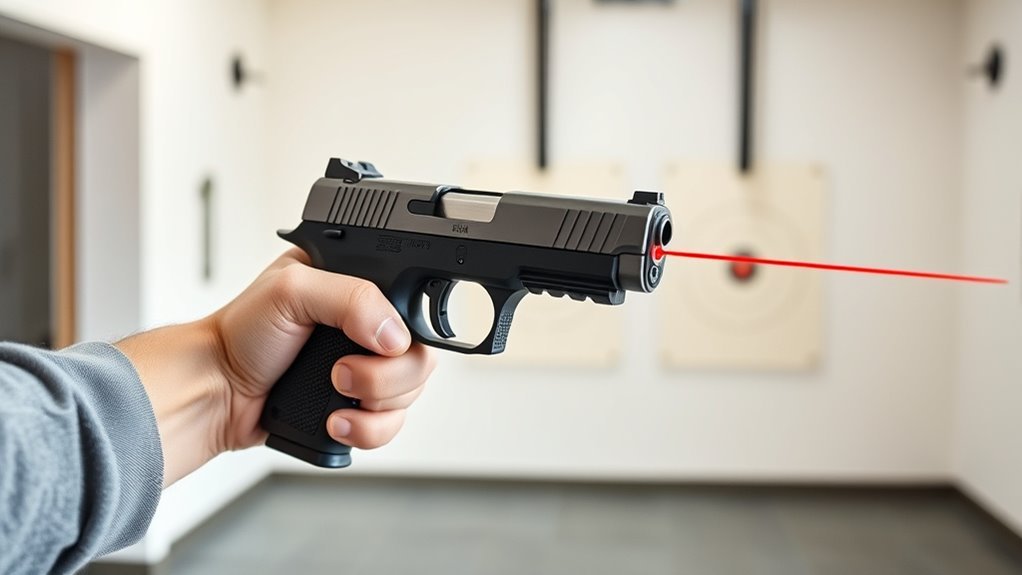
When you zero your laser at 7 to 12 feet, you guarantee the laser dot closely matches your bullet’s point of impact within typical self-defense distances. This zeroing method ensures your laser sight aligns within 1 to 2 inches of the bullet’s point of impact, allowing quick and confident target acquisition.
Since most defensive encounters happen indoors or at close range, zeroing at this distance makes your laser sight more reliable where it matters most. Beyond 12 feet, the laser dot may start to climb above the bullet’s trajectory, reducing accuracy for longer shots.
Sticking to the 7–12-foot zeroing method simplifies adjustments and provides dependable performance during real-world self-defense scenarios. It’s the best choice for your laser sight setup.
Secure Your Pistol for Accurate Laser Adjustment
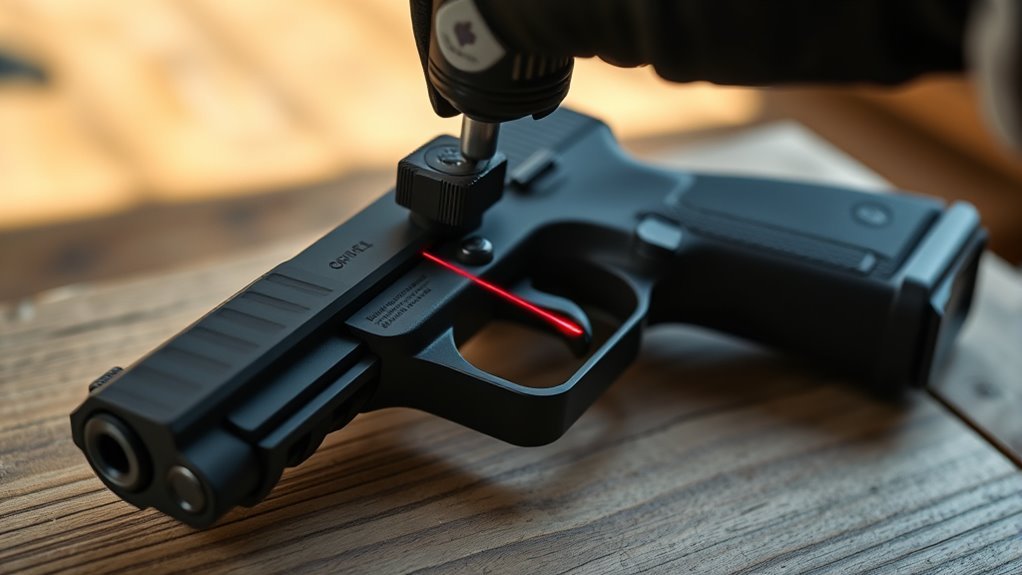
To adjust your laser sight accurately, you must secure your pistol firmly before starting. First, verify your pistol is unloaded and the chamber is clear for safety.
Next, mount your pistol securely in a vise or on a stable platform to prevent movement during adjustment. Position it at your chosen zeroing distance, usually 7-10 yards, on a steady surface or shooting rest.
Mount your pistol securely on a stable platform at 7-10 yards to ensure precise laser adjustments.
Consistency is key, so keep the pistol’s height and angle the same with each adjustment. Use the proper tools, like a small screwdriver or adjustment key, to make precise turns on the laser’s adjustment screws.
Securing your pistol this way ensures every adjustment is accurate and repeatable. This helps you achieve a reliable laser zero quickly and safely.
Align the Laser Dot Just Above Your Front Sight
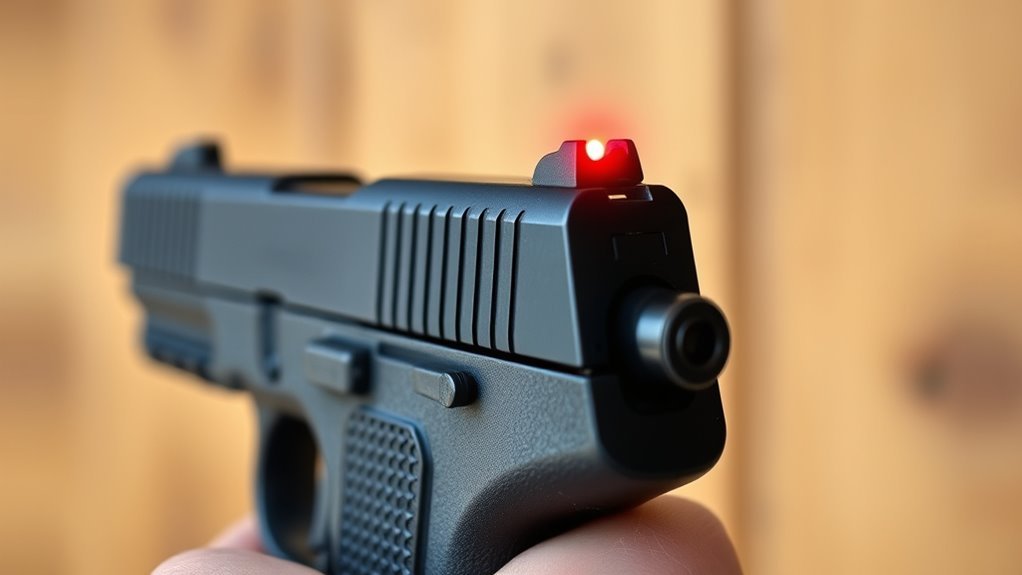
You’ll want to adjust the laser dot so it sits just above your front sight at your zero distance, usually around 10 yards. This placement helps you align shots quickly and naturally during presentation.
Plus, having the laser visible right above the front sight guarantees you can aim instantly when drawing your pistol. It just makes the whole process smoother and faster.
Optimal Laser Dot Placement
How exactly should you position the laser dot for the most accurate alignment? Place the laser dot just above your front sight when your pistol is properly aimed at the target.
Adjust the laser’s vertical screw until the dot holds a consistent, slight offset above the front sight at your chosen zeroing distance, typically 7 to 10 yards. Make certain the laser dot is centered horizontally relative to the front sight to maintain precise windage alignment.
This placement ensures a clear sight picture and quick target acquisition. Regularly check and fine-tune the laser dot’s position during practice to keep it consistently aligned just above the front sight.
This careful, repeatable placement helps you rely on both the laser and iron sights for efficient aiming. It’s all about keeping things consistent so you can quickly get on target every time.
Front Sight Alignment Benefits
When you zero the laser just above your front sight, you gain faster and more natural target acquisition during your draw and presentation.
This front sight alignment guarantees the laser dot stays consistently above the front sight at typical self-defense distances (7-10 yards). It keeps your stance and grip standard, making transitions between traditional sights and laser sights seamless and intuitive.
| Benefit | Explanation |
|---|---|
| Quick Target Acquisition | Laser dot aligns naturally with the front sight |
| Consistent Aim | Reliable point at common self-defense ranges |
| Seamless Transition | Maintains normal shooting stance and grip |
| Intuitive Aiming | Complements traditional sighting methods |
| Visible Laser Dot | Always in view during draw and presentation |
Aligning laser sights this way gives you a dependable, efficient aiming system. It just makes sense for quick and accurate shooting.
Visibility During Presentation
Aligning the laser dot just above your front sight doesn’t just improve aim—it keeps the laser visible during your draw and presentation. When you extend your pistol, this position guarantees you’ll consistently see the laser. That way, you can quickly acquire your target without shifting your grip or stance.
You’ll effortlessly switch between using traditional sights and the laser on the target.
To maximize visibility during presentation, make certain to:
- Zero the laser so it appears just above the front sight
- Keep the laser dot visible at the draw
- Avoid unnecessary head or eye movement to see the laser
- Maintain situational awareness while engaging targets rapidly
- Guarantee seamless switching between laser and iron sights
This setup helps you see the laser clearly and engage the target faster. It’s all about making your shot smoother and quicker.
Adjust Vertical and Horizontal Settings for Precision
Since precise aiming depends on your laser dot matching your point of aim, you’ll need to adjust both the vertical and horizontal settings carefully. Start with the vertical adjustment to align the laser dot up or down at your chosen zero distance, typically 7-10 yards.
Next, use the horizontal setting to center the dot left or right directly over your target from your shooting stance. Make small, incremental turns to the adjustment screws, keeping the pistol steady for accuracy.
This process guarantees your sights are properly aligned and your laser zeroing is effective. Zeroing a laser at a standard distance like 12 feet matches common self-defense ranges, helping you maintain precision when aiming your pistol.
Test Fire and Fine-Tune Your Laser Zeroing
Now that you’ve made initial adjustments, test fire your pistol at a set distance to confirm where the laser hits compared to your point of aim.
Pay close attention to the laser’s vertical and horizontal alignment. Make small tweaks to match the target precisely.
Keep firing and adjusting until the laser consistently aligns with your intended impact point. It might take a few tries, but you’ll get there!
Confirm Laser Impact
How do you know your laser is truly zeroed? To confirm laser impact, you need to test fire at your intended zero distance and see if the laser dot aligns with your point of impact. Use a stable shooting position and aim carefully to evaluate accuracy.
If needed, modify the windage and elevation screws to fine-tune zeroing. Keep track of your zeroing distance and changes for future reference. Repeat test shots to ensure consistent alignment.
- Test fire at your chosen zero distance
- Maintain a stable, consistent shooting stance
- Observe where the laser dot hits relative to your target
- Adjust windage and elevation screws as necessary
- Record adjustments and confirm consistent laser impact with repeat shots
Adjust For Distance
When you test fire your pistol at your chosen zero distance, pay close attention to where the laser dot lands compared to your target or sights. If the dot doesn’t align perfectly with your point of aim, you’ll need to adjust for distance by turning the laser’s adjustment screws in small increments—usually a quarter to half turn.
Keep your pistol steady as you make these changes. After each adjustment, fire additional shots to verify the laser zero and guarantee the dot consistently hits your intended point.
Once you achieve a reliable zero at your primary distance, test the laser at longer ranges like 15 or 25 yards. This helps you understand how the laser impact shifts with distance, allowing you to fine-tune your zero for greater accuracy across varying ranges.
Refine Horizontal Alignment
After adjusting your laser for distance and confirming its vertical alignment, focus on fine-tuning the horizontal placement. To refine your laser’s horizontal offset, conduct a test fire at your zeroing distance and observe where the shots land compared to the laser dot.
Use a stable rest or vise to keep your pistol steady, then adjust the laser’s windage screw incrementally. Fine-tune by firing multiple shots after each adjustment to ensure consistent alignment.
Keep track of the clicks or degrees you’ve turned to center the laser dot perfectly. Always verify the laser’s horizontal zero throughout your shooting to maintain accuracy during dynamic use.
- Test fire to observe horizontal offset
- Use a rest for steady aiming
- Adjust windage screw incrementally
- Record adjustments precisely
- Confirm alignment with multiple shots
Confirm Laser Zero at Multiple Distances
Although you may zero your laser at a specific distance like 10 or 12 yards, you should always confirm its accuracy at multiple ranges such as 25 and 50 yards. This step helps you understand how the laser zero holds up over different distances and reveals any point of aim (POA) and point of impact (POI) shifts.
Use a stable platform to aim the laser at a target, then fire a few rounds at each range to verify consistency. Mark your impacts and adjust the laser zero if needed to match your typical engagement distances.
Don’t forget to regularly confirm zero, especially after changing ammunition or if the laser has been bumped during handling. It’s a simple step that ensures reliable performance every time.
Practice Drawing and Shooting to Build Confidence
To build confidence with your laser-equipped pistol, you should regularly practice drawing with the laser activated. This helps you quickly acquire the laser dot during rapid presentations.
Doing this makes drawing to your sights feel instinctive and improves your aiming when you’re under pressure.
To enhance your skills, focus on drills that simulate real-world scenarios. Also, practice drawing from various positions and distances.
Tracking your progress will show improvements and highlight areas where you need more work.
Here’s how to effectively practice drawing and shooting:
- Practice drawing your pistol with the laser on to build muscle memory
- Focus on quickly acquiring the laser dot during draws
- Incorporate shooting drills mimicking real-life situations
- Draw to your sights from different stances and distances
- Record shot accuracy and draw speed to track progress and confidence
Frequently Asked Questions
How Far Should You Zero a Pistol Laser?
You should zero your pistol laser at about 10 to 15 yards. This range balances accuracy for typical self-defense distances, helping you quickly acquire targets without significant point-of-impact deviations at close or intermediate ranges.
What to Zero a Pistol At?
Zero your pistol laser at about 7-10 yards—that’s your sweet spot. It’s like tuning a guitar; get it right there, and your laser sings true when you need quick, precise shots.
How to Properly Zero a Red Dot Sight on a Pistol?
You’ll mount the red dot securely, shoot at your zeroing distance, then adjust windage and elevation based on where shots land. Keep making small tweaks and firing until your red dot matches your point of aim precisely.
What Distance to Zero Red Dot on 9mm?
Zero your red dot on a 9mm at about 10 yards, like tuning a guitar string just right. This distance balances quick target acquisition and accuracy, ensuring your shots hit where you aim in most self-defense scenarios.
Conclusion
Zeroing your laser is like tuning a musical instrument before a performance. Just as a violinist tightens strings for perfect pitch, you adjust your laser to hit the mark every time.
With patience and precision, you transform your pistol into a reliable extension of your focus. Keep practicing, and soon your shots will sing with confidence.
Hitting the target consistently feels like playing a well-loved melody—smooth and sure. Zeroing your laser on a pistol takes time, but it’s worth every moment.
By following simple steps and staying patient, you ensure your laser is perfectly aligned. This makes your pistol more accurate and reliable in any situation.
So, keep at it, and you’ll turn your pistol and laser into a seamless team that hits the target every time. Zeroing your laser on a pistol is all about focus, practice, and precision—and that’s what leads to success.