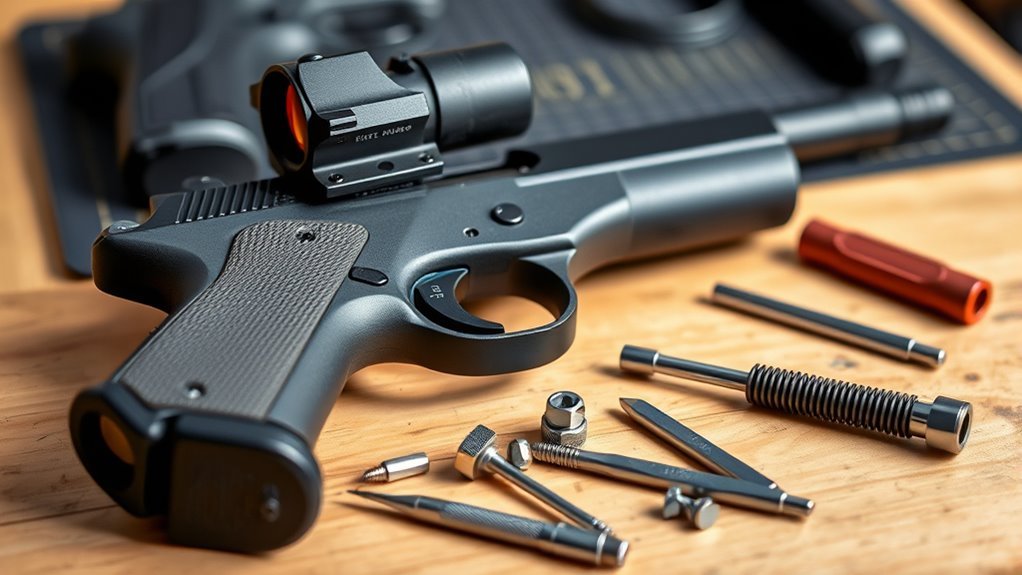
How to Zero Red Dot on Pistol in 7 Easy Steps
To zero your pistol’s red dot, start by choosing a stable target at 10 or 25 yards. Make sure to mark a precise aiming point on that target so you have a clear spot to focus on. This initial step is crucial for getting accurate results.
Next, fire a consistent group of shots at your marked point. Take your time and keep your grip steady. After firing, carefully analyze where the shots landed in relation to your red dot.
Now, it’s time to adjust your sight. Make small corrections opposite to where your shots grouped. For example, if your shots hit low and left, adjust the sight up and right.
Then, fire follow-up groups to see if your adjustments brought you closer to the bullseye.
Keep testing and tweaking until your shots consistently hit your mark. This process might take a few rounds, but mastering it guarantees confident shooting. Stick with it, and you’ll refine your technique in no time!
Key Takeaways
- Choose a stable target at your preferred zeroing distance, typically 10 or 25 yards, and mark a clear aiming point.
- Fire a consistent group of five shots, marking each impact to analyze the shot pattern and point of impact.
- Adjust the red dot sight in small increments opposite the shot deviation until the group centers on the aiming point.
- Verify zero by firing follow-up groups, ensuring shots consistently hit the target without further adjustments.
- Record sight settings and zero distance, maintain consistent shooting conditions, and re-zero periodically to ensure accuracy.
That’s pretty much it! Just take your time, and you’ll have your red dot zeroed in no time.
Choose and Mark a Target for Initial Zeroing
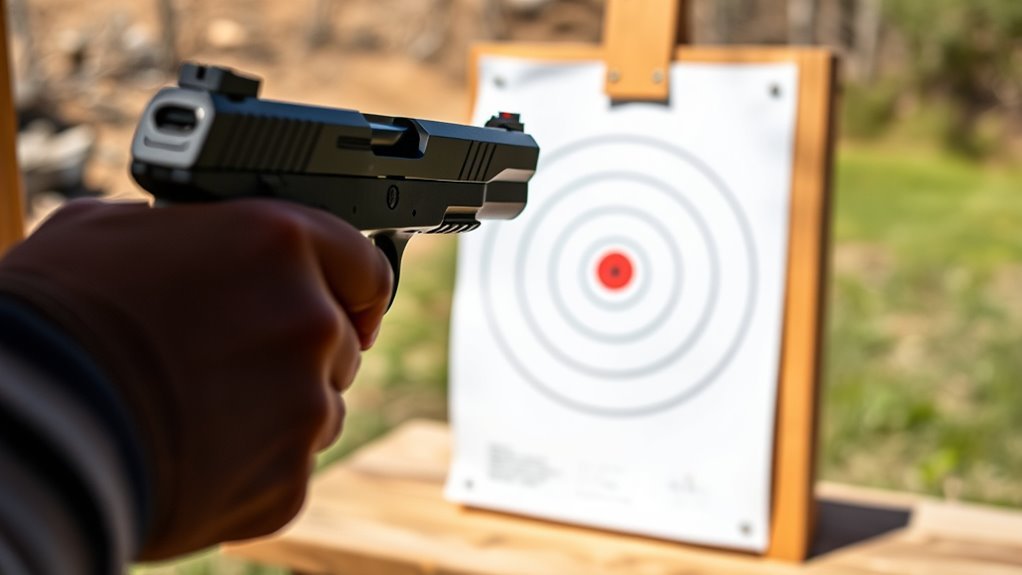
Before you begin zeroing your red dot sight, choose a target at your preferred distance—typically 10 yards—to guarantee consistent results. Pick a target that’s stable and positioned so it won’t move during shooting.
Use a Sharpie to mark a specific point on the target where you want your shots to hit. Then, walk downrange to check that the mark is clearly visible and correctly placed as your reference.
Once you start shooting, mark the initial shot placement on the target to compare it with your original mark. This comparison helps you make the necessary adjustments while zeroing.
Pick the Right Distance to Zero Your Sight (10 or 25 Yards)
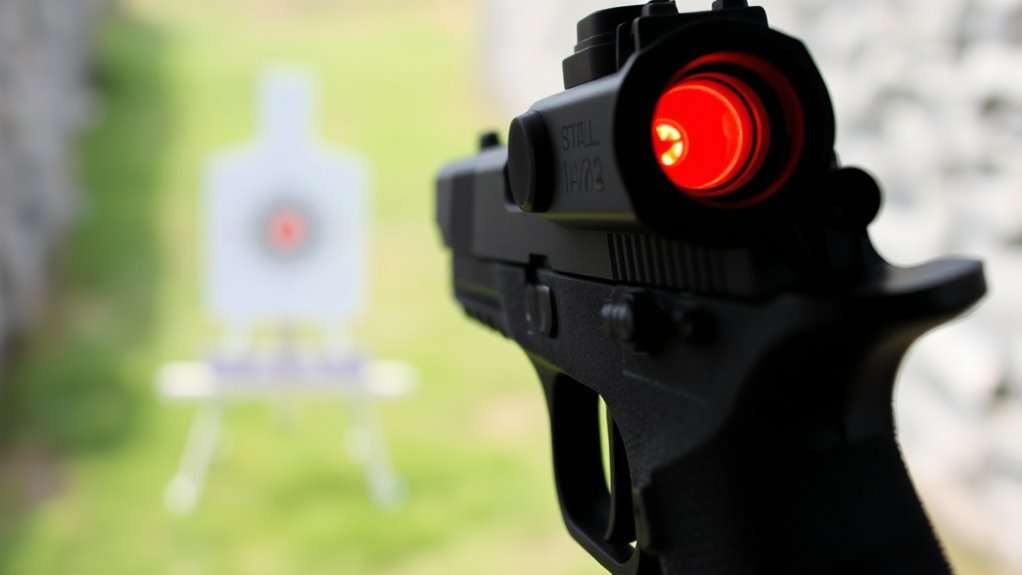
You’ll want to pick a zeroing distance that matches how you plan to use your pistol—10 yards works great for close-range quick shots, while 25 yards helps with longer-range precision.
Each distance affects your accuracy differently, so choosing the right one is key. Let’s explore how these common zeroing distances impact your shot placement.
Common Zeroing Distances
When choosing the right distance to zero your pistol’s red dot, consider whether you need quick close-range accuracy or precise longer-range shots. The most common zeroing distances are 10 and 25 yards.
Zeroing at 10 yards is ideal if you prioritize close-quarters situations like home defense. It gives you a reliable baseline for fast target acquisition.
On the other hand, zeroing at 25 yards enhances accuracy for longer-range engagements. This is perfect for target shooting or competitions.
Your choice should match your typical shooting scenarios and personal preferences. Keep in mind, adjustments made at one zeroing distance might require re-zeroing if you switch to another.
Understanding these common zeroing distances helps you optimize your pistol red dot for the accuracy you need in the field.
Distance Impact On Accuracy
How does the distance you choose to zero your red dot affect your shooting accuracy? The zeroing distance you pick directly influences your point of impact and how well your shots align with your point of aim.
If you zero your sight at 10 yards, your point of impact stays close to where you aim, which is perfect for quick, close-quarters shooting. On the other hand, zeroing at 25 yards accounts for the bullet trajectory’s natural curve, giving you better precision for longer-range targets.
Keep in mind, the farther your zeroing distance, the more your point of impact will shift at closer or farther ranges due to bullet drop. So, decide based on your typical shooting scenario—10 yards for close defense, 25 yards for extended accuracy.
Fire an Initial Group to Identify Red Dot Shot Placement
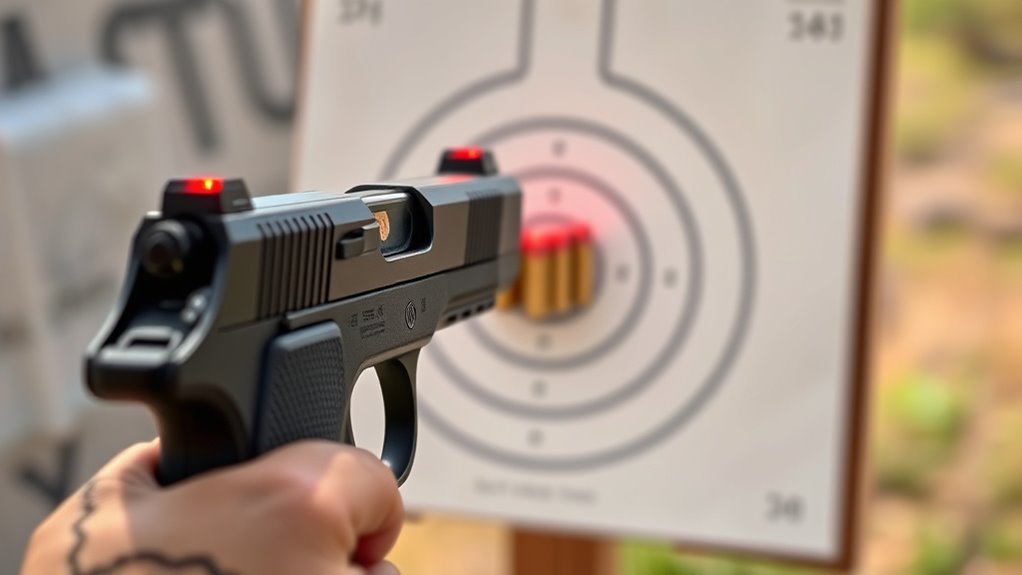
Before making any adjustments, fire a set of five rounds at your target to see where the red dot shots actually land. This initial group gives you a clear picture of your red dot placement relative to the point of impact.
Use a consistent shooting stance and grip to keep your shots as repeatable as possible. Once you’ve fired, mark each bullet hole with a Sharpie to easily track where your shots clustered.
Pay close attention to whether the group is centered around the red dot or if it’s consistently off—high, low, left, or right. This information is vital for determining the direction and amount of sight adjustments needed.
Analyze Red Dot Shots to Find the Main Group
You need to identify the cluster of shots that are closest together as your main group. Ignore any outlier shots that fall far from this cluster to avoid skewing your adjustments.
Then, focus on finding the center of this group to determine where your red dot is actually hitting.
It’s all about zeroing in on that tight group. Don’t let those stray shots throw you off!
Identify Shot Grouping
Where do your shots mostly land on the target? To identify your shot grouping, start by observing the pattern of your hits. Look for the main cluster, the area where most shots are concentrated.
Use a ruler or measuring tool to determine the size and exact position of this main group relative to your target. Bisect the main cluster to find its center point—that’s where the majority of your shots are impacting.
This center guides your sight adjustments, so focus on it rather than stray shots. By zeroing in on the main cluster, you guarantee your red dot aligns with where your pistol consistently shoots, improving accuracy and confidence with each shot.
Exclude Outlier Shots
Although some shots may stray from the main cluster, you should exclude these outliers when zeroing your red dot. Outliers can distort your understanding of the true shot pattern, leading to inaccurate adjustments.
Focus on the core group of shots that consistently land close together, as this cluster represents your reliable point of impact. Use a target with clear markings to easily distinguish the main group from outliers.
By ignoring errant shots, you guarantee your zeroing process is precise and based on consistent data. This approach helps you make accurate sight adjustments, improving your overall shooting accuracy.
Determine Impact Center
How do you pinpoint the true center of your shot group when zeroing a red dot? Start by analyzing the shot pattern to identify the main impact grouping, ignoring any stray shots.
Draw an imaginary line through the tightest cluster to help visualize the impact center. Use a measuring tool or estimate visually to find the midpoint of this main grouping.
This center shows where your shots consistently land relative to your point of aim. Adjust your sights based on this impact center to align your point of impact with your intended target precisely.
- Identify the tightest grouping of shots
- Ignore outliers that don’t belong to the main group
- Draw a reference line through the grouping center
- Measure or estimate the midpoint of the group
- Use this impact center to adjust your sights
Adjust Your Red Dot Sight Based on Shot Patterns
When you notice your shots grouping consistently off target, you’ll want to adjust your red dot sight to bring them back in line. Start by observing the shot pattern to see if impacts cluster above, below, left, or right of your aiming point.
For impacts low on the target, raise the red dot sight; for impacts to the right, shift the sight right. Always move the sight in the opposite direction of the shot deviation to improve your impact grouping.
Use small, incremental sight adjustments—typically 1-2 MOA at a time—to fine-tune your shot pattern without overcorrecting. Keep firing test groups after each sight adjustment until your shots consistently hit where you aim, ensuring your pistol’s zero is precise and reliable.
Verify Your Adjustments With Follow-Up Groups
After making your initial adjustments, you’ll want to fire a new group of five rounds at the zeroing target to verify how accurate your corrections are. Comparing the placement of these follow-up groups to your reference point helps determine if your zeroing is on target.
Consistently hitting near the reference point means your adjustments are effective. If the shots still stray, fine-tune your sight and repeat the process. Multiple follow-up groups confirm that your zero is stable and reliable.
- Fire a fresh group of five rounds after adjustments
- Compare shot placement to the reference point
- Look for consistent hits near the target in follow-up groups
- Make further small adjustments if shots deviate
- Repeat until the zeroing is stable and accurate
Confirm Your Final Zero and Maintain Sight Settings
Although you’ve made several adjustments, you should verify your final zero by firing a consistent group of shots that hit your intended point of impact. Use a clean, new dot or target mark to verify accuracy without previous shot interference.
Once your group consistently intersects your aiming point, avoid further adjustments to maintain your zero. It’s essential to periodically re-zero your sight, especially after firearm maintenance or if you notice any accuracy issues.
Record your sight settings and zeroing distance so you can quickly restore your final zero if needed. By carefully confirming and maintaining your sight settings, you ensure reliable performance and confidence in your red dot pistol’s accuracy every time you shoot.
Frequently Asked Questions
Can Different Ammunition Affect Red Dot Zeroing Accuracy?
Yes, different ammunition can affect your red dot zeroing accuracy because variations in bullet weight, velocity, and recoil impact point of impact. Always zero your red dot with the specific ammo you’ll be using for consistent results.
How Often Should I Check My Red Dot Sight Zero?
You should check your red dot sight zero regularly, after every significant shooting session, after changing ammunition, and whenever you notice a shift in accuracy. Staying consistent keeps your shots precise and your confidence high.
Does Ambient Light Impact Red Dot Sight Visibility?
Yes, ambient light impacts your red dot sight’s visibility. Bright sunlight can wash out the dot, while low light makes it easier to see. Adjust your sight’s brightness to match the lighting conditions for ideal clarity.
Can Recoil Cause My Red Dot Sight to Lose Zero?
Yes, recoil can cause your red dot sight to lose zero, but don’t worry. If you regularly check and adjust your sight after shooting, you’ll keep it accurate and enjoy consistent performance every time you hit the range.
Is It Necessary to Zero Red Dot Sights at Multiple Distances?
You don’t have to zero your red dot at multiple distances, but it can help improve accuracy for various ranges. Zeroing at one distance is usually enough, especially for pistols used at close to medium ranges.
Conclusion
By following these seven steps, you’ll zero your red dot sight with confidence and precision. Remember, practice makes perfect—consistent adjustments and careful analysis guarantee your shots hit exactly where you aim.
Don’t rush the process; take your time to verify and maintain your settings. With patience and persistence, your pistol will be accurately zeroed, ready for any situation that demands your best shot.
Keep at it, and you’ll see the results. Zeroing your red dot on a pistol isn’t just about hitting the target; it’s about building trust in your gear and your skills. Stick with these steps, and you’ll have a reliable, perfectly zeroed red dot sight that performs when it counts.