How to Zero a Red Dot Pistol in 7 Easy Steps
To zero your red dot pistol in seven easy steps, start by choosing the right zero distance based on your typical shooting range. This is crucial because it sets the foundation for accurate shooting later on.
Next, confirm your iron sights are aligned before mounting the red dot securely using proper tools and thread-locking compound.
Using bore sighting helps quickly get your sight roughly aligned, which saves time and ammo.
Then, shoot controlled groups to assess where your shots are landing and make precise adjustments accordingly.
After that, verify your zero with follow-up shooting to ensure the adjustments hold true.
Keep practicing to master fine-tuning and maintain long-term zero stability for consistent performance.
It’s all about patience and attention to detail!
Key Takeaways
- Choose a zero distance that matches your typical shooting range. Commonly, this is 10 yards for self-defense or 15-25 yards for precision.
- Mount and securely tighten the red dot sight. Follow the manufacturer’s instructions and consider using thread-locking compounds to keep it in place.
- Bore sight the pistol at 5-10 yards. This helps align the red dot roughly with the barrel’s point of aim.
- Fire groups at the zero distance. Then, adjust windage and elevation in ½ MOA increments to get the point of impact aligned with your point of aim.
- Don’t forget to regularly verify and maintain your zero. Check the mounting screws and confirm accuracy during your practice sessions to stay on target.
Choose the Right Zero Distance
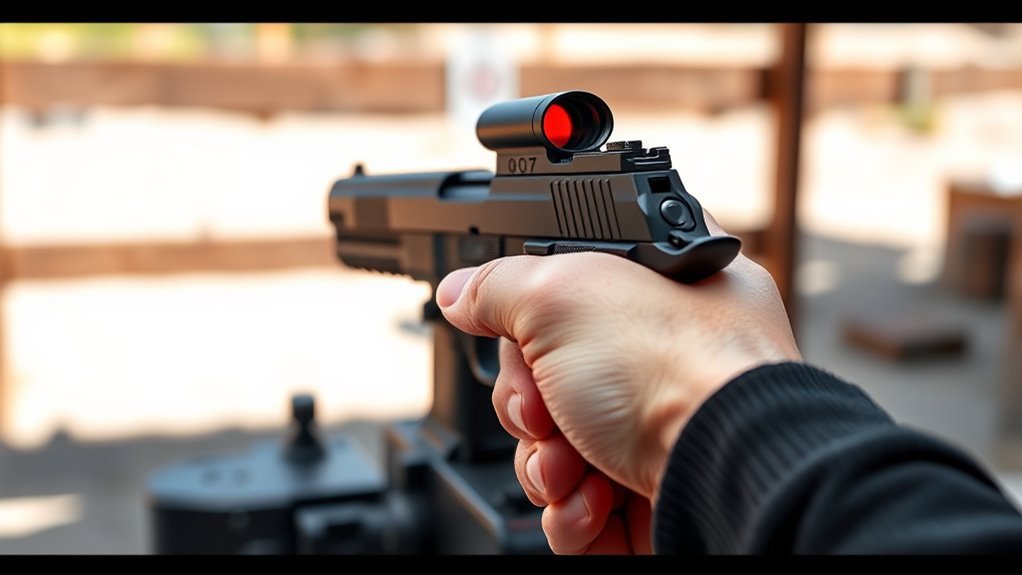
When zeroing your red dot pistol, you should pick a distance that matches how you’ll typically shoot. Choosing the right zero distance is vital for the zeroing process because it directly affects the point of impact relative to your point of aim.
For quick self-defense shots, zeroing at 10 yards works well since it’s easier to manage and requires fewer adjustments. If you shoot at longer ranges, consider 15 or 25 yards to gain more precise zeroing and understand bullet impact shifts.
Test and Confirm Your Iron Sights First
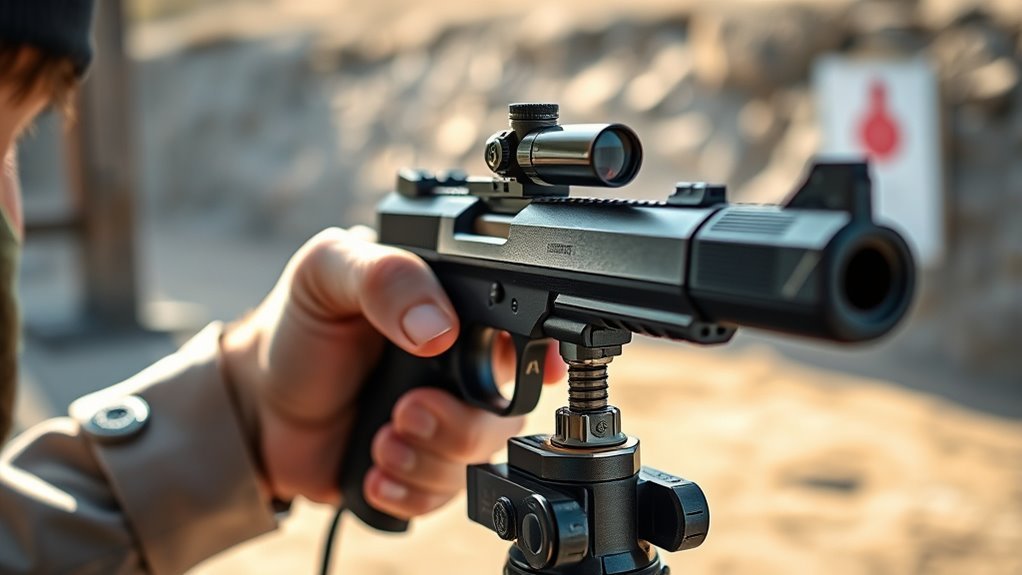
Before mounting your red dot, test and confirm your iron sights to guarantee a reliable baseline for alignment. Most handguns come with factory-installed iron sights that offer a starting point for your zero.
Use a stable shooting rest to verify that your iron sights consistently hit your intended point of aim at a set distance, like 10 yards. If your iron sights aren’t aligned or lack accuracy, you should correct or replace them before zeroing your red dot.
Confirming your iron sights first assures you have a solid reference point, which makes adjusting your red dot faster and more precise. Taking this step helps you zero your red dot with confidence, improving overall shooting accuracy and consistency right from the start.
Securely Mount Your Red Dot Sight for Consistent Accuracy
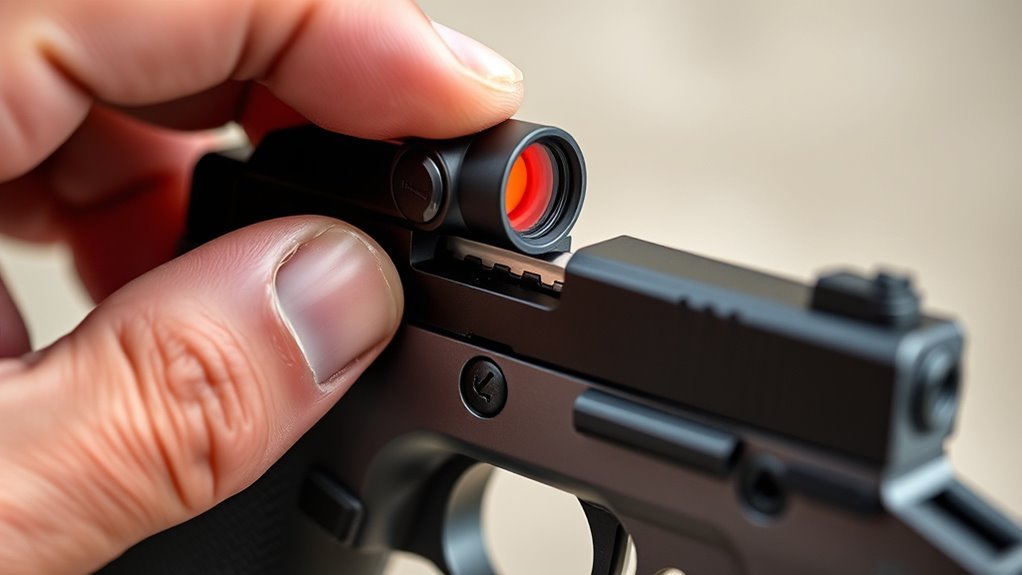
You need to follow the manufacturer’s instructions carefully to mount your red dot sight securely. Make sure all screws are tightened to the recommended torque to prevent any movement during shooting.
It’s a good idea to regularly check the sight’s stability. This way, you can maintain consistent accuracy over time without any surprises.
Follow Manufacturer Instructions
Although mounting a red dot sight might seem straightforward, following the manufacturer’s instructions guarantees a secure and precise installation. Skipping this step risks improper installation that can affect your accuracy.
To guarantee a reliable setup, follow these key points:
- Read the mounting instructions carefully for your specific model.
- Use the correct screws and tighten them to the manufacturer’s recommended torque.
- Apply thread-locking compounds like Blue Loctite to keep screws secure over time.
- Note the mounting position so you can check for any shifts after use.
Ensure Tight Mounting
How tightly should you mount your red dot sight to maintain consistent accuracy? Use the manufacturer’s recommended torque specifications and tools to achieve tight mounting without overtightening.
Make sure to securely mount the sight so it’s firmly seated, preventing any movement caused by recoil, slide racking, or handling. Before tightening, apply Blue Loctite to the mounting screws to lock them in place and reduce the chance of loosening from vibration or repeated use.
After mounting, mark the screw heads with a permanent marker or paint; this lets you easily spot any loosening over time. Remember, tight mounting isn’t a one-time task—regularly check and retighten your screws after shooting sessions or if you notice any shift in zero to maintain reliable performance.
Check Stability Regularly
Once your red dot sight is mounted tightly using the correct torque and thread-locking compound, checking its stability regularly keeps your pistol shooting accurately. To maintain consistent accuracy, you need to:
- Inspect the mounting hardware often for any signs of loosening, wear, or damage. It’s a good habit to catch problems early before they affect your shot.
- Tighten screws using a torque wrench if your manufacturer recommends specific torque settings. This makes sure everything stays just right without overtightening.
- Apply thread-locking compound like Blue Loctite to prevent screws from loosening during recoil or slide racking. It’s a simple step that can save you from losing zero.
- Mark screw positions with paint or thread sealant to quickly spot any movement or loosening over time. That way, you can tell at a glance if something’s shifted.
Use Bore Sighting to Align Your Red Dot Pistol Quickly
When you want to zero your red dot pistol quickly, start by bore sighting to get a solid initial alignment. Insert a bore sight laser into the chamber or load a cartridge-shaped bore sight into the magazine, then aim at your target from 5 to 10 yards.
Use the bore sight’s laser to adjust your red dot sight so the dot matches the laser’s point of aim. This method gives you a fast and reliable initial alignment, speeding up the zeroing process.
Keep in mind, bore sighting is just the first step. After you’ve aligned your red dot sight with the bore sight laser, you’ll still need to fine-tune your zero with live fire at your preferred distance for precise accuracy.
Shoot Controlled Groups and Measure Impact
Although bore sighting gets you close, you’ll need to shoot controlled groups to fine-tune your zero. Start by firing 3 to 5 slow, controlled rounds at a high-visibility target.
Use a stable rest or bench to minimize movement, ensuring consistent shot placement within your group. After shooting, clearly mark each impact point on the target to compare it with your point of aim.
Now, measure the distance between the point of aim and actual impact for each shot.
Follow this process:
- Shoot controlled groups of 3-5 rounds.
- Use a stable rest for consistency.
- Mark and identify each impact point.
- Measure the distance from point of aim to impact.
This helps you understand your current impact point for precise adjustments later.
Calculate and Make Precise Red Dot Sight Adjustments
Because precise adjustments are key to zeroing your red dot sight, you’ll need to calculate the exact number of clicks to move your point of impact to the point of aim. Start by measuring the offset in inches and convert this to MOA, knowing that at 10 yards, 1 MOA equals about 0.1 inches.
Use the formula: clicks = (offset in inches) / (MOA per click × (distance in yards/100)). For example, a 1-inch deviation at 10 yards with a ½ MOA per click setting requires roughly 20 clicks.
Make small, incremental clicks in the appropriate direction, then shoot a test group to check your adjustments. Keep track of the clicks made during zeroing to streamline future sessions and maintain accuracy.
Verify Your Red Dot Pistol Zero With Follow-Up Shooting
Now that you’ve made adjustments, take follow-up shots to confirm your group stays consistent. Compare where your shots land to your original point of aim, and note any shifts.
If the impact changes markedly, tweak your red dot and shoot again until your zero holds steady. This way, you’ll know your sight is dialed in just right.
Confirming Group Consistency
When you shoot multiple 3-5 shot groups at your zero distance, you verify that your red dot stays consistently aligned. Verifying group consistency ensures your zero is reliable and accurate.
Follow these steps:
- Analyze each grouping’s impact points to confirm the shot placement remains centered.
- Compare group sizes and positions; consistent grouping indicates a stable zero.
- Watch for any significant shifts between groups—these can signal mounting or equipment issues.
- Recheck your zero regularly, especially after extended shooting or if you notice changes in point of impact.
Doing this will help you trust your zero and keep your shots on target.
Adjusting Based On Results
After you complete your initial zeroing, you’ll want to shoot a follow-up group at the same distance to verify that your point of impact matches your point of aim. Measure how far off the group is, then make precise adjustments to the red dot’s windage and elevation using the appropriate clicks.
Usually, adjustments come in ½ MOA increments. Fire another group to confirm the changes improved accuracy. Repeat this process until your groups consistently hit the desired point.
Regularly verifying zero during practice guarantees your pistol remains reliable. It’s a simple step that makes a big difference in the long run.
| Group Size | Impact Location | Adjustments Needed |
|---|---|---|
| Tight | On Target | None |
| Moderate | Slightly Off | Few Clicks |
| Wide | Far Off | Multiple Clicks |
Frequently Asked Questions
What Distance Should You Zero a Red Dot on a Pistol At?
You should zero your red dot pistol at 10 yards for self-defense, offering close-range accuracy. If you’re into competition or precision shooting, consider 15 or 25 yards to match your specific shooting needs.
How to Properly Zero a Red Dot Sight on a Pistol?
You mount your red dot securely, then shoot a group at your chosen distance. Adjust elevation and windage based on shot placement, firing again until your point of impact matches your aiming point precisely.
Can You Zero a Red Dot at Home?
You absolutely can zero a red dot at home—no need for a knight’s duel! Just secure your pistol, use a stable rest, shoot at close range, and adjust the dot. Safety first, and you’re set!
What Distance to Zero Red Dot on 9mm?
You should zero your 9mm red dot at 7 to 10 yards for self-defense, ensuring quick, reliable hits. For competition or longer shots, consider zeroing at 15 or 25 yards to improve accuracy at range.
Conclusion
Zeroing your red dot pistol is like tuning a musical instrument—each step guarantees perfect harmony between you and your sight. By choosing the right distance, confirming your iron sights, and carefully adjusting with controlled shots, you’ll hit the mark every time.
Remember, consistency is key, so always verify your zero with follow-up shooting. Stick to these steps, and your red dot will become an extension of your aim, ready for any challenge.
When you zero your red dot pistol, you’re setting yourself up for success with every shot. It’s all about making sure your sight and your point of impact line up flawlessly. Follow these easy steps to fine-tune your pistol, and you’ll enjoy improved accuracy and confidence at the range or in the field.
Zeroing your red dot isn’t just a one-time task—it’s a skill that helps you shoot better and faster. So, take your time, be consistent, and soon your red dot pistol will feel like a natural part of your aim, no matter the distance or situation.