How to Use a Pistol Brace in 10 Easy Steps
To use a pistol brace in 10 easy steps, first make sure your brace matches your firearm’s model and buffer tube type. This is super important to ensure everything fits and works correctly.
Next, gather the necessary tools and prepare a clean workspace where you can work comfortably without distractions.
Now, install the pistol tube along with the ambient plate. Once that’s done, slide the brace onto the tube, making sure it’s oriented properly.
Secure it firmly using Allen screws so it doesn’t move around.
After that, adjust the nylon strap snugly around your forearm. You want it to be comfortable but also stable enough to give you better control.
Finally, test the brace to make sure it fits securely and helps you handle the firearm safely.
Remember to keep your pistol brace well-maintained and inspect it regularly.
There’s definitely more to learn to use it safely and effectively, but these steps will get you started on the right foot.
Key Takeaways
- Attach the pistol brace to the firearm’s buffer tube, making sure it’s oriented correctly and aligned with the receiver.
- Secure the brace using Allen screws. Tighten them evenly until snug, but be careful not to over-tighten.
- Position the nylon strap on your dominant forearm side. Wrap it snugly for both stability and comfort.
- Adjust the strap using the buckle or Velcro. You want to minimize slack and get a firm fit without pinching your skin.
- Finally, test the brace’s stability by gently moving it around. Then, try firing a few rounds in a safe environment to make sure everything feels solid.
What Is a Pistol Brace and Why Use One?
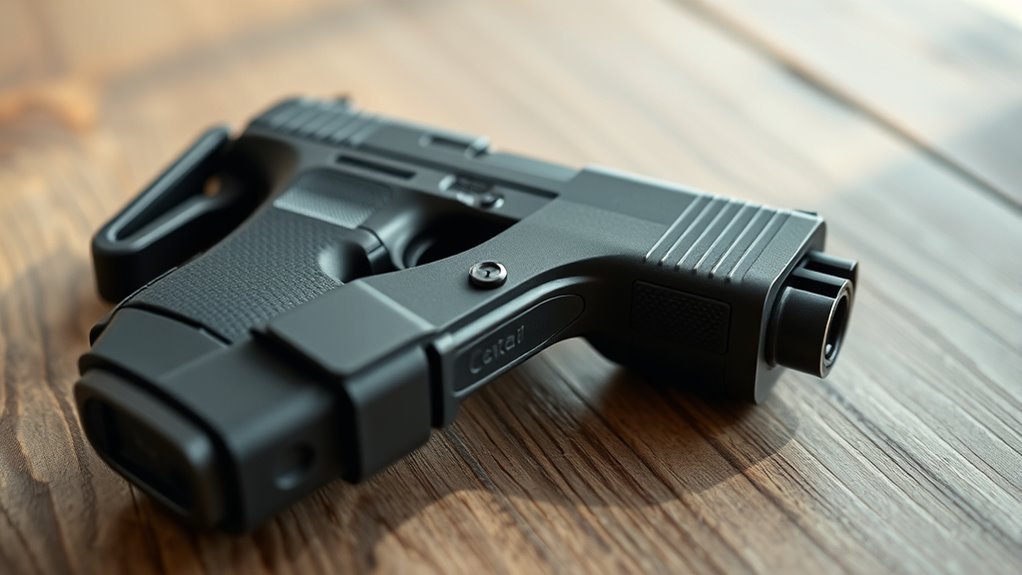
What makes a pistol brace so useful? A pistol brace is a stabilizing device you attach to the rear of your pistol to improve accuracy and control while firing. Originally designed for people with disabilities or limited hand strength, it straps to your forearm, giving you better stability without needing to mount the firearm against your shoulder.
This design helps you handle your firearm more precisely, especially with AR and AK-style pistols. Unlike shoulder stocks, pistol braces are legally classified as handgun accessories, so you can use them without converting your pistol into a short-barreled rifle.
Check Pistol and Pistol Brace Compatibility
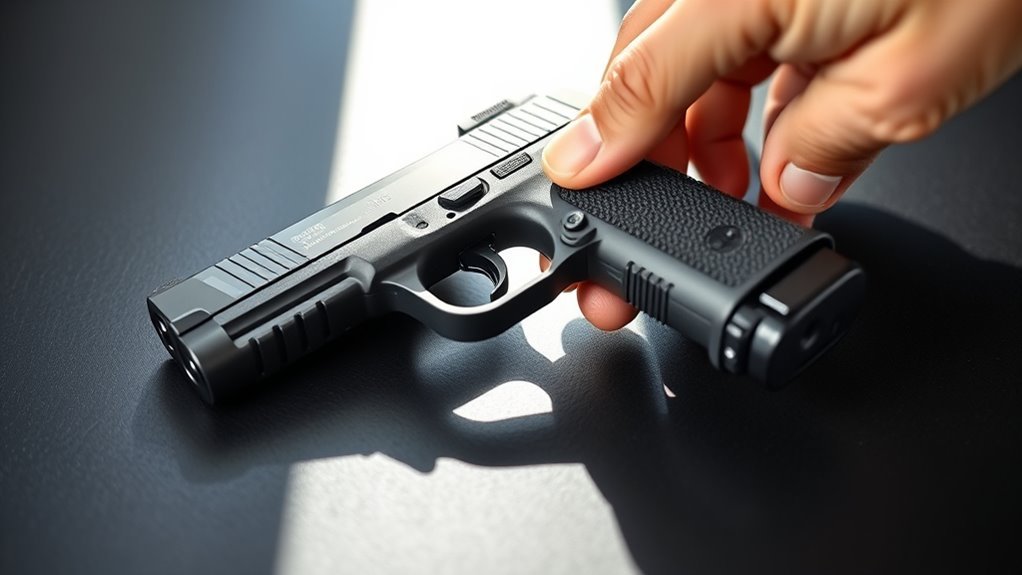
Before attaching a pistol brace, make sure it fits your firearm’s frame and buffer tube properly. Check that the brace is designed for your pistol model and matches the manufacturer’s specifications.
This helps guarantee a secure fit and keeps you within legal guidelines. It’s always better to double-check so you don’t run into any issues later on.
Frame and Brace Fit
When you attach a pistol brace, make sure your pistol’s buffer tube or receiver extension matches the brace’s specifications, including diameter and threading. This helps ensure a secure fit without wobbling or excess movement.
Double-check that the brace is designed for your firearm platform—whether it’s an AR-style pistol or another model—to guarantee proper compatibility. Also, verify the brace’s attachment points and mounting hardware align perfectly with your pistol’s buffer tube or designated system.
A good fit means the brace sits firmly on the frame, providing stability and comfort. Finally, confirm the total length of your pistol with the brace attached complies with federal and state regulations.
Taking these steps ensures your brace fits correctly and functions safely with your firearm.
Manufacturer Compatibility Check
Ensuring your pistol brace fits securely starts with confirming compatibility between your firearm and the brace model. First, verify that your pistol’s buffer tube matches the brace’s attachment type, whether mil-spec or commercial-spec.
Check the manufacturer’s specs and compatibility charts to confirm your pistol’s receiver and buffer tube dimensions align with the brace requirements. Also, ensure the brace complies with federal and state regulations for your firearm.
| Pistol Model | Buffer Tube Type | Brace Compatibility |
|---|---|---|
| Model A | Mil-Spec | Brace X, Brace Y |
| Model B | Commercial | Brace Z |
| Model C | Mil-Spec | Brace X |
| Model D | Commercial | Brace Y, Brace Z |
| Model E | Mil-Spec | Brace X, Brace Z |
Gather Tools and Set Up a Safe Workspace
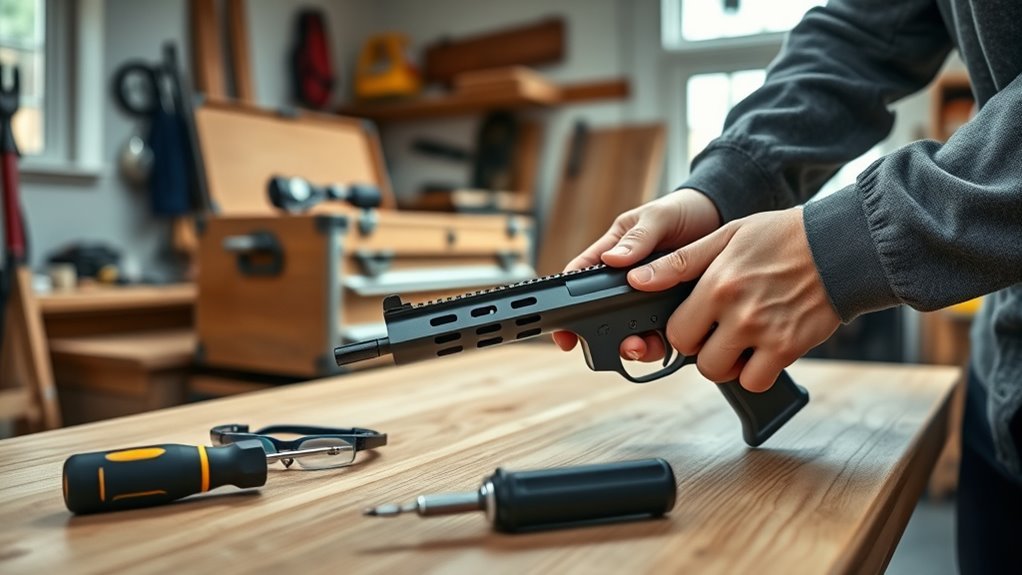
Before you start, gather all the essential tools like a 5/32 Allen wrench, adjustable wrench, and QD swivel. Make sure you have everything on hand so you don’t have to stop midway.
Set up a clean, well-lit workspace with a stable surface to keep small parts secure. It really helps to have a tidy spot where nothing can roll away.
Organize your equipment neatly and clear the area of distractions. This way, you can work safely and efficiently without any interruptions.
Essential Tools Checklist
To install your pistol brace smoothly, gather all necessary tools like a 5/32 Allen wrench, adjustable wrench, nylon strap, QD swivel, and the correct buffer and spring for your model. Having these tools ready guarantees a hassle-free assembly.
Before you start, double-check that each tool is in good condition and easy to reach. Confirm you have the right parts specific to your pistol brace to avoid any mismatches.
Set up a clean, well-lit workspace with a stable surface, so you can focus and work precisely. Keep safety gear, such as eye protection, close by to protect yourself during installation.
Preparing with the right tools and workspace will make your pistol brace installation efficient and safe. It’s all about being ready and staying safe!
Workspace Safety Measures
With your tools ready and workspace arranged, focus next on creating a safe environment to work in. Make certain your workspace is well-lit and free of clutter to prevent accidents during assembly or handling.
Set up a stable, flat surface to securely hold the firearm components while you work. Gather safety equipment like gloves and eye protection to protect yourself throughout the process.
Organize small parts in containers to avoid losing any hardware during assembly. It’s also important to work in a well-ventilated area to minimize inhaling dust or fumes from lubricants or cleaning agents.
Prioritizing these workspace safety measures will keep you protected and make the pistol brace installation smoother and more efficient. Taking a little extra time here really pays off in the long run!
Organizing Your Equipment
How do you guarantee a smooth assembly process when installing a pistol brace? Start by organizing your equipment carefully. Gathering all the necessary tools beforehand prevents interruptions and keeps you focused.
Set up a clean, well-lit workspace with a stable surface to handle your firearm components safely. Keep safety gear close to protect yourself during assembly.
Here’s how to organize effectively:
- Collect essential tools like a 5/32 Allen wrench, adjustable wrench, and QD swivel.
- Choose a spacious, clean, and well-lit area for assembly.
Use labeled containers to separate screws, plates, and parts. Keep gloves and eye protection within reach for safety.
Install the Pistol Tube With Ambient Plate
Before you install the pistol tube, make sure you select one that’s compatible with both your firearm and the ambient plate. Begin by attaching the ambient plate to the rear of the pistol tube, aligning the nub so it faces the receiver to secure the takedown detent.
Use an adjustable wrench to tighten the ambient plate firmly onto the tube, but avoid over-tightening. Next, fully press the buffer spring forward into the tube and depress the buffer detent to lock the assembly in place.
Double-check that the ambient plate and buffer components are securely installed and properly aligned. This careful installation sets the foundation for attaching the pistol brace correctly and guarantees reliable performance and safety.
Attach the Pistol Brace With Proper Orientation
When attaching the pistol brace, make sure it’s aligned correctly with the tube and the nylon strap positioned for your dominant hand. Secure the attachment points firmly without rotating the brace to avoid misalignment.
Double-check that the brace feels stable and comfortable for a solid grip during use. It’s important that everything feels just right before you move on. This way, you’ll have better control and safety when using it.
Align Brace Correctly
Although attaching the pistol brace seems straightforward, aligning it correctly is vital for proper fit and function. Proper alignment ensures comfort, stability, and safety during use.
When you align the brace, keep these points in mind: Make sure the slant of the brace faces the rear of the firearm, matching the receiver’s orientation. Confirm the QD swivel is positioned at the front, not the rear, to maintain correct alignment.
Attach the brace so it sits straight on the tube, avoiding any tilt to either side. Also, verify the nylon strap is set up for right-handed use, with the slant angled backward.
Following these steps guarantees your brace aligns perfectly, enhancing your shooting experience. It’s a simple process that makes a big difference.
Secure Attachment Points
After aligning the brace correctly, focus on securing the attachment points to keep it stable and safe. Position the nylon strap on your dominant hand’s side—usually the right for right-handed shooters.
Make sure the slant faces the firearm’s rear for comfort and proper orientation. Check that the QD swivel fits into the front attachment point, not the rear.
Tighten the Allen screws gradually and evenly to avoid damage while securing the pistol brace firmly.
| Step | Key Detail |
|---|---|
| Nylon Strap Position | On dominant hand side |
| Slant Orientation | Faces rear of firearm |
| QD Swivel Location | Inserted in front attachment point |
Properly securing these attachment points ensures the pistol brace functions as intended.
Confirm Brace Stability
To confirm brace stability, you’ll want to tighten the Allen screws just enough to prevent movement without damaging the tube or brace. Proper orientation is key to ensuring the brace functions correctly and provides the support you need.
Make sure the brace slants toward the rear, aligning with a right-handed shooter setup. Position the nylon strap snugly around your forearm for maximum stability.
Attach the QD swivel at the front of the brace to maintain proper alignment. Then, gently shake the brace to check it doesn’t wobble or shift during use.
Following these steps guarantees your brace is stable and properly oriented. This way, you’ll have confidence and control when handling your pistol.
Secure the Pistol Brace With Allen Screws
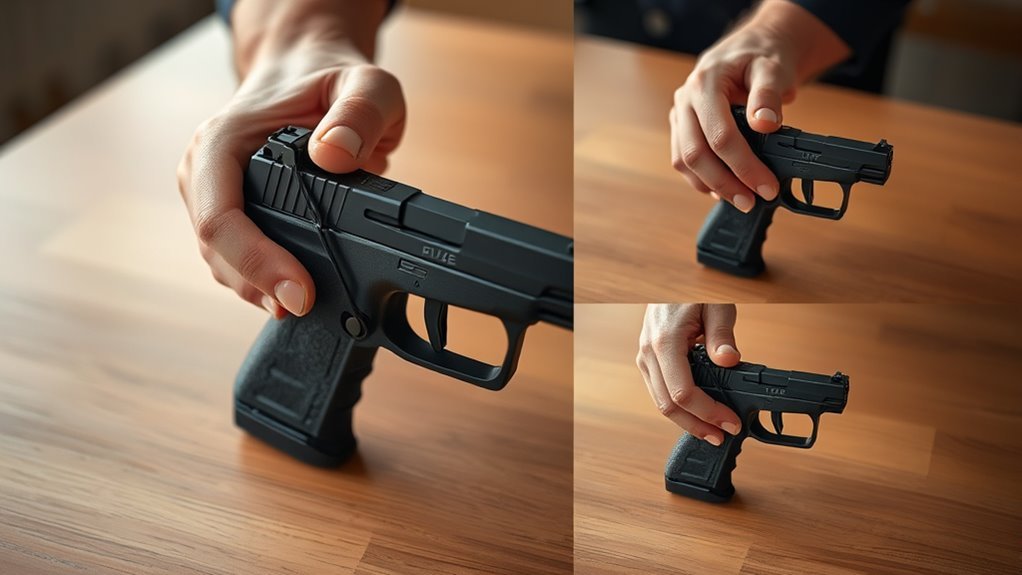
How do you properly secure the pistol brace with Allen screws? First, loosen the 5/32 Allen screws just enough so the brace can slide onto the tube—you don’t want to remove them completely.
Position the brace with the nylon strap facing the correct side for your shooting hand. Slide the brace fully onto the tube, making sure it aligns well with the receiver.
Then, gradually tighten the Allen screws using the wrench until they’re snug. Be careful not to over-tighten, as this could damage the components.
Finally, double-check that the screws are securely fastened and the brace doesn’t move or wobble. Taking these steps ensures your pistol brace is secure and ready for use.
Align the Pistol Brace and QD Swivel for Stability
Once you’ve securely fastened the pistol brace with the Allen screws, the next step is aligning the brace and QD swivel for maximum stability. Proper alignment guarantees your setup feels solid and reliable when in use.
Focus on these key points: Make sure the QD swivel is oriented correctly to fit into the front slot of the brace. Align the slant of the brace with your right-handed grip for ergonomic support.
Check that the brace and QD swivel sit flush and straight with the firearm to avoid wobbling. Use the QD swivel to lock the brace firmly onto the tube for a secure connection.
This careful alignment of the pistol brace and QD swivel guarantees stability and precision every time you handle your firearm. It really makes a difference in how confident and comfortable you feel when using your setup.
Adjust the Pistol Brace Nylon Strap for Comfort
Although securing the pistol brace is important, adjusting the nylon strap for comfort guarantees you maintain control without discomfort.
Start by wrapping the nylon strap snugly around your forearm, making sure it’s tight enough to provide stability but not so tight it restricts circulation or causes pain. Use the adjustable buckle or Velcro closure to fine-tune the fit according to your arm length and comfort preferences.
Position the strap so the pistol brace fits securely against your arm, minimizing any slack or looseness. This balance keeps the brace stable while allowing comfortable movement during firing.
Take a moment to test the fit by moving your arm. The nylon strap should hold the brace firmly without pinching or pressing uncomfortably against your skin.
Test Pistol Brace Stability and Practice Safe Handling
Before you start firing, make sure the pistol brace is firmly attached and doesn’t wobble or shift when you apply pressure. Testing its stability is essential for control and accuracy.
Ensure your pistol brace is securely attached and stable before firing for optimal control and accuracy.
To guarantee safe and effective use of your pistol brace, follow these steps:
- Pull and push the brace gently to check for any looseness or movement.
- Fire a few rounds in a safe environment to confirm the brace holds steady.
- Maintain a proper grip and stance to maximize stability while shooting.
- Always practice firearm safety by keeping the muzzle pointed in a safe direction and your finger off the trigger until ready to fire.
Maintain and Inspect Your Pistol Brace Regularly
After confirming your pistol brace is stable during use, you need to keep up with regular maintenance and inspections to assure it stays that way. Regularly check the tightness of screws and straps to guarantee the pistol brace remains securely attached.
Inspect the buffer tube, spring, and buffer every few hundred rounds for wear, corrosion, or damage. Clean the brace and attachment points with a soft cloth and suitable lubricant to prevent dirt buildup and corrosion.
Don’t forget to verify that the Velcro straps and buckles function properly and aren’t worn or frayed. If you spot any damaged or worn components during your inspection, replace them immediately.
Staying consistent with these steps keeps your pistol brace safe, stable, and ready for use whenever you need it. It’s all about making sure your gear works as hard as you do!
Frequently Asked Questions
How to Actually Use a Pistol Brace?
You place your dominant hand on the grip, secure the brace strap around your forearm, and press firmly for stability. Don’t shoulder-mount it; instead, steady your aim by maintaining a solid, controlled hold with the brace.
Is Shouldering a Pistol Brace a Felony?
No, shouldering a pistol brace isn’t a felony federally anymore. You can shoulder it without reclassifying the firearm, but you should still check your state’s laws since some states might have stricter rules or prohibitions.
Do You Have to Keep the Strap on a Pistol Brace?
Do you really have to keep the strap on a pistol brace? No, you don’t. You can remove it for easier handling or storage, but make sure the brace stays securely attached for safe, effective use every time.
What Is the Rule on Pistol Braces?
You don’t have to worry about federal rules on pistol braces anymore—they’re fully legal without special registration. Just make sure to check your state laws, since some places might still have restrictions.
Conclusion
Now that you’ve got your pistol brace set up, remember to treat it like the backbone of your shooting experience. Regular maintenance and proper adjustments keep it reliable and comfortable.
With every shot, you’re not just aiming—you’re steadying your hand and mind. Keep safety front and center, and you’ll have a trusty companion that fits like a glove, ready whenever you need it.
Don’t let your pistol brace gather dust; stay sharp and confident. Consistent care and use ensure your brace remains a vital part of your shooting routine. By treating your pistol brace right, you enhance accuracy, comfort, and safety every time you shoot.