How to Zero a Pistol in 7 Simple Steps
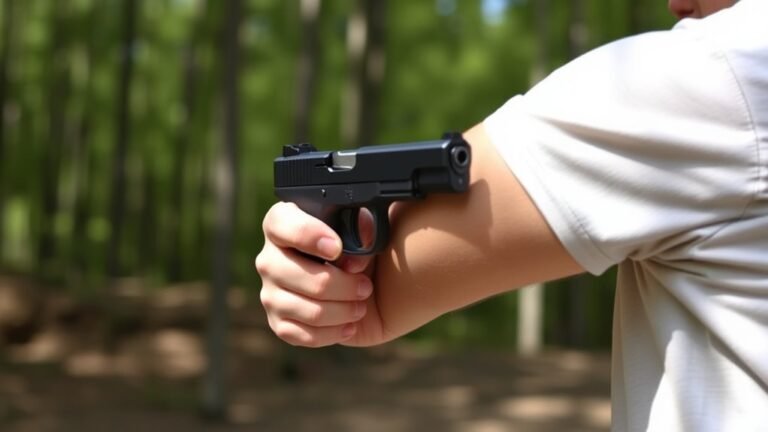
To zero your pistol for accurate shooting, start by picking a clear target and setting it at either 10 or 25 yards. Make sure your pistol is unloaded before you begin. Mark the aim point on the target, then adopt a stable stance to get ready for firing.
Next, fire a five-shot group and take a close look at where your shots land compared to your aim point. Based on that, adjust the windage (left or right) and elevation (up or down) on your sights.
Once you’ve made those adjustments, fire another group to confirm your zero.
After that, fine-tune your zero to match your specific ammo and shooting style. Don’t forget to regularly recheck your zero to keep your accuracy consistent over time.
Stick with it, and you’ll uncover tips for maintaining long-term precision with your pistol.
Key Takeaways
- Select a target with a clear center and mark the aim point with a Sharpie for precise shot tracking.
- Fire a five-shot group at a consistent distance, focusing on the main cluster to assess shot placement.
- Adjust windage by turning the rear sight left or right, and elevation by moving the rear sight up or down.
- Make small incremental sight adjustments, then fire additional groups to confirm proper zeroing.
- Regularly recheck and maintain zero, especially after cleaning, environmental changes, or ammo type variations.
Choose the Right Target and Distance
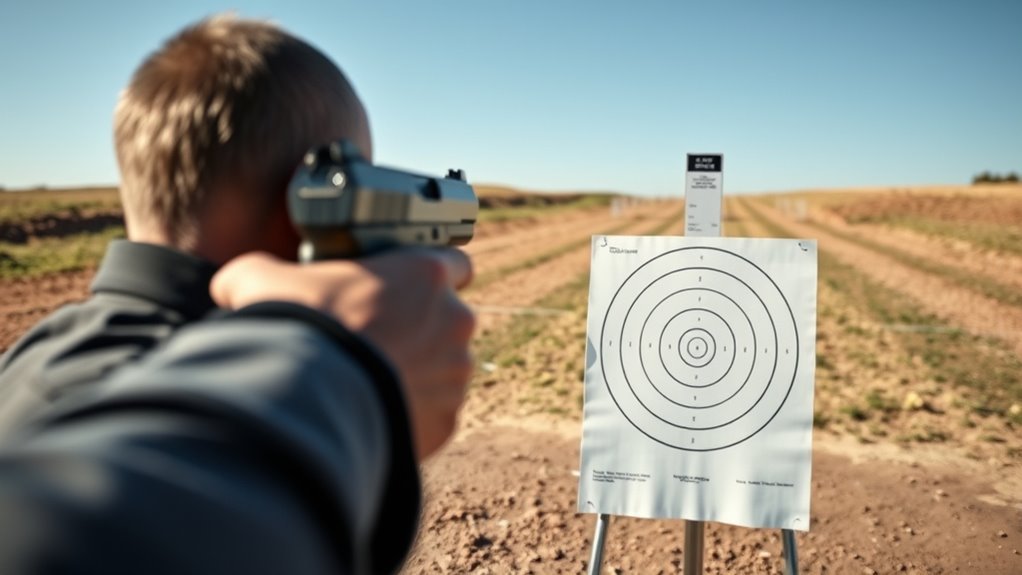
Before you begin zeroing your pistol, choose a target and distance that suit your shooting goals. For most carry pistols, zeroing at 10 or 25 yards works well depending on your typical shooting scenarios.
Pick a target with a clear central point or dot to help you focus your front sight precisely. Mark that center spot with a Sharpie or similar tool to track where your shots land initially.
Setting the target at a consistent, stable distance ensures reliable shot grouping and easier adjustments. If you want quick zeroing, shorter distances like 5 or 10 yards give fast feedback for sight alignment.
Choosing the right target and distance upfront makes zeroing your pistol more efficient and accurate, especially when you want your front sight to meet your carry pistols’ real-world needs.
Prepare Your Pistol: Safety Checks and Mark Your Aim Point
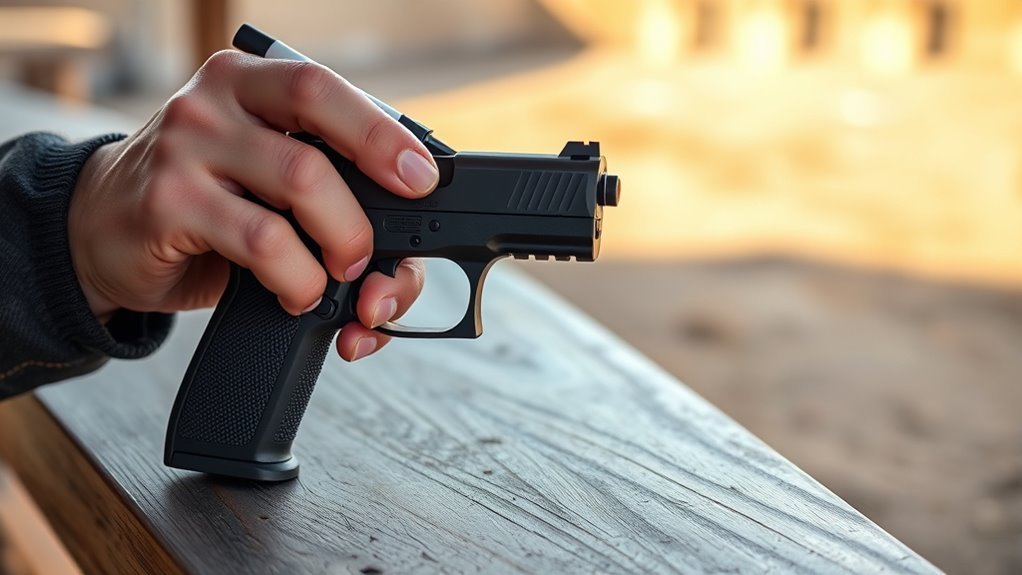
With your target set and distance chosen, the next step is to prepare your pistol for zeroing. Start by performing a thorough safety check: confirm the pistol is unloaded, and the chamber is clear before handling it further.
Begin by ensuring your pistol is unloaded and the chamber is clear before proceeding with zeroing.
Remove all ammunition and dry fire the weapon to verify the trigger functions smoothly and you maintain proper handling. Check that your sights are securely mounted to prevent any shifting during shooting.
Next, mark your aim point on the target with a Sharpie or similar tool—this visual reference guides your adjustments as you zero your pistol.
Finally, adopt a stable shooting stance and firm grip to keep your shots consistent. These preparations set the foundation for accurate zeroing and safe shooting.
Fire Initial Shot Groups to Assess Point of Impact
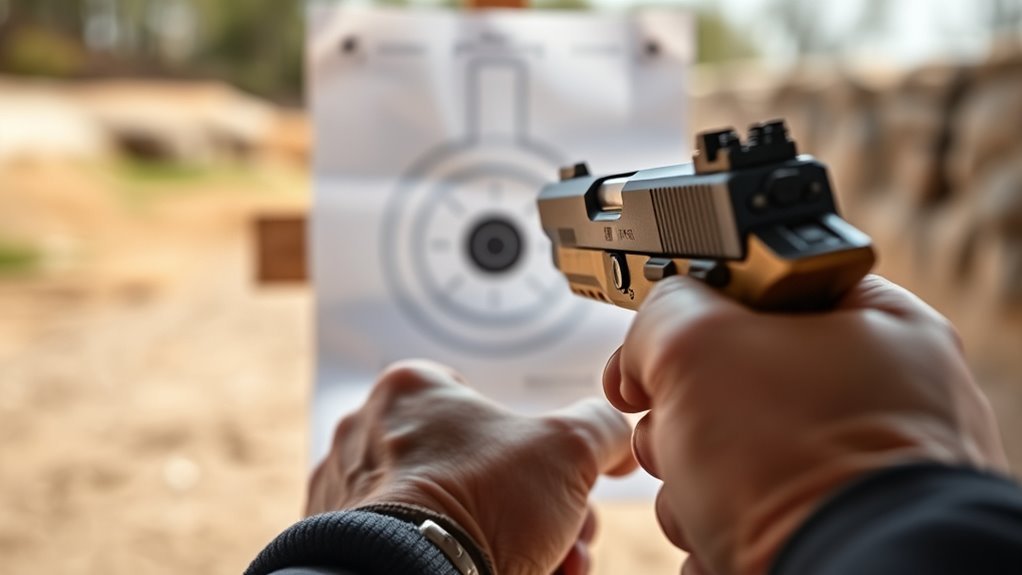
Once you’re settled into a stable shooting position, fire a five-shot group aimed at the center of your marked target to assess where your shots are landing. These initial shot groups reveal your pistol’s current point of impact relative to your point of aim.
Carefully observe the pattern to determine if your shots cluster high, low, left, or right. Focus on the main cluster of shots, ignoring any stray outliers that don’t represent your typical impact.
This analysis helps you understand how your sights are currently aligned. By identifying the true point of impact from these groups, you’ll be ready to make precise adjustments to bring your shots onto target.
Repeating this process after adjustments guarantees your pistol is properly zeroed for accuracy. It’s a simple step that makes a big difference in your shooting consistency.
Adjust Sights for Windage and Elevation Based on Shot Placement
Now that you’ve assessed your shot placement, it’s time to adjust your sights for windage and elevation. Move the rear sight left or right to correct horizontal alignment.
Then, raise or lower the sights to fix vertical impact. Make small adjustments, and don’t rush it.
After that, fire another group to confirm your changes. This way, you’ll know if you’re on the right track.
Windage Adjustment Techniques
Although adjusting for windage might seem tricky at first, you can easily shift your pistol’s point of impact left or right by turning the rear sight or windage knob. If your shots group to the right of the target, turn the windage screw to move the impact left; if they land left, adjust right.
Each click usually shifts the impact about 1/4 inch at 25 yards, letting you make precise windage adjustments. Keep your shooting stance consistent to avoid adding errors during this process.
After each adjustment, fire a group to confirm your shots are centering on the target’s aim point. By carefully applying these windage adjustment techniques, you’ll quickly zero your pistol for accurate, reliable shooting.
Elevation Correction Methods
How do you adjust your pistol’s sights when your shots consistently hit above or below your target? Elevation adjustments involve moving the rear sight up or down to change the bullet’s point of impact.
If shots hit low, raise the rear sight or use a taller front sight to increase elevation. For high shots, lower the rear sight or switch to a shorter front sight.
Many adjustable sights click in small increments, measured in minutes of angle (MOA). This allows precise tuning for your zero.
| Shot Placement | Adjustment Direction | Rear Sight Movement | Front Sight Option | Effect on Impact Point |
|---|---|---|---|---|
| Low | Increase Elevation | Move Up | Taller Post | Raises Impact |
| High | Decrease Elevation | Move Down | Shorter Post | Lowers Impact |
| On Target | None | None | None | Maintain Zero |
| Slightly Low | Small Increase | Small Up Click | Optional | Fine Raise |
| Slightly High | Small Decrease | Small Down Click | Optional | Fine Lower |
Check Your Zero by Firing Additional Groups
Once you’ve made your initial adjustments, you’ll want to fire additional groups to verify that your pistol’s point of aim consistently matches the point of impact. These additional groups help you check your zero by confirming that your sight adjustments reliably align with where your shots land.
Look for tight, consistent groupings at your zeroing distance—this indicates a solid zero. Be sure to discard any outlier shots that stray markedly from the main group, as they can skew your assessment.
Fine-Tune Your Zero for Ammo Type and Shooting Style
You’ll want to fine-tune your zero based on the ammo you use, since different loads can shift your point of impact.
Adjustments may also be needed to match your unique shooting style, like grip and stance, which affect consistency.
Paying attention to these details *guarantees* your pistol stays accurate in any situation.
Ammo Impact Variations
Although many shooters focus on zeroing their pistol with a single type of ammunition, variations in ammo brand, bullet weight, and load specifics can shift your point of impact. These ammo impact variations affect zeroing accuracy, so it’s vital to test different loads if you switch ammo.
Powder type and cartridge length also influence trajectory, meaning your zero might need adjusting for each specific load. To maintain consistent performance, zero your pistol with the exact ammo you plan to use during shooting.
Regularly verifying your zero with different ammunition helps you understand these shifts and keeps your shots on target. By fine-tuning your zero for varied ammo impact, you guarantee reliable accuracy across all shooting conditions without surprises at the range.
Adjustments Based On Style
When you fine-tune your zero, you adjust your sights based on the specific ammo load and shooting style you use most often. Different shooting styles, like rapid fire or precision target shooting, demand tailored zero settings for the best accuracy.
Start by consistently testing your chosen ammo to spot any shifts in point of impact (POI). Make incremental sight adjustments using clicks or by swapping sights until your zero perfectly matches your needs.
Maintain and Recheck Your Zero Regularly for Consistent Accuracy
Since changes in temperature, humidity, and handling can affect your pistol’s zero, you need to recheck it regularly to maintain consistent accuracy. Always recheck your zero at the same distance and with the same ammunition used during initial zeroing.
After cleaning or maintenance, verify and adjust your zero if necessary. It’s a good idea to incorporate zero verification into your training routine, especially before competitions or critical shooting.
Shooting at different ranges or using different ammo loads can also shift your zero, so staying vigilant is key. Keep an eye on your zero and make adjustments as needed to ensure precision.
| When to Recheck | Why It Matters | How to Maintain |
|---|---|---|
| After cleaning | Prevents accuracy drift | Use consistent ammo and range |
| Before competition | Ensures peak performance | Verify zero in training |
| After environmental changes | Adjust for temperature/humidity | Reconfirm zero settings |
| Changing ammo types | Maintains precision | Rezero if bullet impact shifts |
Frequently Asked Questions
How Do You Zero Your Pistol?
You zero your pistol by firing groups at your chosen distance, then adjusting the sights based on where shots land. Keep tweaking windage and elevation until your shots consistently hit your aiming point for reliable accuracy.
What Should a Pistol Be Zeroed At?
You should zero your pistol between 7 and 25 yards, depending on your typical shooting distance. For self-defense, 25 yards works well, but adjust it based on your style and practice regularly to maintain accuracy.
How to Zero a Gun?
Think of zeroing a gun like tuning a guitar. You fire a group at your target, then adjust sights left, right, up, or down until your bullet hits where you aim consistently. Keep your stance steady.
Do Pistols Need to Be Zeroed?
Yes, you need to zero pistols to guarantee your shots hit where you aim. It improves accuracy, especially since factory sights often aren’t perfectly aligned. Regular zeroing keeps your pistol reliable and precise for any situation.
Conclusion
Now that you’ve learned how to zero your pistol in seven simple steps, you’re ready to shoot with confidence and accuracy. It’s all about trusting your sights and knowing they’re dialed in just right.
Just like a cowboy relied on his trusty six-shooter, you need to keep your pistol’s zero well-tuned. Regularly maintain and recheck your zero to make sure every shot hits where you intend.
Staying safe and sharp is key. Enjoy the precision that comes with a properly zeroed pistol—it makes all the difference when you’re out on the range or in the field. Keep practicing, keep adjusting, and you’ll build the accuracy and confidence every shooter wants.