How to Mount a Red Dot Sight on a Pistol in 5 Easy Steps
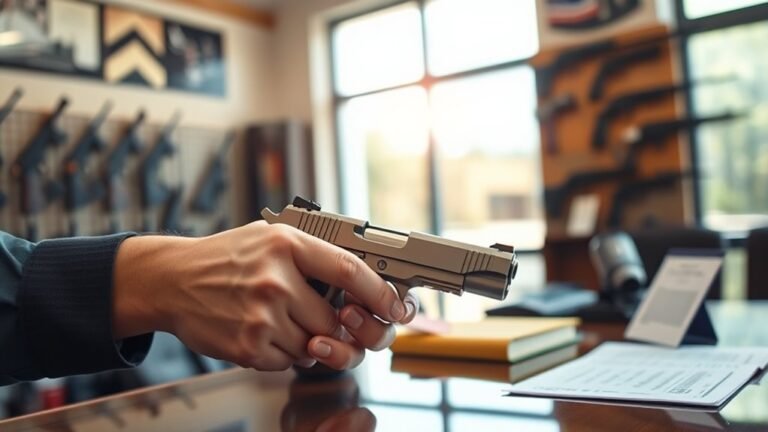
To mount a red dot sight on your pistol, start by checking if your slide is compatible with the mounting pattern of your optic. This step is crucial because not all slides fit every red dot sight.
Once you’re sure about compatibility, clean both your workspace and the pistol slide thoroughly. This helps ensure a secure and stable fit when you attach the sight.
Next up, pick the right fasteners. Test the screws to make sure they match the size and threading required for your optic. This little detail can save you a lot of hassle later.
Now, carefully attach the adapter plate to the slide. Apply some threadlocker on the screws to keep everything firmly in place. Don’t rush this part—it’s important that the sight is mounted solidly.
Finally, zero your red dot sight at a comfortable shooting distance. This step ensures you’ll have accurate shots every time.
Stick around for more tips on flawless installation and getting the best performance from your setup!
Verify Slide Compatibility and Optic Footprint
Before mounting a red dot sight, you need to verify that your pistol’s slide is compatible with the optic’s footprint. Start by identifying the mounting pattern required by your optic—whether it’s RMR, SRO, or Holosun 507C—and confirm it matches the slide’s cut or adapter plate.
Verify your pistol slide matches the red dot sight’s mounting pattern before installation for a secure fit.
Check manufacturer specs and compatibility charts to guarantee slide compatibility. Measure the slide’s cut dimensions carefully and compare them with the optic’s footprint to avoid misalignment.
For factory slides like Glock MOS, use the built-in modular footprint designed for specific adapter plates. If your slide isn’t MOS-compatible, consider aftermarket milling or an adapter plate to fit the mounting pattern.
Ensuring proper slide compatibility and matching the optic footprint is vital for a secure and functional installation.
Prepare Your Workspace and Clean the Slide
Although mounting a red dot sight can be straightforward, you’ll want to start by preparing your workspace and thoroughly cleaning the slide. Clear your workspace of clutter and organize all parts, fasteners, and tools needed for mounting.
Set up good lighting and a clean surface to ensure precise handling. Next, focus on cleaning the slide’s contact areas with a degreaser or solvent, removing any oil, dirt, or residue.
Be sure to remove factory cover plates or sights that might interfere with mounting your optic or adapter plate. Inspect the slide and mounting surfaces carefully for debris or scratches that could affect fitment.
Taking these steps ensures a clean, organized environment and a properly prepared slide for a secure, accurate red dot sight installation.
Select and Test Fasteners for Proper Fit
Since a secure mount depends heavily on the fasteners, you’ll need to select and test screws that fit perfectly. Start by measuring screw length and diameter to match the mounting holes on both the optic and slide, avoiding screws that are too long or short.
Use a caliper to confirm the threading is correct and check for any damage. Dry fit each screw without threadlocker to ensure they seat properly and provide a snug fit without resistance or misalignment.
If the original fasteners don’t fit well, try different brands or types until you find screws that fit securely without stripping. After installation, mark the screw heads to easily spot any loosening during use or handling.
This careful selection guarantees a stable, reliable mount. It’s worth taking the time to get it just right!
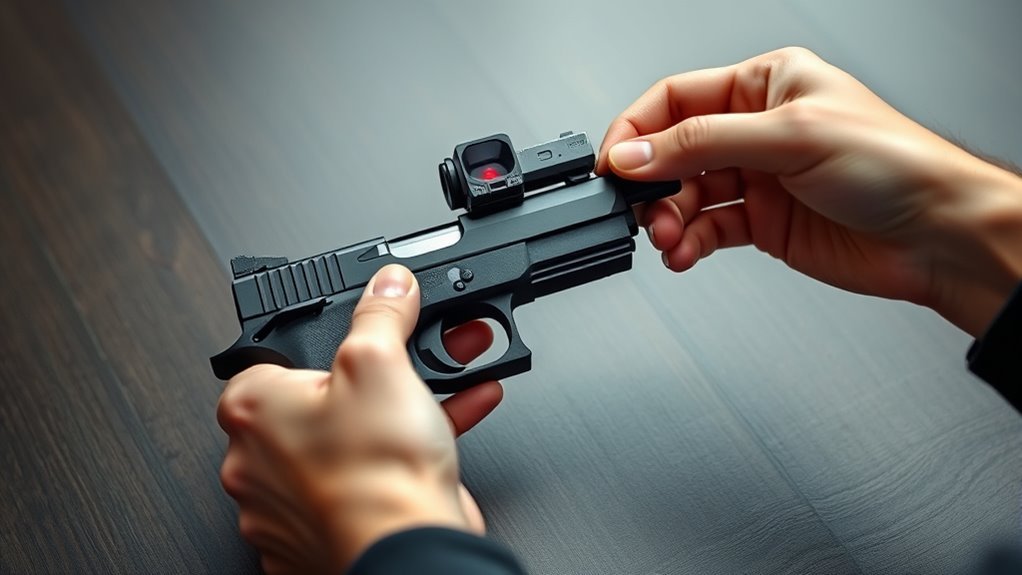
Attach the Adapter Plate and Secure With Threadlocker
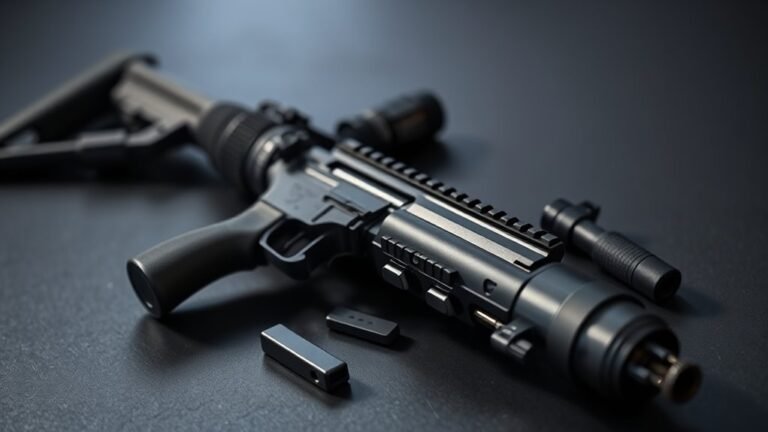
When you attach the adapter plate, make sure you’ve chosen the one that matches both your pistol model and red dot sight footprint. Clean the contact surfaces on the slide and adapter plate thoroughly to guarantee proper screw fitment.
Position the adapter plate carefully, ensuring perfect alignment with the slide’s screw holes. Apply a small amount of threadlocker (blue Loctite) to each screw to prevent loosening during use.
Hand-tighten the screws first to check fitment, then use a torque driver to tighten them to the manufacturer’s recommended torque, typically between 15-18 in-lbs. This ensures a secure, reliable mount.
Visualize the process:
- Adapter plate sitting flush on the slide
- Screws aligned perfectly in their holes
- Applying threadlocker to each screw before final tightening
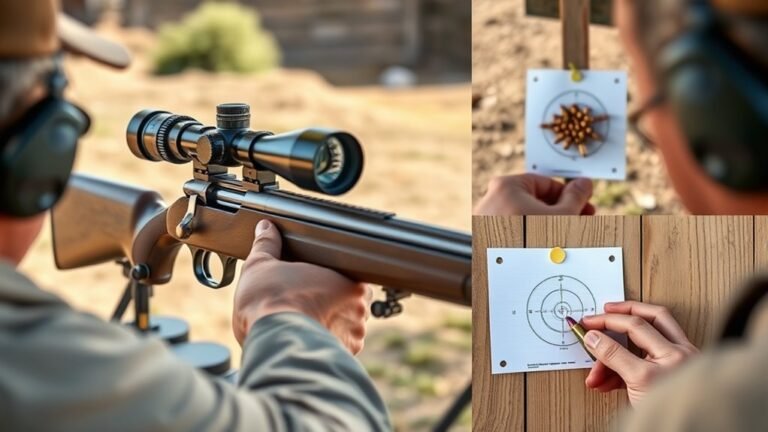
Zero Your Red Dot Sight for Accurate Shooting
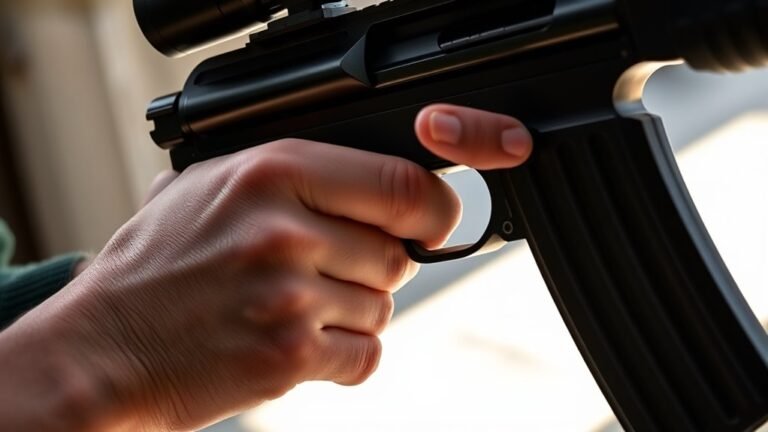
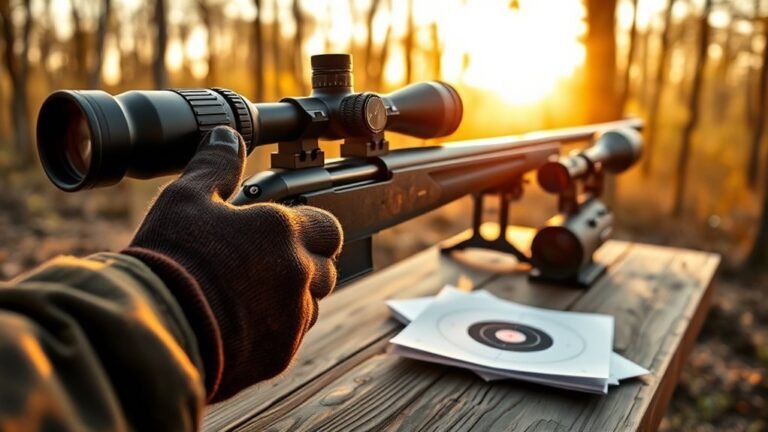
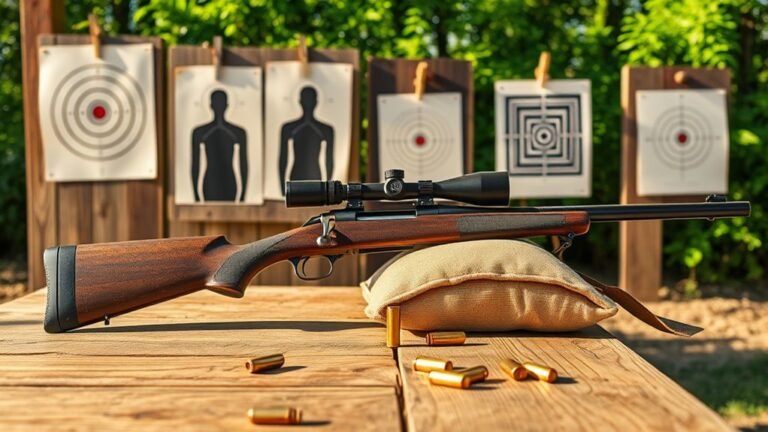
To shoot accurately with your red dot sight, you need to zero it by aligning the reticle with the actual point of impact at a set distance, usually starting at 25 yards. Begin by using a stable shooting platform and firing multiple shots to see where the rounds land compared to your intended point of impact.
Next, adjust the elevation and windage controls on your red dot sight to move the reticle until it perfectly aligns with the bullet holes. After initial zeroing, confirm your sight’s accuracy by shooting at various distances, like 7 yards and back at 25 yards, ensuring consistent alignment.
Remember to regularly check and re-zero your sight after heavy use or if you notice shifts in your point of impact. This process keeps your shots precise and reliable. It’s a simple step that really makes a difference in your shooting accuracy.
Conclusion
Now that you’ve mounted your red dot sight, you’re ready to hit the mark like a pro. Just like tuning a guitar before a gig, zeroing guarantees every shot sings true.
Take your time with each step, and soon your pistol will feel like an extension of your hand—precise and reliable. Remember, practice makes perfect, so keep at it and enjoy the sharp accuracy your new setup delivers!
Mounting a red dot sight on your pistol isn’t just about the hardware—it’s about enhancing your shooting experience. With proper installation and zeroing, your pistol becomes more intuitive, helping you react faster and shoot more accurately. Whether you’re at the range or in a real-world scenario, your red dot sight increases your confidence and precision. Keep practicing, and you’ll see how this small accessory transforms your shooting skills into something truly exceptional.