How to Mount a Rifle Scope in 3 Easy Steps
Start by gathering the right tools like a torque wrench, screwdrivers, and a level. Make sure your workspace is clean and organized to make the process smoother.
Next, loosely mount the scope rings on your rifle. Place the scope inside the rings and adjust it for proper eye relief before tightening the screws evenly.
Finally, use a bubble level to align the scope horizontally. Secure it firmly to ensure a stable, accurate fit.
Keep going, and you’ll find detailed tips on perfecting your scope mount for precision.
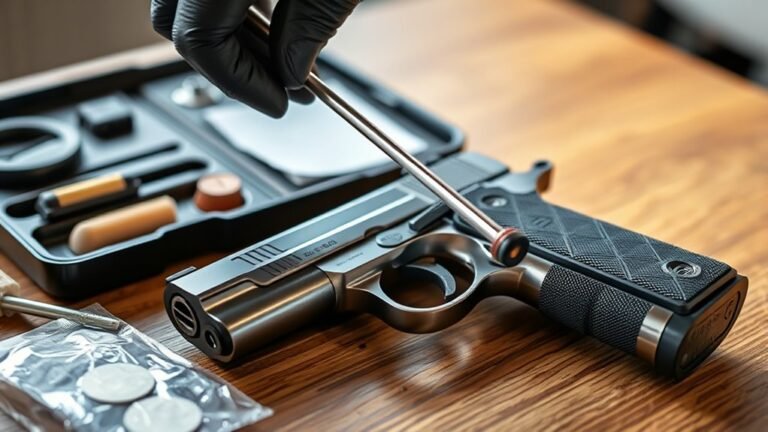
Gather and Prepare Your Tools and Equipment
Before you begin mounting your rifle scope, gather all the necessary tools and equipment to make certain a smooth and accurate installation. Start by selecting a clean workspace free of dust and debris to avoid contaminating hardware or mounting surfaces.
Collect essential tools like a torque wrench, screwdrivers, and a gun vise to stabilize your firearm during installation. Verify that your scope rings match your scope’s tube diameter and are compatible with your firearm’s mounting system.
Assemble all hardware, including base screws and ring screws, and ensure you have thread-locking compound if recommended. Double-check hardware compatibility and manufacturer torque settings to secure a proper fit without damaging components.
Having everything ready simplifies the process and guarantees precision in your scope mounting. It really helps to be organized before you start!
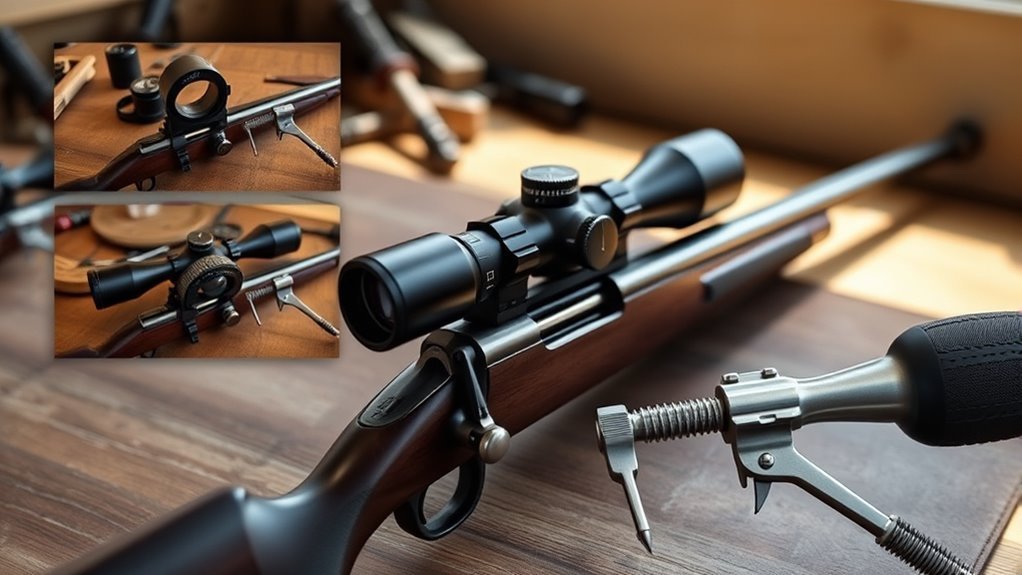
Mount and Secure the Scope
Once you have your tools ready, start by loosely attaching the bottom halves of the scope rings. This makes certain you can adjust the scope as needed.
Place the scope onto the bases, ensuring it sits securely. Adjust the scope forward or backward to get the proper eye relief and a full sight picture.
Place the scope firmly on the bases, adjusting for optimal eye relief and a clear sight picture.
Next, position the top halves of the scope rings and loosely install the mounting screws. Gradually tighten the ring screws in a criss-cross pattern, keeping the scope level and centered.
Use a bubble level to check alignment before fully tightening. Be careful not to overtighten. It’s best to follow the manufacturer’s recommended torque, usually between 15-18 in-lb.
Finally, double-check that the scope remains secure with proper eye relief. This ensures a reliable and accurate mount.
Level and Finalize the Scope Alignment
Although you’ve loosely secured the scope, you need to carefully level and finalize its alignment to guarantee accuracy. Start by placing a bubble level on the rifle and scope tube to ensure the reticle is perfectly horizontal.
Use a leveling system like Level-Right Pro to align the reticle precisely with the firearm’s bore and horizon. Attach a reference level on the scope turret cap or scope tube to verify the reticle is perpendicular to the receiver.
Gradually tighten the scope rings’ screws in a criss-cross pattern, continuously checking the level to maintain proper alignment. After screw tightening, perform a final adjustment by double-checking the scope’s level.
This ensures the reticle stays perfectly aligned before bore-sighting and shooting, securing consistent accuracy every time.
Conclusion
Now that you’ve mounted and aligned your rifle scope, you’re ready to hit the mark with confidence. Just remember, practice makes perfect, so take your time getting familiar with your setup.
With these simple steps under your belt, you’ll be shooting straight as an arrow in no time. Keep your gear well-maintained, and you’ll always be ready to make every shot count.
Mounting a rifle scope properly is key to accuracy, so don’t rush the process. Spend some time practicing with your rifle and scope to really get comfortable. Happy hunting, and enjoy making every shot count!