How to Use a Pistol Brace in 7 Easy Steps
First, unload your firearm and set up a safe shooting area. This is a crucial step to ensure safety when using a pistol brace. Always double-check that the firearm is completely unloaded before moving on.
Next, securely attach the pistol brace to your AR pistol, making sure it locks firmly in place. You want it to feel solid and not wiggle around during use. Adjust the brace for a comfortable, snug fit around your forearm.
Position the brace for maximum stability. This helps you control the firearm better and improves accuracy.
Then, grip the firearm properly while maintaining trigger discipline—keep your finger off the trigger until you’re ready to shoot.
Align your sights carefully and keep a steady aim. Take your time here; rushing can throw off your shot.
Finally, practice controlled, accurate firing to build confidence. Following these steps will help you master effective and safe pistol brace use.
Key Takeaways
- Ensure the firearm is unloaded and select a safe shooting area with a proper backstop before attaching the pistol brace. Safety first, always.
- Securely attach the pistol brace to the buffer tube, confirming the locking mechanism engages fully. You want it locked in tight.
- Wrap and adjust Velcro straps snugly around the forearm for comfort and stability without restricting circulation. Make sure it feels secure but not too tight.
- Maintain proper grip, arm positioning, and body stance to maximize firearm control and shooting accuracy. Good posture makes a big difference.
- Practice controlled breathing and smooth trigger pulls while regularly drilling to build muscle memory and precision. Keep practicing to get better every time.
Unload Your Firearm and Set Up a Safe Shooting Area
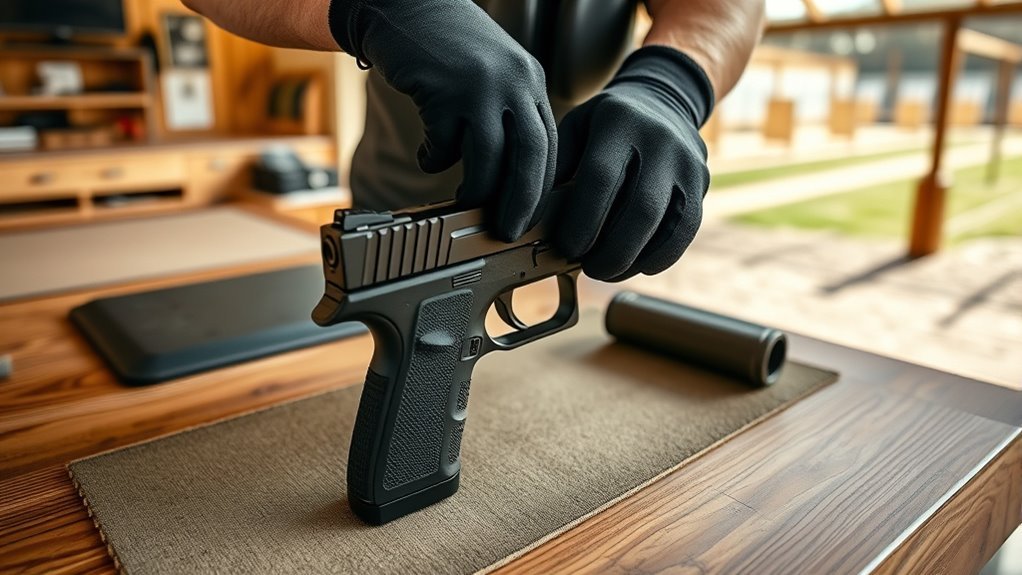
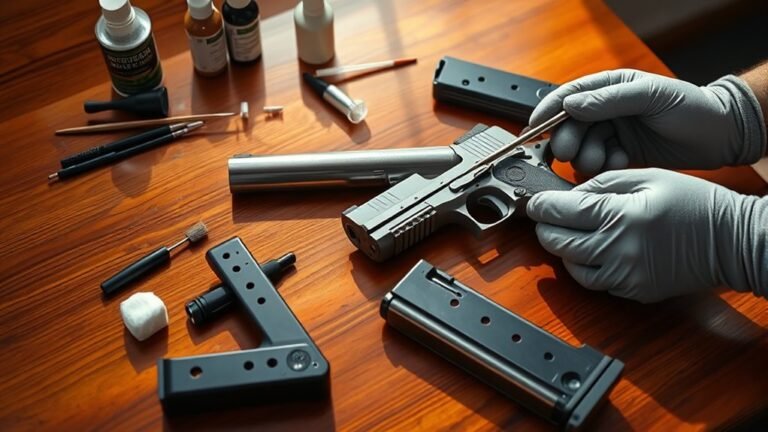
Before you begin using a pistol brace, make sure your firearm is completely unloaded by removing the magazine and checking the chamber thoroughly. Always engage the safety and visually inspect the chamber and magazine well to confirm no ammunition remains.
Always ensure your firearm is fully unloaded and safe before handling or attaching a pistol brace.
Next, pick a safe shooting area that’s clear of people, pets, and any obstacles. This designated space should have a proper backstop set at a safe distance to catch any discharged rounds and prevent ricochets.
Keep all ammunition stored separately from your firearm during setup to minimize accidental discharge risks. Taking these steps guarantees you handle your firearm responsibly and prepare a secure environment before attaching or using a pistol brace.
Safety always comes first.
Securely Attach the Pistol Brace to Your AR Pistol
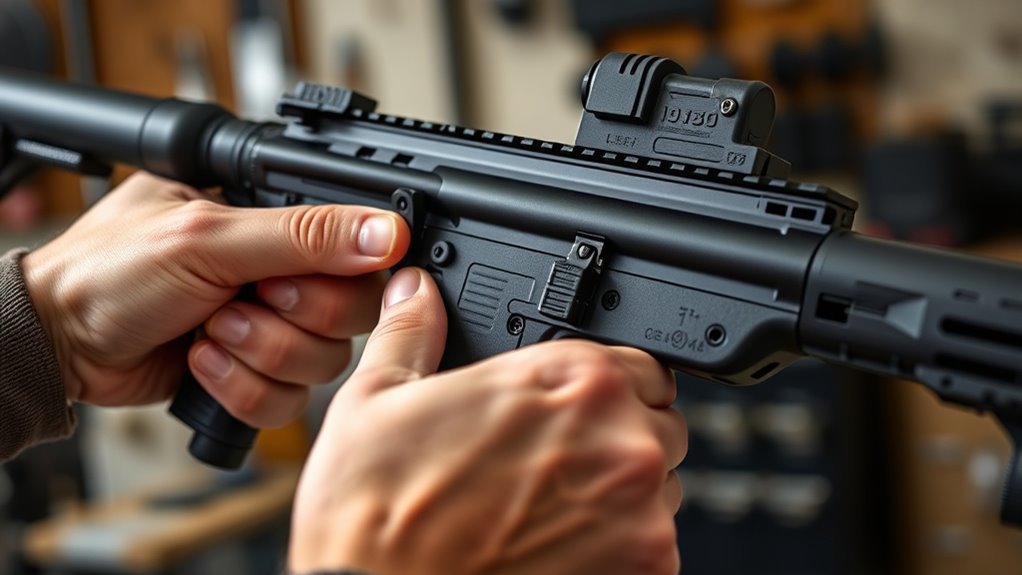
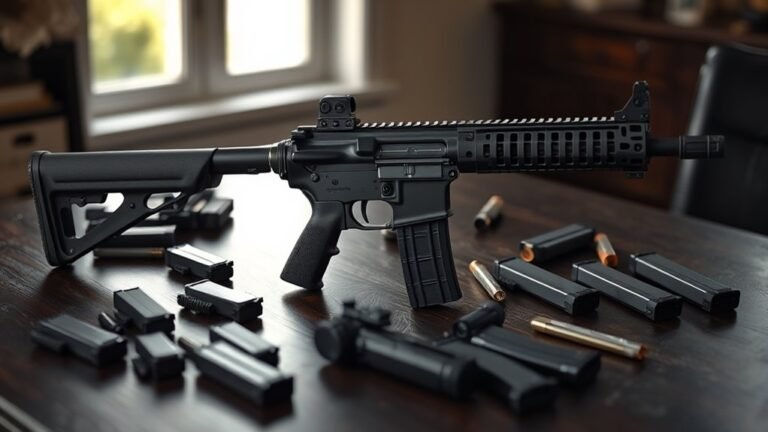
When you attach the pistol brace to your AR pistol, make sure it locks securely onto the buffer tube or receiver extension to prevent any movement during use. If your brace has a locking mechanism, listen for the click that confirms it’s locked in place.
Next, wrap the Velcro straps tightly around the buffer tube or attachment point to secure the brace further. This helps ensure it won’t shift during handling.
Double-check the alignment so the pistol brace sits properly and isn’t loose. A loose brace could affect stability and safety.
Regularly inspect the straps and attachment points for wear. Tighten or replace them as needed to maintain a secure fit.
Taking these steps will help you attach your pistol brace safely and effectively. It’s all about keeping things secure and stable while you’re using your AR pistol.
Adjust the Pistol Brace for a Comfortable Forearm Fit
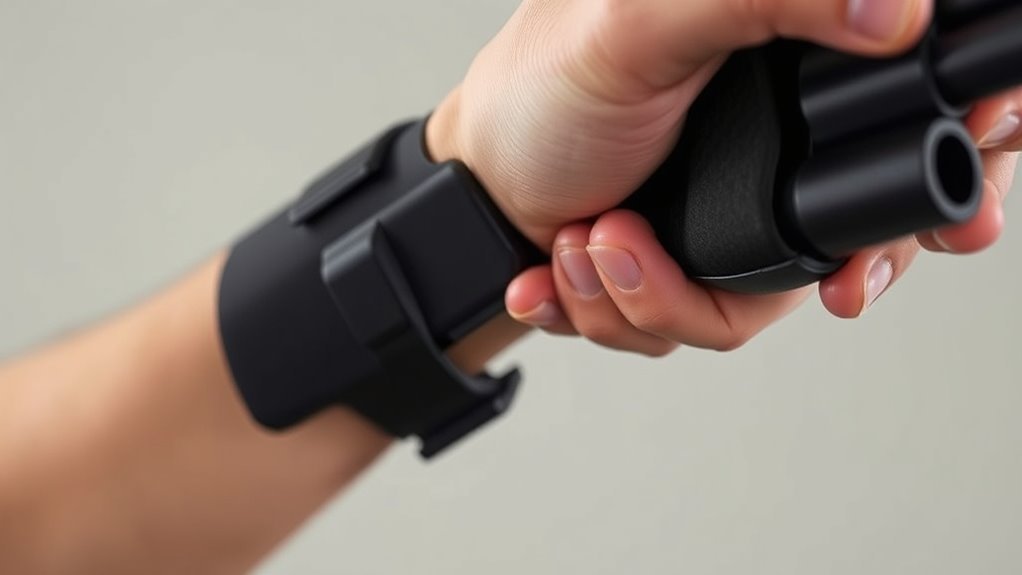
Start by measuring your forearm circumference to guarantee the pistol brace fits properly. Then, adjust and secure the Velcro straps so the brace wraps snugly without cutting off circulation.
This helps you maintain control and comfort while shooting. You want it tight enough to stay in place but not so tight that it feels uncomfortable. Easy adjustments make all the difference!
Measuring Forearm Circumference
Although adjusting your pistol brace might seem straightforward, measuring your forearm circumference accurately is essential for ensuring a comfortable and secure fit. Start by taking a forearm measurement at its widest point, usually 2 to 3 inches below the elbow, using a flexible tape measure.
Make sure the tape is snug but not tight to capture an accurate size that reflects comfort. Record this measurement in inches or centimeters to guide your brace adjustment.
Use this data to select or modify a brace with adjustable straps or padding, optimizing fitment. After making adjustments, re-measure your forearm to confirm the brace fits snugly without restricting circulation or causing discomfort.
This way, you’ll ensure the brace remains both functional and comfortable during use.
Securing Velcro Straps
After measuring your forearm to find the right size, the next step is to secure the Velcro straps on your pistol brace. Wrap the Velcro straps around your forearm snugly, but not too tight to avoid restricting circulation.
Adjust the straps so the brace fits comfortably and prevents unwanted movement during shooting. Make certain the Velcro fasteners align properly to ensure maximum grip without slipping.
Tighten or loosen the straps as needed to maintain stable forearm support. Always confirm that the Velcro is fully engaged and secure before handling or firing your firearm.
| Step | Tip |
|---|---|
| Wrap Velcro Straps | Ensure a snug fit |
| Align Fasteners | Maximize grip, prevent slip |
| Adjust Tightness | Comfortable, stable support |
Position the Brace for Maximum Stability on Your Arm
When you position the pistol brace snugly against your forearm just below the elbow, you create a stable foundation that enhances control. Start by wrapping the arm cuff around your forearm with the padding facing inward to maximize comfort and grip.
Adjust the Velcro straps so there’s no slack, ensuring a tight connection between the brace and your arm. Align the brace’s support surface along the length of your forearm to evenly distribute recoil, which boosts stability during use.
Keep the brace firmly pressed against your arm without tension, maintaining a natural, relaxed hold on the firearm. This precise positioning of the brace is key to improving your shooting accuracy and overall handling by providing maximum stability to your arm.
Grip the Firearm Properly and Maintain Trigger Discipline
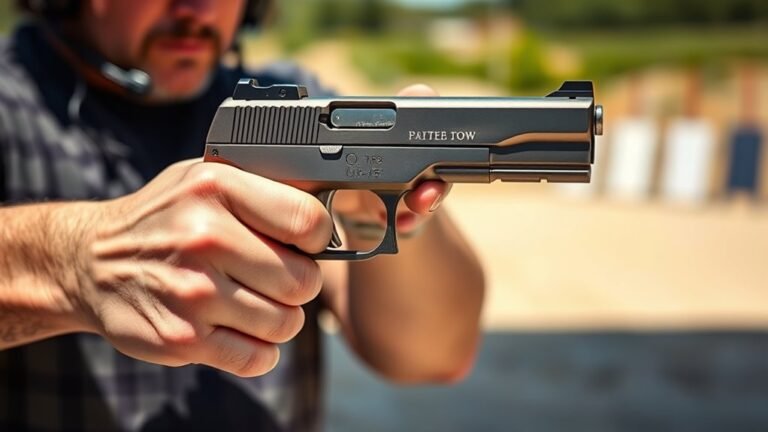
You’ll want to grip the firearm firmly with your dominant hand while securing it with your other hand or forearm using the brace. Keep your wrist straight and elbows slightly bent to maintain control and reduce recoil.
Always rest your trigger finger outside the trigger guard until you’re ready to shoot. This helps prevent accidental discharge and keeps you safe.
Proper Hand Placement
Although gripping a pistol brace might seem straightforward, mastering proper hand placement is crucial for control and safety. Your dominant hand should firmly grasp the pistol grip, keeping your trigger finger outside the trigger guard until you’re ready to shoot.
Your support hand plays a key role in stabilizing the firearm, wrapping around the forearm or pistol grip to maintain control. Proper hand placement helps prevent unwanted movement and improves accuracy.
Keep these points in mind:
- Maintain a high, consistent grip with a straight, relaxed wrist
- Keep your trigger finger aligned along the frame or outside the trigger guard
- Use your support hand to stabilize the firearm firmly
- Apply steady, controlled pressure on the trigger to avoid jerking
This approach guarantees better control and safer handling every time. It really makes a difference when you’re out on the range or in any shooting scenario.
Secure Forearm Position
Securing a proper forearm position starts with gripping the firearm firmly using your dominant hand, wrapping your fingers around the grip while keeping the hold comfortable yet secure. Place your support hand around the forearm or stabilizing brace, applying gentle pressure to enhance stability and control recoil.
Make certain your support hand and forearm rest comfortably against the brace without overextending. This helps prevent fatigue during use.
Maintain consistent grip pressure to minimize firearm movement, which improves accuracy and control. Always keep your trigger finger outside the trigger guard until you’re ready to shoot — practicing strict trigger discipline is key.
Consistent Trigger Control
When you grip the firearm properly and maintain trigger discipline, you enhance stability and control recoil. This leads to more accurate shots. Your grip should be firm yet relaxed to prevent flinching and keep the pistol steady.
Always keep your finger outside the trigger guard until you’re ready to fire. Practicing strict trigger discipline is key. When you do pull the trigger, apply a smooth, controlled pull straight back to avoid disturbing your aim.
Focus on consistency with each shot to improve your overall accuracy. It really makes a difference when you keep these habits steady.
- Maintain a firm, consistent grip for stability
- Keep your finger off the trigger until ready
- Use a steady, straight trigger pull
- Avoid jerking or slapping the trigger
Align Your Sights and Keep a Steady Aim
How do you guarantee your shots hit their mark? Start by properly aligning your front and rear sights to get a clear sight picture before pulling the trigger. This alignment is essential for accuracy.
Next, maintain a firm, consistent grip on your firearm to enhance control and reduce unwanted movement. Use your non-dominant hand to support the forearm or handguard. This helps keep your aim steady.
Keep your elbows tucked close to your body to improve stability and manage recoil better. Finally, focus on smooth, controlled breathing. It steadies your aim and prevents jerking the trigger.
Combine these techniques, and you’ll maintain precise firearm control and consistent accuracy every time you shoot.
Practice Controlled, Accurate Firing With the Pistol Brace
Although mastering your aim takes time, practicing controlled, accurate firing with the pistol brace will considerably improve your shot precision. You’ll want to focus on maintaining a stable grip by firmly securing the brace against your forearm to reduce wobble and boost stability.
Consistent practice with proper stance and body mechanics will help you deliver repeatable, accurate shots. Start slow to build muscle memory and refine your technique for better control.
Incorporate dry fire and live fire drills to sharpen coordination and accuracy.
- Maintain a stable grip by securing the brace firmly.
- Use proper stance and body mechanics to support stability.
- Begin with slow, deliberate shots to develop muscle memory.
- Practice dry firing and live firing regularly to enhance accuracy.
Frequently Asked Questions
How to Actually Use a Pistol Brace?
You strap the brace securely around your forearm, hold the firearm firmly, and press the brace against your arm. Keep your wrist straight and apply pressure for control and accuracy, adjusting as needed for comfort and stability.
What Is the Rule on Pistol Braces?
Think of a pistol brace like a bike helmet—meant for support, not full use as a shoulder stock. You can use it legally now, but stay alert; future rules might change how you ride.
Do You Have to Keep the Strap on a Pistol Brace?
No, you don’t have to keep the strap on a pistol brace. Removing it won’t affect legality, but some manufacturers and ranges suggest keeping it for stability and safety. Always check local rules before deciding.
How to Shoulder a Pistol Brace?
To shoulder a pistol brace, press it gently against your shoulder for stability, grip the pistol firmly with your dominant hand, and avoid applying too much force. Keep it snug but comfortable to improve accuracy and control.
Conclusion
Using a pistol brace can improve your shooting stability and accuracy markedly. Did you know that studies show shooters using a brace can reduce recoil impact by up to 30%?
By following these simple steps, you’ll not only handle your firearm safely but also boost your confidence and control. Remember, practice makes perfect, so keep honing your skills with your pistol brace.
Using a pistol brace regularly can make a big difference in your shooting experience. It helps you stay steady, manage recoil better, and ultimately shoot more accurately. So, don’t rush it—take time to get comfortable and practice often. This way, you’ll enjoy a safer, more enjoyable shooting experience every time you pick up your pistol brace.