How to Zero a Pistol Red Dot in 7 Easy Steps
First, verify your iron sights are accurately zeroed. This ensures your baseline aiming is spot on before you add the red dot.
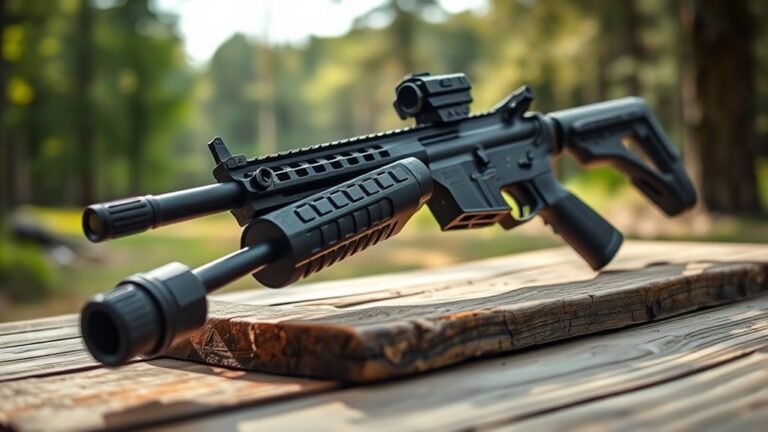
Then, securely mount the red dot on your pistol, making sure it’s firmly attached and properly aligned.
Next, choose your ideal zero distance, which is usually between 10 to 25 yards. This distance depends on your shooting needs and preferences.
After that, bore sight the optic to align it with your barrel. This step helps get your initial aim close without wasting ammo.
Now, fire a test group from a stable rest, paying close attention to where your shots land.
Based on your shot placement, adjust the red dot accordingly.
Finally, verify your adjustments by shooting another group to confirm your zero.
Stick with these simple steps, and you’ll quickly master precise pistol red dot shooting. It’s easier than you think once you break it down.
Confirm Accuracy of Iron Sights
Before mounting your red dot, make sure your pistol’s iron sights are properly aligned and zeroed, as they provide a reliable baseline for adjustments. Start by using a target at close range—5 or 10 yards works well—to verify that your iron sights hit exactly where you aim.
This step confirms their accuracy, which is essential before proceeding. If you notice the sights are off, adjust them according to the manufacturer’s instructions until you achieve a proper zero.
Double-check their alignment after any shooting session or handling, since even slight changes can affect your baseline. Reliable iron sights give you a solid reference point, making it easier to determine the precise adjustments needed when zeroing your red dot sight.
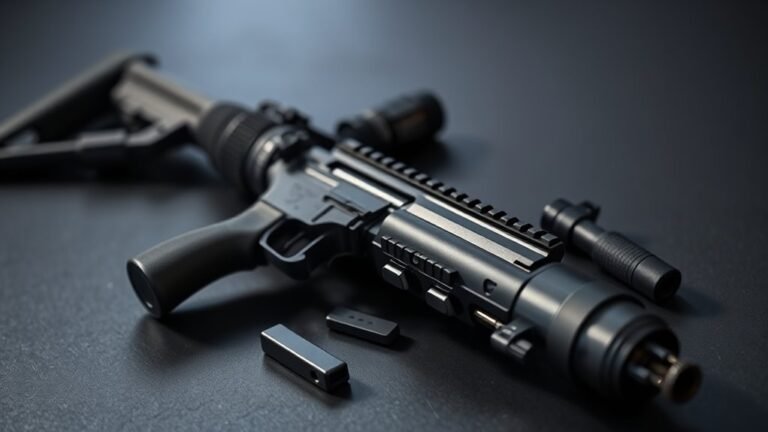
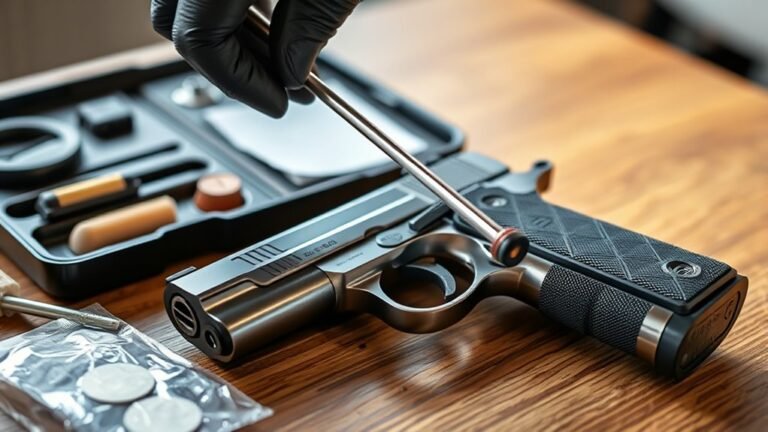
Mount the Red Dot Securely
You’ll want to follow the manufacturer’s instructions carefully to mount your red dot securely. Use the right tools to tighten screws to the recommended specs and verify the sight sits flat and stable on your pistol.
Make sure to regularly check the mounting to keep it tight. This helps maintain consistent accuracy and avoids any surprises when you need it most.
Proper Mounting Techniques
Although mounting a red dot sight may seem straightforward, securing it properly is essential to maintain accuracy and reliability. First, ensure the mounting plate and red dot are fully compatible with your pistol model to avoid alignment issues.
Position the sight carefully on the slide’s mounting interface, making sure it sits evenly without any canting. Next, tighten all mounting screws to the manufacturer’s recommended torque settings to prevent any movement during shooting.
Applying a thread-locking compound like Blue Loctite on the screws adds extra security against recoil or holstering vibrations. Finally, double-check the sight’s stability by applying gentle pressure, confirming there’s no play or wobble.
Proper mounting and alignment are key to consistent performance and accurate zeroing of your pistol red dot. So, take your time and make sure everything’s snug and secure for the best results.
Ensuring Sight Stability
Securing your red dot sight properly during mounting sets the stage for its stability when shooting. First, follow the manufacturer’s instructions carefully to mount the sight correctly. Make sure the mount sits flush on your pistol without gaps or wobble.
Tighten the mounting screws to the recommended torque and apply a thread-locking compound like Loctite to prevent loosening. After mounting, rack the slide several times to check for any movement or play in the sight.
It’s essential to inspect the mount regularly, especially after shooting sessions, to guarantee it remains secure. If you notice any shifting, re-tighten the screws immediately. By taking these steps, you’ll maintain the stability of your red dot, ensuring consistent accuracy every time you shoot.
Select Your Zero Distance
When selecting your zero distance, consider how you typically use your pistol and what distances you expect to engage. Choosing the right zero distance helps ensure your red dot’s aim aligns with the point of impact effectively.
Here are common zero distances to help you decide:
- 10 yards – Ideal for close-range shooting and self-defense, offering a quick, simple zero distance.
- 15 yards – A balanced choice for both close and medium-range targets, providing versatile performance.
- 25 yards – Preferred for precision and competition shooting, creating a flatter bullet trajectory.
- Custom distances – Tailor your zero distance based on specific shooting scenarios or personal preferences.
Selecting the proper zero distance optimizes your aim and helps make sure your red dot delivers accurate point of impact where you need it most.
Perform Bore Sighting
Before firing any live rounds, you should perform bore sighting to align your pistol’s red dot with the barrel. Start by chambering a bore sight laser or using a chamber-mounted laser device that matches the barrel’s alignment.
Next, aim the bore sight laser at a target set at your chosen zero distance, like 10 or 15 yards. With the laser beam’s point of impact clearly visible on the target, adjust your red dot so it aligns perfectly with that spot.
If you’re using a cartridge-style bore sight, load it into the magazine and chamber it to ensure proper alignment. This process helps you get a precise initial zero, making sure your red dot is close to the actual point of impact before you fire any live rounds.
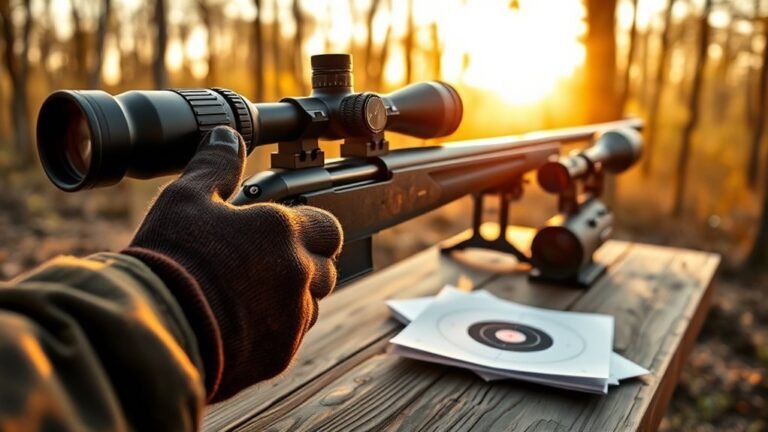
Fire a Test Group
Now it’s time to fire a test group using a stable rest to keep your shots consistent. Focus on aiming at the same point each time to get an accurate pattern.
Then, analyze where your shots land to figure out how to adjust your red dot sight. This way, you’ll know exactly what needs tweaking.
Group Shooting Technique
Although zeroing your pistol red dot requires patience, firing a test group is essential to guarantee accuracy. To perfect your group shooting technique, follow these steps:
- Aim consistently at the same point on your target for each shot in a 5-round group from a stable rest. This helps you see how your shots cluster.
- Observe the groups’ center to see how far the shots deviate from your intended aim. It’s all about spotting where your shots land compared to where you aimed.
- Measure the deviation using a ruler or target grid to determine necessary zero adjustments. Getting this measurement right is key to making the right tweaks.
- Make precise adjustments to your red dot based on the measured deviation, then fire another group to confirm your zero. Rinse and repeat until you get that perfect grouping.
Analyze Shot Placement
When you fire a 5-round group at your chosen zero distance using a stable rest, you get a clear picture of where your shots actually land compared to your point of aim. Carefully analyze your shot placement by noting any impact deviation—whether shots land left, right, above, or below your aiming point.
Measure the distance between the center of your shot grouping and the point of aim using a ruler or calipers. Then, convert these measurements into MOA or inches to determine precise adjustments for your red dot sight.
After making corrections, fire another shot grouping to confirm if your impacts move closer to the point of aim. Repeat this process as needed—it’s the best way to ensure your pistol red dot zero is accurate and reliable for consistent shooting performance.
Adjust the Optic Based on Shots
After firing a group, you’ll need to measure how far the shots landed from your intended point of aim to determine the adjustments required.
To adjust your optic and zero your pistol red dot, start by measuring the deviation of the impact from your point of aim.
Next, calculate the number of clicks needed by dividing that deviation by the MOA per click, which is usually ½ MOA per click.
Then, turn the windage knob left or right, and the elevation knob up or down, depending on where your shots landed.
Make the calculated clicks to shift the point of impact toward your desired zero.
This method guarantees you’ll precisely adjust the red dot, bringing your shots closer to zero with each adjustment. Easy, right?
Verify Zero With Follow-Up Shooting
Once you’ve made your initial adjustments, it’s time to verify your zero with follow-up shooting. Take follow-up shots from a stable position, like a bench rest, to reduce human error and ensure consistency.
Fire a group of shots and carefully measure the impact points, comparing them to your target’s point of aim. This comparison helps you determine if further adjustments are necessary.
Make small, incremental changes—usually ½ MOA per click—based on where your impacts fall. Repeat this process, firing groups and checking impact points, until your shots consistently cluster around your intended point of aim.
This thorough zero verification confirms your pistol red dot is accurately zeroed for reliable performance.
Conclusion
By confirming your iron sights and mounting the red dot securely, you set the foundation for accurate shooting. Next, select your zero distance carefully to match your typical shooting range.
Perform bore sighting to align the optic roughly before firing a test group. This helps you see where your shots are landing compared to the point of aim.
After that, adjust the optic based on your test shots. Then, verify your zero with follow-up shooting to ensure everything is dialed in perfectly.
You’ll see clearer targets and shoot straighter shots when your red dot is zeroed correctly. Trusting your gear grows as your confidence rises. Follow these steps, repeat them when needed, and you’ll shoot confidently every time you pick up your pistol. Zeroing your pistol red dot has never been easier or more effective!