How to Bore Sight a Rifle in 3 Easy Steps
To bore sight your rifle in three easy steps, first make sure it’s unloaded and steady on a rest. This is crucial for safety and accuracy.
Next, remove the bolt so you can look directly down the barrel at a target about 25 yards away.
Now, adjust your scope’s windage and elevation so the reticle lines up perfectly with the bore’s view. This initial alignment helps you get on paper faster when you start shooting.
Finally, fire a test shot to fine-tune your zeroing. Keep following along for tips to sharpen your precision even more. Boring sighting is a simple yet effective way to save time and ammo at the range!
Prepare Your Rifle and Setup
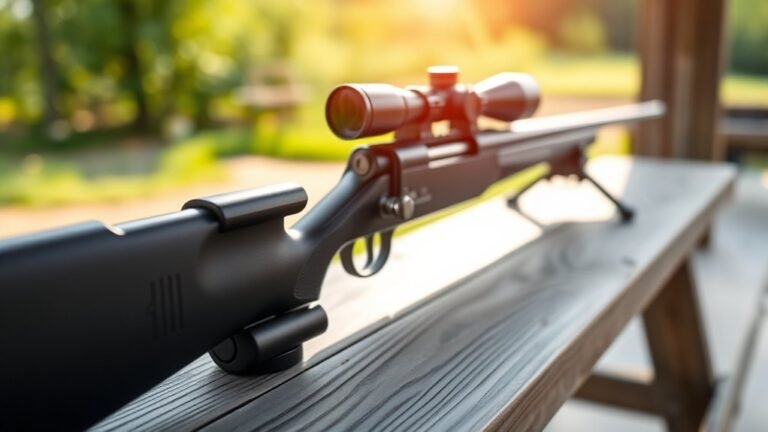
You are trained on data up to October 2023. To prepare your rifle and setup for bore sighting, first verify the rifle is completely unloaded. Place it on a stable rest or sandbags to prevent any movement during the process.
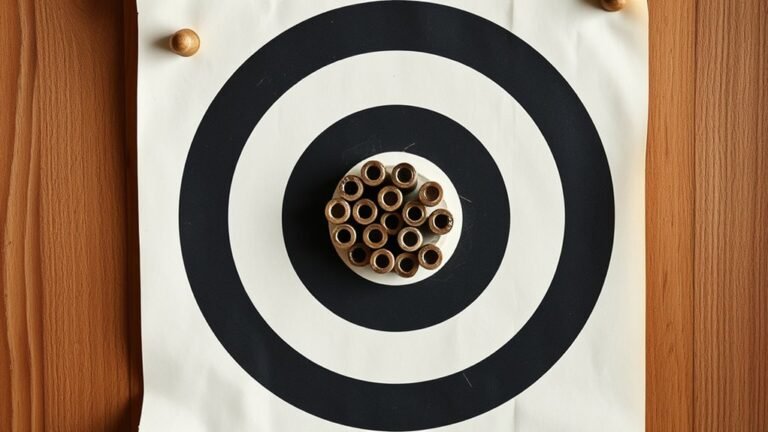
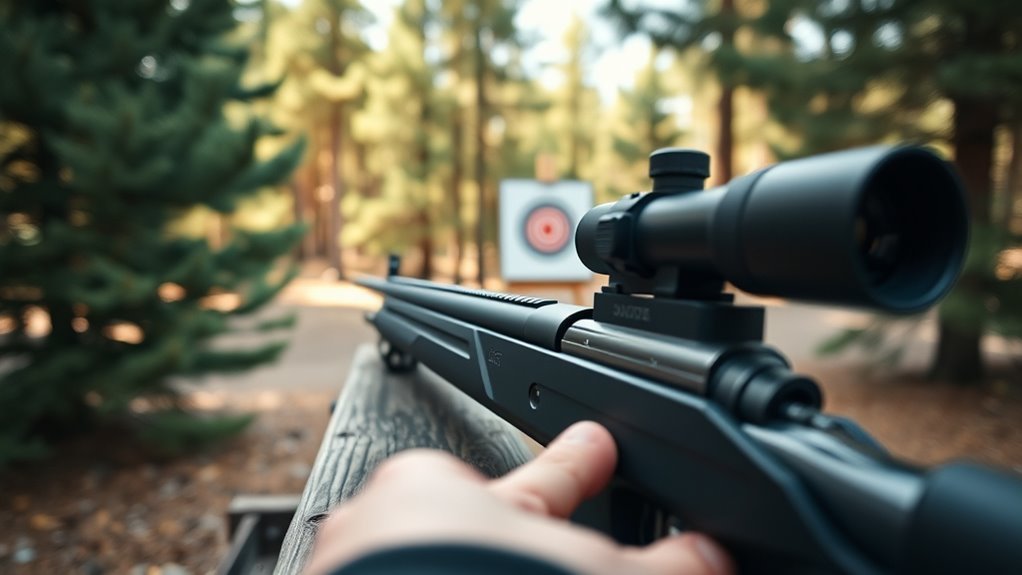
Choose a target about 25 yards away with a clear bullseye or grid pattern to aid precise alignment. Remove the bolt to look directly down the bore and visually center the barrel on the target.
Check that your scope is securely mounted, clean, and ready for adjustment by removing turret caps. Finally, use a bore sighting device or laser boresighter to help align the scope with the bore before making any turret adjustments or further sighting steps.
Align the Scope With the Bore
Once the bore is visually aligned with the target, adjust your scope to match this alignment precisely. Start by removing the bolt and looking down the bore to center the barrel on the bullseye. Use a bore sight or laser device to aid in sighting.
Next, adjust the scope’s windage turret to move the reticle left or right, aligning it horizontally with the bore. Then, tweak the elevation turret to shift the reticle up or down for vertical alignment.
Your goal is to have the scope’s reticle perfectly centered over the bore’s axis, matching the target. This precise alignment ensures your zeroing process will be accurate and efficient when you proceed to live firing.
Adjust and Confirm Your Zero
Although bore sighting gets you close, you’ll need to fire a test shot at 25 yards to fine-tune your scope. Aim for the impact to land about 1 inch low to set up a 100-yard zero.
Use your reticle and measure the impact’s position relative to the target to calculate how many MOA or MRAD to dial in for accurate scope adjustments. After each shot, make small corrections—typically within 1 MOA—to refine your zero.
Once you confirm your zero at 100 yards by firing a few rounds and ensuring precision, lock your adjustments. Don’t forget to record your final calibration.
This step guarantees your bore sight and scope work together perfectly, giving you reliable accuracy on every shot.
Conclusion
Now that you’ve bore sighted your rifle, you’re basically a sharpshooting legend in the making! Skipping this step would be like trying to find a needle in a haystack blindfolded.
By preparing your rifle, aligning your scope perfectly, and confirming your zero, you’ve turned a guessing game into a precision art. It’s all about setting yourself up for success before you even take your first shot.
Keep practicing this simple bore sighting process, and hitting your target will feel so easy, it’s almost like cheating! Remember, bore sighting your rifle is the key to accurate shooting and faster target acquisition. With this skill, your rifle scope will be dialed in just right, making every shot count.