How to Do a Pistol Squat in 5 Simple Steps
Start by checking your ankle and hip mobility to guarantee proper range of motion. This step is crucial for doing a pistol squat without risking injury.
Next, master the basic air squat with good form—feet shoulder-width, chest up, and knees tracking. It helps build a solid foundation for more advanced moves.
Then, build strength and balance by holding single-leg squats for several seconds. This will get your muscles ready for the challenge ahead.
Use assisted variations like squatting to a box to practice controlled movement. It’s a great way to get comfortable with the motion while improving stability.
Finally, perform the full pistol squat with steady control and balance. Keep going, and you’ll open detailed tips to perfect your technique. Trust the process—you’ll get there!
Assess Your Ankle Mobility and Hip Flexibility
Before attempting a pistol squat, you should assess your ankle mobility and hip flexibility to guarantee proper form and prevent injury. Start with mobility tests like the knee-to-wall test to measure dorsiflexion. If your knee can’t reach five inches without your heel lifting, your ankle mobility needs work.
For hip flexibility, try the active hip flexion test or butterfly stretch to ensure your hips can move through the full squat range. Incorporate flexibility exercises such as kneeling ankle rocks, ankle circles, calf stretches, and modified lunges or frog stretches to improve both ankle dorsiflexion and hip mobility.
Regularly redo these mobility tests to track your progress and notice improvements in your squat range and comfort during movement. It’s a simple way to stay on top of your flexibility and keep your pistol squats safe and effective.
Master the Basic Air Squat With Proper Form
Once you’ve assessed your mobility, mastering the basic air squat is essential to building the strength and form needed for a pistol squat. Start with your feet shoulder-width apart, toes slightly pointed outward, and chest up.
As you squat, bend simultaneously at the hips and knees, keeping your back straight and core engaged. Lower yourself until your thighs reach a full range parallel to the ground or slightly below, maintaining a controlled descent.
Ensure your knees track over your toes and don’t collapse inward. Keep your heels flat on the floor throughout the movement, pushing through them as you rise.
Focusing on this proper position and full range of motion improves your squat mechanics and mobility. This lays a solid foundation for progressing toward the pistol squat.
Practice Single-Leg Isometric Holds for Strength and Balance
Building on your air squat foundation, practicing single-leg isometric holds strengthens the muscles and balance needed for pistol squats. To perform these, lower into a squat on one leg, bending your knee to about 120°, and hold that position for 6-8 seconds.
Focus on engaging your core, glutes, and leg muscles to maintain stability and proper alignment. Aim for 3-4 sets per leg, gradually increasing hold time as your balance and strength improve.
You can use a bench or chair for support if needed, especially when starting out. Incorporate these isometric holds into your routine 2-3 times a week to build unilateral strength and enhance your overall stability, preparing you effectively for the full pistol squat movement.
Use Assisted Variations Like the Single-Leg Squat to Box
Although mastering a full pistol squat takes time, you can use assisted variations like the single-leg squat to a box to build strength and control. Start by placing a box or chair at knee height and position yourself on one leg, with your other foot firmly on the box.
Keep your heel flat and knee aligned over your toes as you lower down to reach the bottom of the squat. Use your hands on a surface or support to help maintain balance.
Focus on controlled lowering and then push back up to standing with power. Perform 3-5 sets of 8-12 reps per leg, ensuring good form throughout.
As you get stronger, gradually lower the box height before attempting unassisted pistol squats. This way, you’ll build confidence and control step by step.
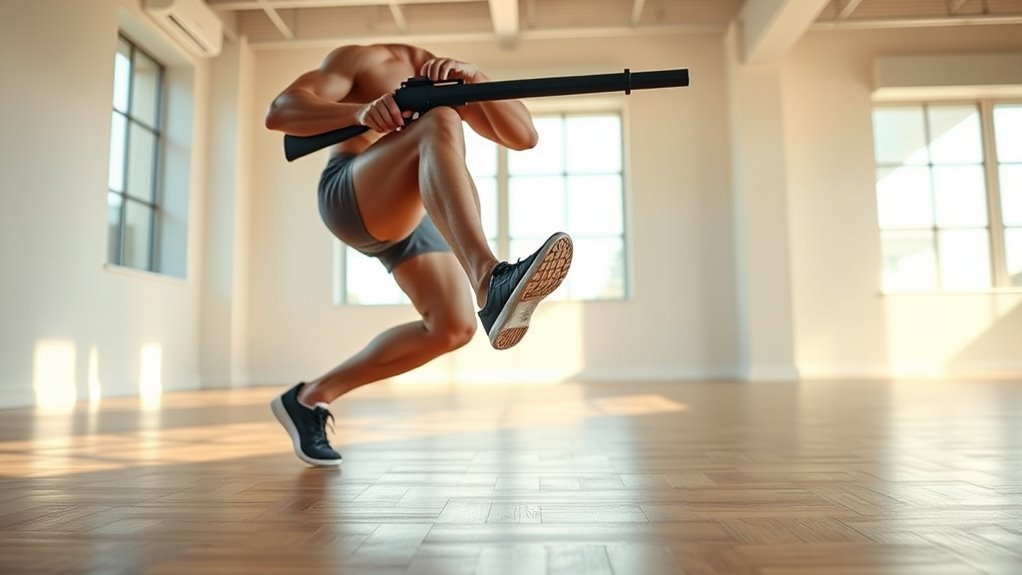
Perform the Full Pistol Squat With Control and Stability
After gaining strength and control with assisted single-leg squats to a box, you can start performing the full pistol squat with focus and stability. Maintain a tall, upright torso with your shoulders back and core engaged throughout the movement.
Descend slowly by pushing your hips back and bending the knee of your supporting leg, aiming to sit until your buttocks reach your heel. Keep your non-weighted leg extended straight in front, toes pointing slightly upward, to aid balance and support.
Use your arms forward, adjusting them as needed to prevent wobbling and maintain control. As you rise, push through the heel of the supporting foot, driving the movement smoothly back to standing while squeezing your glutes.
This controlled approach guarantees proper balance and stability during the pistol squat. Just take it slow and steady, and you’ll get the hang of it in no time!
Conclusion
By following these steps, you’ll build the strength and balance needed for a pistol squat. Take Sarah, who struggled with ankle mobility but improved through targeted stretches and assisted squats.
Within weeks, she mastered the full pistol squat with control and confidence. Remember, progress takes time, so stay patient and consistent.
With dedication, you’ll notice your stability and strength improve. Making the pistol squat a powerful addition to your fitness routine will boost your overall lower body strength and balance. Keep practicing, and soon you’ll be able to perform pistol squats smoothly and safely, enhancing your workout and functional fitness.