How to Mount a Rifle Scope in 10 Easy Steps
To mount a rifle scope in 10 easy steps, first gather your tools and make certain your firearm is unloaded and safe. Selecting the right mounting hardware for your scope and rifle is essential to ensure a secure fit. Before you start, clean all contact surfaces thoroughly to avoid any dirt or debris affecting the installation.
Next, install the bases securely on your rifle. Position the scope to achieve proper eye relief, which is crucial for comfortable and accurate shooting. Make sure to level both the rifle and the reticle precisely to ensure your shots hit where you aim.
After that, tighten the rings evenly using a torque wrench to avoid damaging your scope or misaligning it.
Finally, do a thorough check for alignment and stability. Follow these basics, and you’ll be ready to fine-tune your setup for maximum accuracy and improved shooting performance.
Gather the Necessary Tools and Equipment
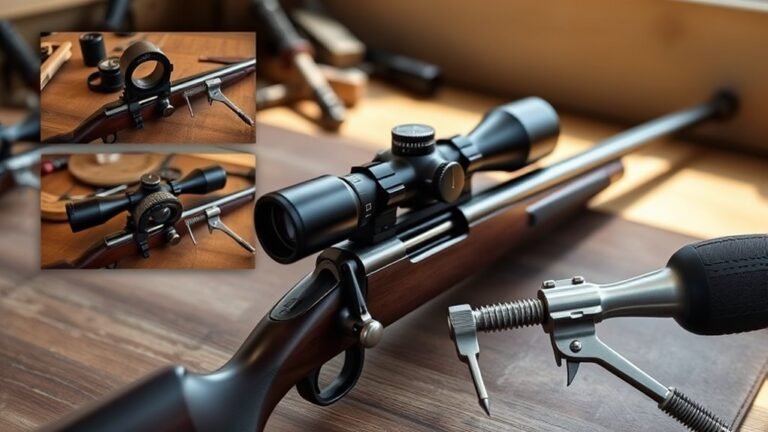
Before you begin mounting your rifle scope, gather all the necessary tools and equipment to guarantee a smooth installation. You’ll need a torque wrench, bubble levels, a gun vise or stabilizer, scope rings or mounting rails, and a cleaning cloth.
Make sure all hardware, including bases and rings, matches your rifle and scope specifications, like diameter and mounting type. Double-check your tools are in good condition and properly calibrated, especially the torque wrench, so you apply the correct screw tension.
Prepare a clean, stable workspace free of debris to avoid any mishaps. If your scope’s manufacturer recommends it, use thread locker sparingly on screws to secure the mounting hardware.
Having everything ready upfront ensures a precise and hassle-free scope mounting experience. It really makes the whole process smoother and less stressful.
Ensure Firearm Safety and Preparation
Once you’ve gathered all your tools and set up your workspace, focus on firearm safety and preparation. First, make sure your firearm is completely unloaded by removing all ammunition and visually and physically checking the clear chamber and magazine.
Engage the firearm’s safety mechanism to prevent accidental discharge. Work in a clean, well-lit area free of distractions so you can maintain focus on each step. Always wear appropriate protective equipment, like safety glasses, to shield your eyes from debris or slips.
Following these firearm safety protocols ensures a secure environment as you prepare to mount your rifle scope. Remember to consult the manufacturer’s instructions and adhere to local firearm regulations throughout the process to guarantee safe handling and proper setup.
Select the Appropriate Scope Mounting Hardware
Although choosing the right scope is essential, selecting the appropriate mounting hardware guarantees a secure and accurate setup. Start by matching scope rings to your scope’s tube diameter—either 1-inch or 30mm.
Pick a mount style compatible with your firearm’s receiver, like a Picatinny rail or dovetail. Use corrosion-resistant mounting hardware to withstand recoil and weather.
Also, consider ring height for proper eye relief and barrel clearance. Finally, check that base screws align with your firearm’s mounting holes before you tighten screws.
| Hardware Type | Diameter Fit | Mount Style |
|---|---|---|
| Scope Rings | 1-inch / 30mm | Picatinny, Dovetail |
| Base Screws | Matches Rail Specs | Corrosion-resistant |
| Ring Height | Low / Medium / High | Ensures Eye Relief |
Clean the Rifle and Scope Contact Surfaces
Since a secure and stable mount depends on clean contact surfaces, you should thoroughly wipe the rifle and scope parts with a lint-free cloth and isopropyl alcohol to remove grease, oil, and debris. Focus on the scope tube, rings, and mounting bases—any residue left can cause misalignment or movement later.
After cleaning, avoid touching these surfaces with your fingers to prevent transferring oils or dirt. Make sure all mounting hardware and contact points are completely dry and free of obstructions before you start assembling.
Proper cleaning of contact surfaces guarantees the scope fits securely and maintains alignment, which is vital for accuracy. Taking time with this cleaning step prevents scope shifting and guarantees excellent mounting stability throughout your shooting sessions.
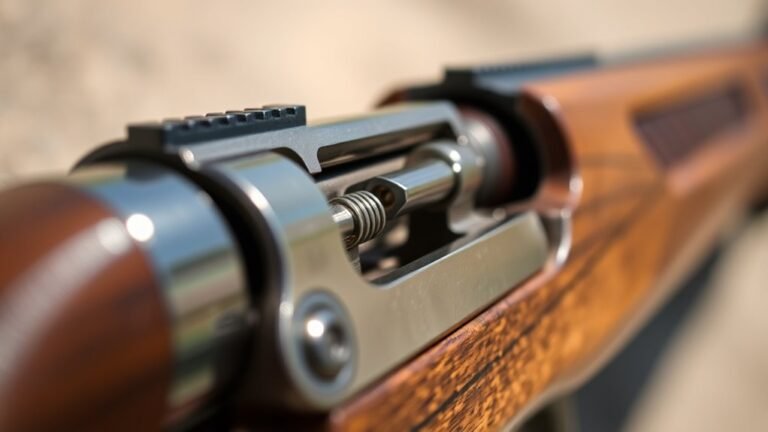
Install the Scope Bases on the Rifle
How do you guarantee your scope bases fit perfectly on your rifle? Start by verifying the scope base matches your rifle model and aligns precisely with the receiver holes.
Clean all mounting surfaces and screw holes with isopropyl alcohol to remove grease and debris, ensuring a secure fit. This step is super important for a solid installation.
Apply a small amount of thread locker to each scope base screw to prevent loosening during firing. Then, attach the base loosely at first.
Gradually tighten the screws in a crisscross pattern to promote even torque distribution and maintain proper alignment. This helps everything stay in place just right.
Finally, use a torque wrench to tighten the screws to the manufacturer’s recommended specifications, typically 15-20 in-lb. Following these steps guarantees your scope base is firmly and accurately installed on your rifle.
Attach the Bottom Halves of the Scope Rings
Before tightening anything, loosen and loosely attach the bottom halves of the scope rings onto your rifle’s base or rail. Make sure they align properly with the scope tube.
Position the ring bases so there’s enough clearance for the objective lens and proper eye relief. If the manufacturer recommends it, apply a small amount of thread locker to the mounting screws before inserting them. Then, partially tighten the screws just enough to hold the bottom halves in place.
Next, use a torque wrench set to the specified torque—usually between 15 and 18 in-lb—to tighten the screws evenly. Do this in a crisscross pattern to ensure even pressure.
Finally, double-check that the bottom halves of the scope rings are securely mounted and correctly aligned before moving on to install the scope itself.
Position the Scope and Adjust Eye Relief
Now that you’ve attached the bottom halves of the rings, it’s time to position the scope for proper eye relief. Slide the scope forward or backward until you find a comfortable distance—usually between 2.5 to 4 inches—from your eye.
Make sure the reticle is centered and aligned with the rifle before tightening the rings. This way, you’ll get a clear, comfortable view every time you look through the scope.
Scope Placement Basics
When you position your rifle scope, start by adjusting it to the correct eye relief, which is usually about 3 to 4 inches from your eye. This guarantees a full sight picture without strain.
Slide the scope fore-and-aft in the mounting system to find the ideal eye relief where the reticle and target are clearly visible. Once you find this spot, mark the scope tube with masking tape or a marker to keep your placement consistent.
Make sure the scope is centered horizontally and vertically in the rings to avoid canting. Finally, carefully tighten the screws on the mounting system, checking that the sight picture remains clear and natural throughout.
Proper scope placement helps you shoot comfortably and accurately. It’s all about finding that sweet spot so your shots land where you want them.
Eye Relief Adjustment
After positioning your scope roughly for proper eye relief, fine-tune it by sliding the scope forward or backward in the rings until you get a clear, full sight picture without any blacking out or vignetting.
Place your cheek firmly on the stock and look through the scope at the highest magnification to find the ideal eye position and eye relief, typically between 2.5 to 4 inches. It’s all about getting that perfect view.
Adjust the scope within the rings and bases to ensure the reticle stays centered at all magnifications. This helps prevent strain or neck discomfort down the line.
Once you’ve nailed the perfect eye relief and full sight picture, mark the scope tube or rings’ position. Then, tighten the rings securely to hold your scope firmly in place.
Doing this ensures consistent and comfortable shooting every time. Easy and effective!
Level the Rifle and Scope Reticle
To get your scope perfectly aligned, start by leveling your rifle using a bubble level on the receiver or base. Then, use tools like the Level-Right Pro or a flashlight to project a horizontal line that helps you align the reticle precisely.
Make sure to check the reticle’s alignment from your natural shooting position and verify it stays level after tightening the rings. This way, you’ll ensure everything stays true when you’re ready to shoot.
Rifle Leveling Techniques
Ensuring your rifle and scope reticle are perfectly level is essential for accurate shooting. Proper rifle leveling and scope alignment rely on precise use of mounting accessories and tools. Here’s how to get it right:
First, place your rifle on a stable, flat surface. Then, use a bubble level on the receiver to confirm it’s perfectly horizontal.
Next, attach a barrel clamp level or precision leveling system on the barrel or rail. This helps establish a true horizontal reference.
After that, use a bubble level on the scope tube or turret caps. Adjust until the bubble centers to align the reticle properly.
Finally, recheck both the rifle and scope levels after tightening the rings. This step is key to avoid any canting or misalignment during final mounting.
Following these rifle leveling techniques ensures your scope’s reticle stays true for consistent accuracy. It’s a simple process that makes a big difference in your shooting performance.
Reticle Alignment Methods
When you level both the rifle and scope reticle correctly, your shots will stay true and consistent.
Start by mounting a barrel clamp level on the rifle to establish a baseline. Use bubble levels on both the rifle receiver and scope to ensure precise reticle alignment.
Gradually adjust the ring screws while verifying the reticle’s horizontal and vertical alignment at high magnification. Don’t forget to maintain proper eye relief during this process to avoid scope canting.
| Step | Tool/Action | Purpose |
|---|---|---|
| 1. Level rifle | Barrel clamp level | Reference baseline |
| 2. Level scope | Bubble level | Align scope to rifle |
| 3. Adjust ring screws | Tighten gradually | Secure scope without canting |
| 4. Check reticle | High magnification | Confirm horizontal & vertical |
| 5. Verify eye relief | Position scope | Maintain comfort and accuracy |
Tools for Precision
How do you guarantee your rifle and scope reticle stay perfectly level during mounting? Precision tools are key. Here’s how you can assure accuracy:
First, secure your rifle in a stable rest or vise. This prevents any movement during mounting.
Next, use a high-quality bubble level or Level-Right Pro on the scope’s base or turret cap. This helps you check the reticle alignment.
You can also employ a leveling system that projects a laser or bubble. This aligns the scope precisely with the rifle’s natural position.
Finally, tighten screws using a torque wrench, but don’t forget to regularly recheck the level. This keeps your alignment consistent.
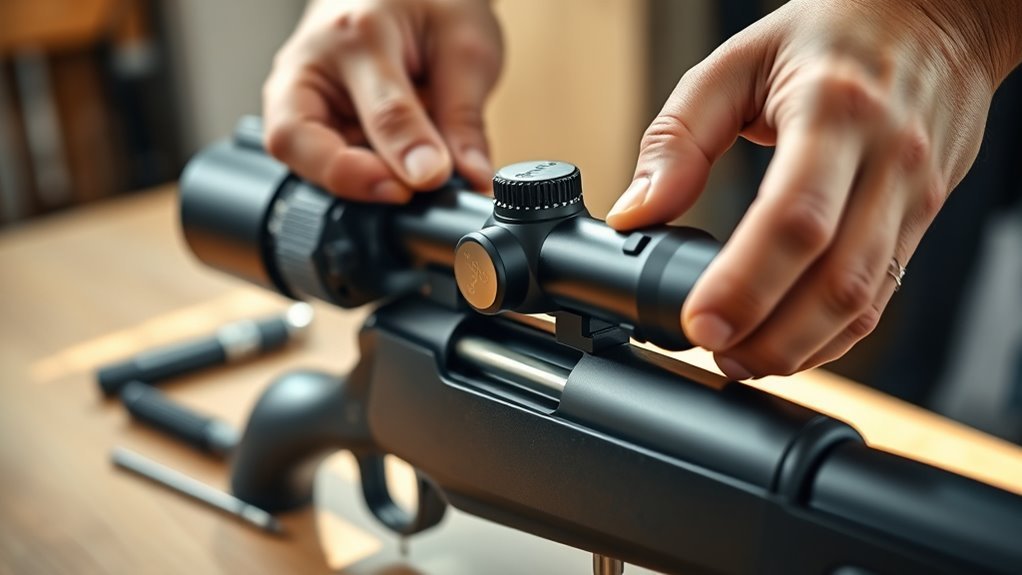
Secure the Top Halves of the Scope Rings
Why should you lightly tighten the top halves of the scope rings before fully securing them? Doing so guarantees even pressure on the scope tube and helps maintain proper alignment.
Start by positioning your scope for ideal eye relief and alignment. Then, place the top halves over the scope and lightly tighten each screw in an alternating pattern. This prevents uneven mounting stress and potential damage.
Next, use a torque wrench to tighten the screws to the manufacturer’s recommended torque, usually between 15-20 in-lb. Throughout this process, confirm the scope stays level and correctly aligned to avoid canting.
After securing the top halves, double-check the scope’s position and reticle level before completing the mounting. This method assures a secure, precise fit without compromising your scope’s performance.
Perform Final Checks and Adjustments
After you’ve secured the top halves of the scope rings and tightened them to the recommended torque, it’s time to perform the final checks and adjustments. Follow these steps to ensure your scope is perfectly mounted:
- Remove the firearm from the vise and shoulder it to verify proper eye relief and sight picture.
- Use a bubble level or leveling device to check that the reticle is perfectly level on both the scope and rifle.
- Gradually tighten all scope ring screws in a crisscross pattern to the manufacturer’s recommended torque, usually between 15-20 in-lb.
- Recheck the reticle’s leveling and make any final minor adjustments to the scope’s position or reticle alignment.
These careful steps guarantee your scope is securely mounted with accurate leveling and ideal reticle alignment.
Taking a little extra time here really pays off with better accuracy and a more comfortable shooting experience.
Conclusion
Now that you’ve mounted your rifle scope, you’re set for improved accuracy and confidence in the field. Did you know that properly mounting a scope can increase shooting precision by up to 30%? Taking the time to follow these steps carefully really pays off.
Remember, a well-mounted scope isn’t just about better shots—it’s about safety and consistency every time you take aim. A securely mounted rifle scope ensures your bullet hits where you intend, making every shot count.
Keep practicing, and enjoy the enhanced performance your scope brings! With the right mounting technique, you’ll notice improved accuracy and reliability, which are essential for any shooting activity. So, take your time, follow the steps, and happy shooting!