How to Adjust a Rifle Scope in 10 Easy Steps
To adjust your rifle scope correctly, start by securely mounting it on your rifle and making sure it’s perfectly level using a bubble level. This step is crucial because a crooked scope can throw off your accuracy.
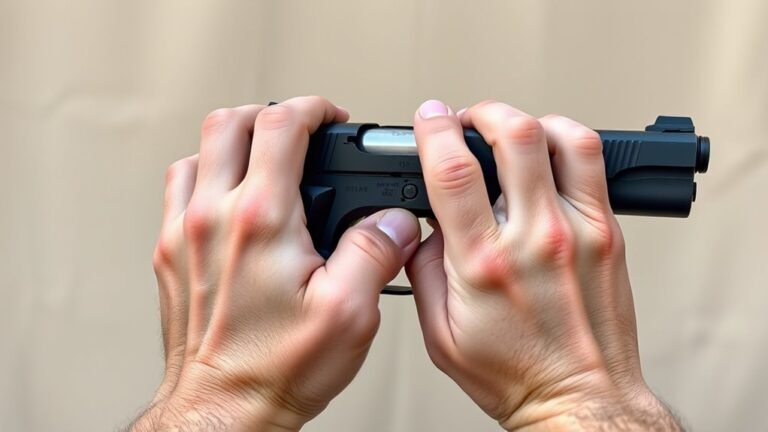
Next, position your eye properly behind the scope and focus the eyepiece until the reticle appears sharp and clear.
Now, bore sight the scope to get your initial alignment.
After that, fire three-shot groups at close range to see where your shots are hitting. This helps you note any impact deviations before making adjustments.
Once you have your initial shots, begin adjusting the windage and elevation turrets in small increments. Make sure to stabilize your rifle consistently during this process to get reliable results.
Then, confirm your zero by shooting at 100 yards to ensure your scope is accurately aligned.
Finally, fine-tune the parallax setting if your scope has one, and keep practicing regularly to maintain your accuracy.
With these steps, you’ll master every detail of rifle scope adjustment in no time!
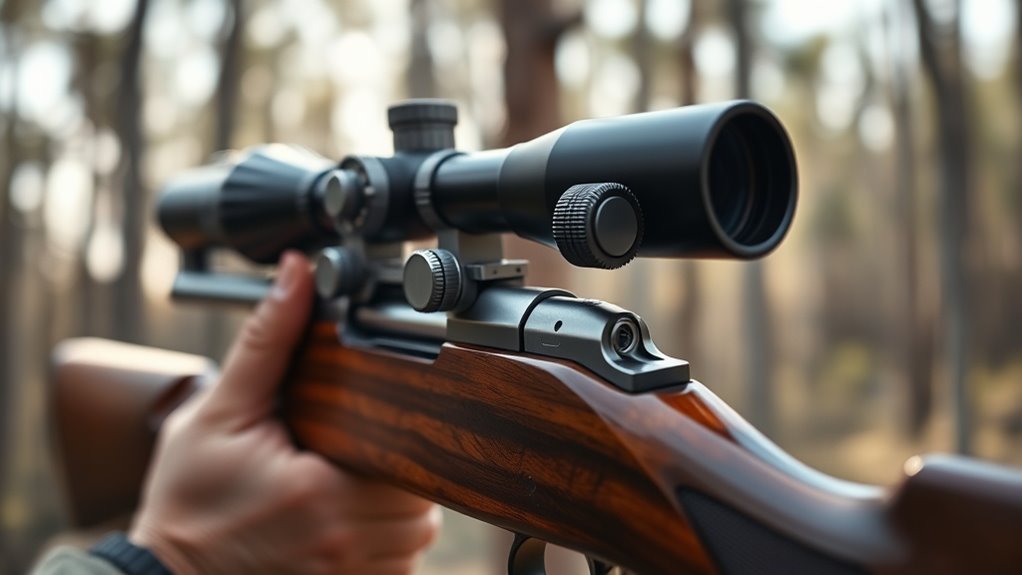
Ensure Proper Scope Installation and Mounting
Before you begin adjusting your rifle scope, make sure it’s properly installed and mounted. Start by confirming that your scope mounting system and scope rings match your rifle’s rail type, whether it’s Weaver or Picatinny, ensuring a proper fit.
Attach scope rings securely to the scope base and tighten them gradually, following the manufacturer’s torque specs to avoid damage. Use a bubble level during installation to maintain correct scope alignment and prevent canting, which can affect zeroing accuracy.
Adjust the scope’s height and position to provide proper eye relief, ensuring a clear sight picture at all magnifications. Tighten all mounting hardware in a crisscross pattern to evenly distribute pressure and lock the scope firmly in place for consistent performance.
Adjust Eye Position and Focus the Eyepiece
To get a clear sight picture, start by adjusting the eyepiece focus until the reticle looks sharp to your eye. Make sure you maintain consistent eye relief by positioning your eye at the same distance from the scope each time.
Keeping your head and eye alignment steady will help you stay on target without losing clarity. It’s all about finding that sweet spot where everything looks crisp and feels comfortable.
Eyepiece Focus Adjustment
When you adjust the eyepiece focus, start by positioning your eye at the correct distance to see the full field of view without any shadowing or vignetting. Next, rotate the eyepiece focus ring until the reticle appears sharp and clear, avoiding double vision or blurriness.
If your scope has an adjustable diopter, use it while viewing a bright background to achieve crisp clarity. Remember to lock or mark the adjustment to maintain consistent focus. After changing magnification or turret settings, always recheck the focus, as it may shift slightly.
| Step | Action | Result |
|---|---|---|
| Position Eye | Correct eye relief | Full field of view |
| Rotate Eyepiece | Adjust focus ring | Clear reticle |
| Diopter Adjust | Turn on bright background | Sharp clarity |
| Lock Setting | Mark or lock adjustment | Consistent focus |
Optimal Eye Relief
How far should your eye sit from the scope to get the best view? Proper eye relief is typically 2.5 to 3.5 inches from the ocular lens. This distance prevents scope bite and ensures you see the full reticle clearly.
Adjust your scope position and cheek weld to find the most comfortable fit. Use the eye box by moving your head slightly to keep the reticle centered and sharp across your field of view.
Then, focus the eyepiece by turning the diopter ring until the reticle is crisp. Here’s how to achieve ideal eye relief:
- Adjust your scope position and cheek weld for proper alignment with the reticle.
- Move within the eye box to find the sharpest, most complete view.
- Focus the eyepiece to ensure crisp reticle clarity.
Consistent Eye Alignment
Why does consistent eye alignment matter so much? Proper eye placement ensures you see a clear reticle focus and avoid parallax errors, improving your accuracy.
You want consistent positioning of your eye relative to the scope’s eye relief to maintain a full field of view and prevent scope bite.
Adjust the eyepiece diopter by rotating the ocular housing until the reticle appears sharp. Always position your eye at the same spot for reliable target alignment.
Use a focusing target to fine-tune after turret adjustments.
| Aspect | Importance |
|---|---|
| Eye Placement | Prevents parallax, scope bite |
| Reticle Focus | Ensures crisp aiming point |
| Consistent Positioning | Enables quick, accurate shots |
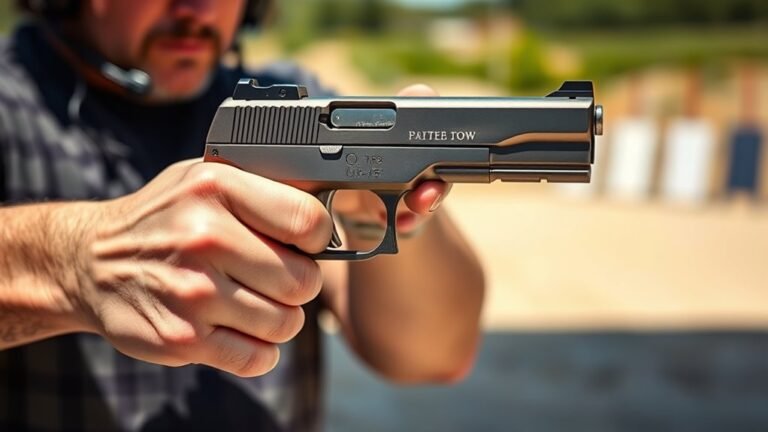
Stabilize Your Rifle for Consistent Shooting
Although adjusting your rifle scope requires precision, stabilizing your rifle is the foundation for consistent and accurate shooting. Without proper support, your zero and scope adjustments can be unreliable.
To stabilize your rifle effectively, start by securing it on a stable surface like a bench, bipod, or sandbags. This helps prevent any unwanted movement while shooting.
Next, use a shooting rest or other support to keep the rifle steady. This minimizes those little involuntary shifts that can mess with your zero.
Finally, maintain a consistent shooting stance and eye position. Make sure the rifle stays level and properly supported throughout your adjustments.
Perform Bore Sighting and Level the Rifle
Before you start shooting, perform bore sighting to roughly align your scope’s reticle with the rifle’s bore. Use a laser bore sight or visual method by inserting it into the chamber or muzzle. Adjust the scope’s elevation and windage until the reticle matches the bore alignment.
Next, level the rifle using a bubble level on the scope, rail, or action. Proper scope leveling guarantees the reticle stays vertical and horizontal, avoiding cant errors during the zeroing process.
Use a plumb line or vertical reference downrange to verify reticle alignment, adjusting the scope mount if needed. Always level the rifle before firing for accurate, consistent shots.
| Step | Tool Used | Purpose |
|---|---|---|
| Bore Sighting | Laser bore sight | Reticle alignment |
| Adjustment | Scope turrets | Elevation & windage |
| Leveling | Bubble level | Scope leveling |
| Verification | Plumb line | Reticle & scope mount |
| Confirmation | Visual check | Ready for zeroing process |
Fire Initial Three-Shot Groups at Close Range
Start by aiming carefully at the center of your target and firing a three-shot group from a stable position. Then, measure how far your shots landed from the bullseye to see where adjustments are needed.
Use this information to make precise turret changes before testing again. It’s all about fine-tuning your aim step by step. Keep at it until your shots consistently hit the mark.
Aim Carefully at Target
How do you guarantee your rifle scope is set accurately before moving to longer distances? You aim carefully at the target and fire initial three-shot groups at 25 or 50 yards to establish a reliable scope zero.
Follow these steps for the best results:
- Set up a stable shooting position using a bipod or sandbags to reduce movement.
- Consistently aim at the same spot on the target and fire three shots, noting the point of impact for each group.
- Adjust scope settings based on the group’s placement until the point of impact centers on the target.
Repeat this process until your shots cluster around the center of the target, confirming your scope zero.
This method ensures precise adjustments and a confident shooting position before advancing to longer ranges.
Measure Group Shot Placement
Once you’ve fired your initial three-shot groups at close range, the next step is to measure where those shots landed in relation to your target’s center. Carefully measure group shot placement by using a ruler or the grid on your target to find the distance between the center of the group and your aiming point.
Note the group size to understand your rifle’s consistency. This information helps you identify the point of impact relative to your aiming point.
Recording these measurements is vital for zeroing your scope. By knowing how far and in which direction the shots are off, you’ll be prepared to adjust scope settings accurately.
Repeat this process to confirm your adjustments bring the group closer to the desired impact point, ensuring precision before moving on.
Adjust Turrets Accordingly
Although it may seem tedious, firing an initial three-shot group at close range (25 or 50 yards) is essential to determine where your scope is calibrated.
After shooting, measure the distance between the group’s center and the bullseye. Then, adjust turrets accordingly to shift the impact point.
Use your MOA scope’s elevation turret for vertical corrections and windage adjustment for horizontal shifts. Remember, each click usually moves the impact by ¼ MOA.
Follow these steps to zero your scope:
- Fire a three-shot group and note the impact point.
- Turn the elevation turret up or down and windage adjustment left or right, based on the group’s location.
- Repeat shooting and adjusting until your shots consistently hit the target center.
This method ensures precise zeroing every time.
Adjust Elevation and Windage Turrets
Before making any adjustments, you’ll want to understand how the elevation and windage turrets affect your shot placement. Elevation adjustments control the vertical point of impact. Turning the elevation turret clockwise lowers the impact, while counterclockwise raises it, typically in ¼ MOA or 0.1 mil increments per click.
The windage turret adjusts the horizontal point of impact. Turn it left to move shots left, and right to shift them right. Knowing your scope’s click value is vital for precise corrections during scope zeroing.
Always use the turret’s directional markings as a guide but confirm with test shots to verify adjustments move the target impact as expected. Make small, incremental changes, then fire to verify your adjustments. This guarantees accurate zeroing of elevation and windage turrets.
Confirm Zero at 100 Yards
After adjusting the elevation and windage turrets, you’ll want to confirm your zero at 100 yards to guarantee your shots hit where you aim. Start by firing a three-shot group using a stable rest or bipod to minimize movement.
Then, measure the impact point relative to your aim on the target. Use the scope’s turrets, adjusting by ¼ MOA per click in the correct direction, to align the impacts with the center.
Finally, fire another three-shot group to verify consistent impact placement. Repeat these steps until your impacts stay centered, ensuring a solid zero at 100 yards.
Don’t forget to document your scope settings and conditions for future reference. Here’s a quick checklist:
- Fire three shots from a stable rest.
- Adjust turrets based on impact location and MOA clicks.
- Confirm zero with another three-shot group on the targets.
Understand and Correct Parallax Settings
When you notice the reticle shifting as you move your head slightly, it’s a clear sign that you need to adjust your scope’s parallax setting. Use the side-focus knob to eliminate reticle movement, ensuring the reticle stays fixed on the target at your shooting distance.
Proper parallax focus prevents aiming errors and improves accuracy, especially at longer ranges. To correct this, focus on your target and adjust the side-focus until the reticle no longer shifts with head movement.
| Shooting Distance | Side-Focus Setting | Parallax Effect | Reticle Movement | Accuracy Impact |
|---|---|---|---|---|
| 50 yards | 50 | Minimal | None | High |
| 100 yards | 100 | Negligible | None | Excellent |
| 200 yards | 200 | Noticeable | Slight | Moderate |
| 300 yards | 300 | Significant | Moderate | Reduced without adj. |
| 400+ yards | 400+ | Severe | High | Poor without adj. |
Maintain and Troubleshoot Your Scope Zero
Although maintaining your scope zero requires regular attention, you can easily keep your rifle accurate by routinely checking mounting hardware and alignment. Precision shooting depends on reliable zeroing, so make sure your adjustments don’t cause shifts.
Use a leveling tool to keep your scope perfectly aligned. If you notice inconsistencies, inspect for tracking errors or turret damage.
Follow these steps to maintain and troubleshoot your scope zero:
- Regularly tighten scope mounting hardware to prevent unintentional movement.
- Use a bubble level or leveling tool during setup and maintenance to ensure perfect alignment.
- Document zero settings and environmental conditions to identify factors affecting accuracy over time.
Practice Regularly to Improve Accuracy
You should practice consistent shooting drills to build muscle memory and improve your scope adjustments. Track your changes carefully to understand what works best in different conditions.
Using varied distances during practice helps you adapt quickly and maintain accuracy in any scenario. It’s all about staying flexible and ready for whatever comes your way.
Consistent Shooting Drills
Since consistent practice sharpens your skills, regularly drilling at various distances like 25, 50, and 100 yards helps you develop muscle memory for precise scope adjustments.
Incorporate varied shooting drills to master zeroing and improve your target image recognition. Focus on these key elements:
- Use standardized targets with MOA grid lines to refine your scope settings and track shot groupings.
- Practice under different lighting and wind conditions to train quick, accurate scope corrections.
- Record your scope adjustments and results after each session to identify trends and fine-tune your approach.
Track Adjustment Changes
When you track your scope adjustments consistently, you’ll quickly learn how each click affects your bullet’s impact. For example, a ¼ MOA click shifts the point of impact by about 0.26 inches at 100 yards.
By practicing regularly, you build muscle memory for turning turrets in the right direction—up, down, left, or right—based on what you see on the target.
Tracking these clicks over time helps you verify your scope’s zero retention. It also ensures the reticle moves predictably with every adjustment you make.
Writing down your scope adjustments and the corresponding impact changes sharpens your ability to make quick, accurate corrections while shooting.
Plus, keeping consistent records can reveal any mechanical inconsistencies. That way, you know your scope will perform reliably when it really counts.
Use Varied Distances
Although zeroing your rifle scope at a single distance might seem sufficient, practicing at varied distances like 25, 50, and 100 yards sharpens your understanding of how adjustments affect bullet placement across ranges.
Regularly zeroing at these points helps you see how scope calibration impacts bullet impact and shooting accuracy. To improve your skills, focus on:
- Recording bullet impact at each distance to recognize patterns.
- Using ballistic calculators for pre-adjusting your scope.
- Incorporating varying distances into your routine to build muscle memory.
This approach lets you quickly make precise scope adjustments in real scenarios, enhancing your overall shooting accuracy.
Conclusion
So, after all that effort adjusting your rifle scope perfectly, remember: the wild won’t wait for you to get it just right. Sure, you’ve zeroed in with military precision, but in the heat of the moment, a little shake or a blink might throw it off.
Funny how all those careful steps can feel like a dance with chaos. Still, mastering these steps means you’re ready—scope or no scope.
Adjusting a rifle scope takes patience and practice, but once you get the hang of it, your accuracy will improve dramatically. Whether you’re hunting or target shooting, knowing how to properly adjust your rifle scope ensures you can hit your mark when it counts.
Stick with these 10 easy steps, and you’ll build confidence to make those critical shots. So keep practicing, stay calm, and trust your adjustments—because a well-adjusted rifle scope can make all the difference in your shooting success.