How to Sight a Rifle in 5 Simple Steps
To sight your rifle accurately, follow these five simple steps for a solid zero. First, find a stable, safe spot where you can set up a steady rest. Make sure your scope is securely mounted before you start. This foundation helps ensure consistent shots and reliable adjustments.
Next, begin by firing three-shot groups at 25 yards. Check where your shots land and adjust your scope’s windage and elevation to center the group. It’s all about getting those initial shots close to the bullseye.
After that, extend your zero to longer distances like 50 or 100 yards to confirm accuracy. This step helps you understand how your rifle performs over different ranges.
Finally, shoot larger groups to confirm your zero. Make any final adjustments as needed to refine your precision. Keep practicing and you’ll see your shooting skills improve steadily!
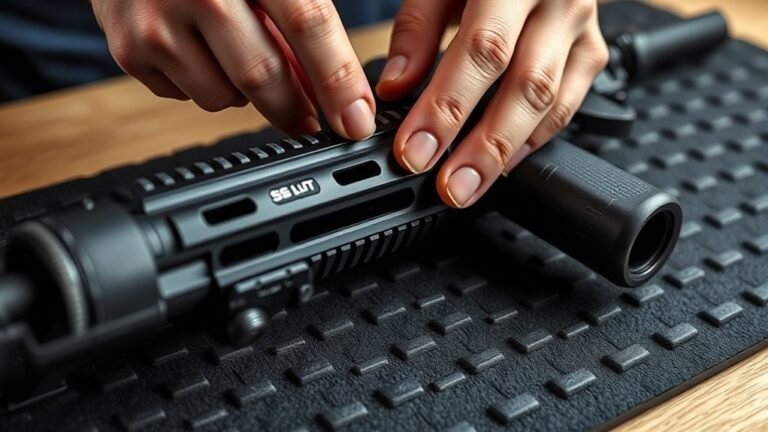
Prepare Your Shooting Setup
Before you begin sighting your rifle, make sure you choose a safe, stable location with a proper backstop and a steady rest or bench for consistent aiming. Stability is key, so set up your bench or rest to support your shooting position firmly.
Check your scope’s mounting carefully; it should be securely tightened to avoid any movement during shooting. Use consistent aiming points on a target with clear grid lines to track your shots accurately.
Select ammunition that matches your firearm’s caliber, and bring different brands or types to identify which performs best. Maintaining the same shooting position and rest throughout your session reduces variables, helping you achieve precise, repeatable results.
This setup guarantees your sighting process is both safe and effective. So, take your time and set things up properly before you start shooting!
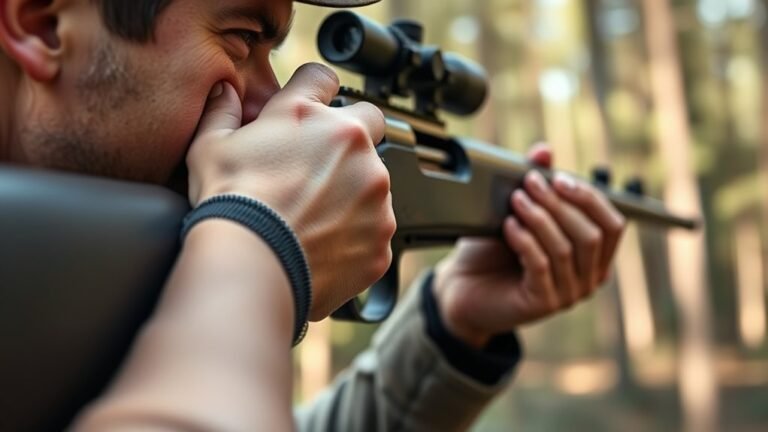
Begin Shooting at Close Range
How do you guarantee your rifle is properly sighted before stepping up your shooting distance? Start by setting your rifle on a stable rest about 25 yards from a safe backstop. Use a laser bore sighter or align your scope’s crosshairs with the target’s center before taking your first shots.
Fire a three-shot group, aiming consistently at your point of aim to observe where the shots impact. Based on the group’s placement, adjust your scope’s windage and elevation turrets in small increments. Keep shooting groups and adjusting until your shots consistently land near the center, establishing a preliminary zero.
Make Precise Scope Adjustments
Once you’ve established a preliminary zero at close range, you’ll need to make precise scope adjustments to fine-tune your aim. Start by determining your scope’s adjustment value per click—commonly 1/4 MOA or 0.1 MRAD—using your scope manual or measuring actual impact shifts.
At 100 yards, one MOA equals about 1.047 inches; divide your needed correction in inches by 1.047 to find MOA adjustments. Then convert MOA to scope clicks by dividing by your scope’s click value—for example, 2 MOA equals 8 clicks at 1/4 MOA per click.
Make incremental changes, firing groups to verify impact shifts, ensuring your zeroing rifle is precise. Use a ballistic calculator if needed. Mastering scope calibration through careful sighting in will improve your precision shooting drastically.
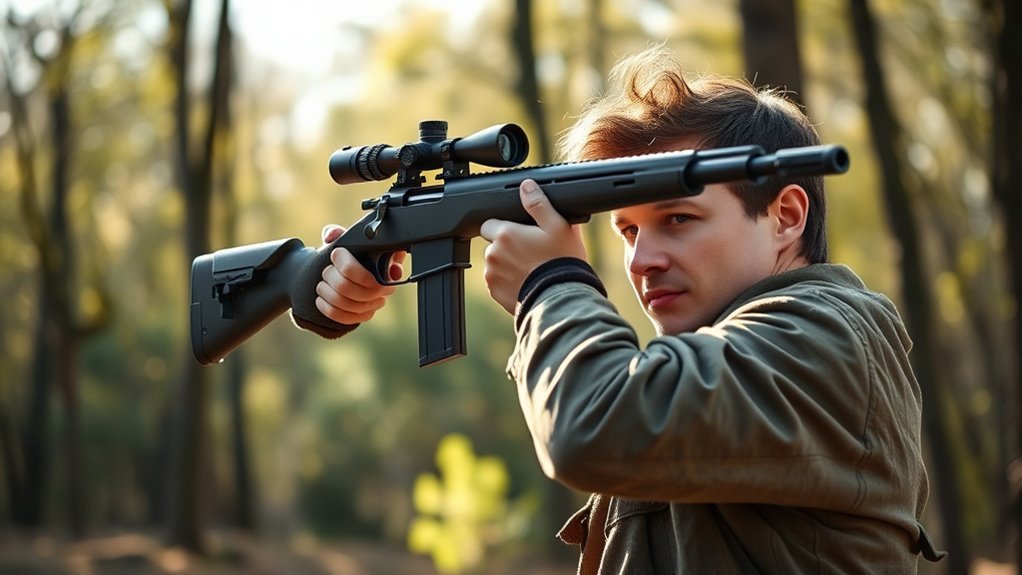
Extend Zeroing to Longer Distances
After fine-tuning your scope at close range, take your shooting out to longer distances to further refine your zero. Move your target from 25 to 50 yards, then shoot a new group to assess shot impact.
Use your scope’s click value at 100 yards—multiply by two for 50-yard scope adjustments—to achieve precise calibration. Once zeroed at 50 yards, confirm your zero at 100 yards, the standard for most long-range shooting.
If possible, test at 150 and 200 yards to understand bullet drop and improve accuracy. Study your rifle’s ballistic data to anticipate bullet drop over various distances, ensuring your long-range shots hit the target.
Extending zeroing this way sharpens your scope adjustments and boosts your confidence in long-range shooting. It’s a great way to get comfortable with how your rifle performs at different ranges.
Practice and Confirm Your Zero
To guarantee your zero is reliable, you need to practice shooting groups of at least 10 rounds at your intended range, such as 100 yards. Use a stable platform and consistent technique to minimize error.
After firing, carefully measure the impact points to analyze the shot pattern. This confirmation helps you assess whether your scope is properly zeroed.
If the group’s center doesn’t align with your target, adjust your scope accordingly. Record environmental conditions like wind and temperature since they affect impact.
Once adjustments are made, shoot another group to verify accuracy. Regularly re-verify your zero, especially after cleaning or changes in weather, to maintain consistent performance.
Practicing and confirming your zero ensures your shots hit where you expect. This builds confidence and precision in the field.
Conclusion
Now that you’ve walked through these steps, your rifle’s sights will align like stars in a clear night sky. With patience and precision, you’ve turned the chaos of stray shots into a symphony of accuracy.
Keep practicing, and your aim will become as steady as a mountain, ready for any challenge ahead. Remember, every great shot starts with a sighted rifle—so trust the process and enjoy the journey to sharpshooting mastery.
Sighting a rifle properly is key to hitting your target consistently. By following these simple steps, you’ve set the foundation for improved accuracy and confidence in your shooting skills. Stay patient, keep refining your technique, and soon you’ll see your shots grouping tighter than ever before.