How to Sight a Rifle Scope in 10 Essential Steps
To sight your rifle scope in 10 easy steps, start by securely mounting it level with quality rings. This ensures your scope is stable and properly aligned.
Next, bore sight to align the reticle with the barrel, which helps get you on target faster.
Set your zeroing distance based on your shooting needs.
Then, position your target at that distance and stabilize your shooting stance to improve accuracy.
Fire a three-shot group to see where your shots land.
Measure the shot placement carefully and adjust the turrets on your scope accordingly.
After making adjustments, fire another group to verify your accuracy.
Fine-tune your settings as needed, and don’t forget to document your final zero settings for future reference.
This step-by-step method guarantees precise zeroing and reliable performance at the range.
With a bit more practice and guidance, you’ll master sighting your rifle scope in no time!
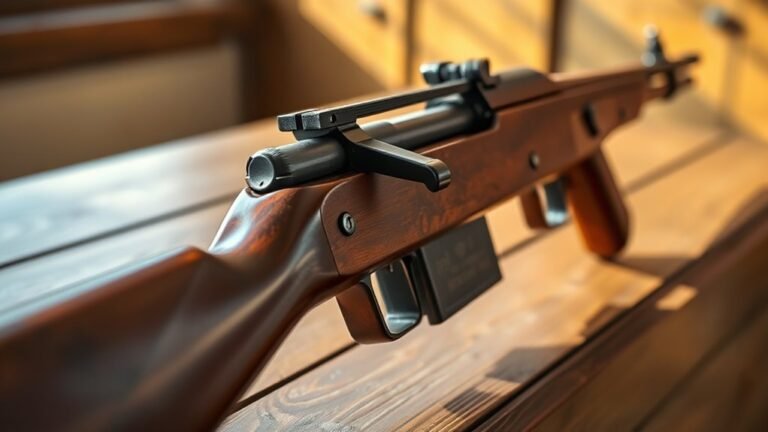
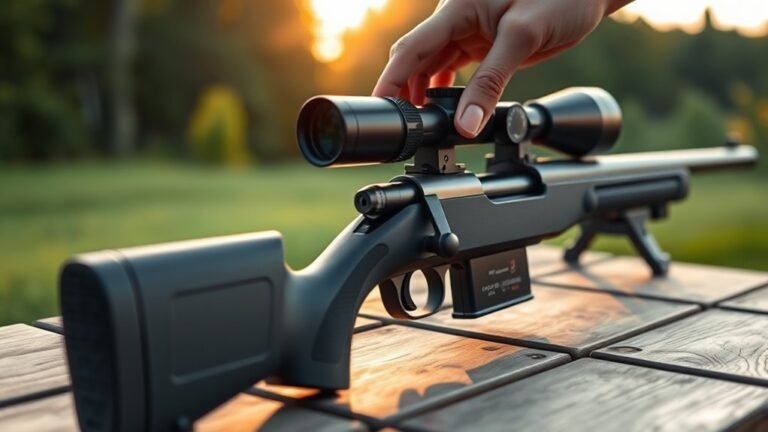
Select and Mount Your Rifle Scope Securely
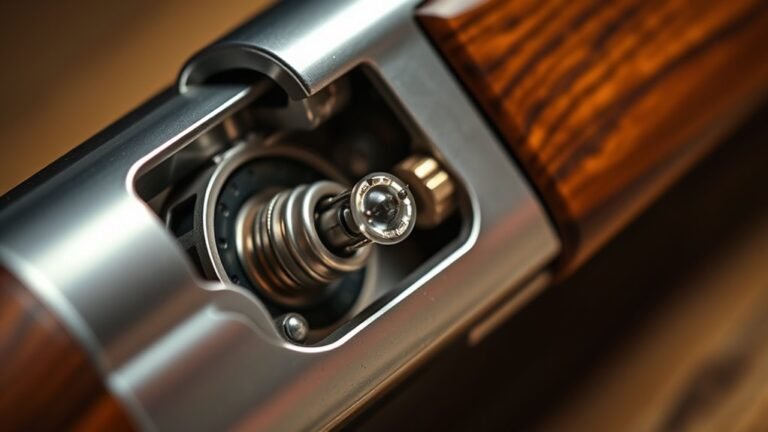
Although it might seem straightforward, selecting and securely mounting your rifle scope requires careful attention to detail to guarantee stability and accuracy. You’ll want to choose high-quality scope rings and a compatible mount that fit your rifle perfectly.
During mounting, make sure the scope is level and aligned with the rifle’s receiver to avoid canting issues. It’s a small step, but it makes a big difference.
Ensuring your scope is level and aligned during mounting prevents canting and improves shooting accuracy.
Use a torque wrench to tighten the scope rings screws to about 18 in-lb. This precise torque prevents over-tightening, which could damage the scope, yet ensures the scope stays firmly in place.
Properly secured scope rings prevent movement or shifting during recoil and handling, maintaining your zero and enhancing shot consistency. Paying attention to these mounting details sets a solid foundation for accurate shooting.
Bore Sight the Rifle for Initial Alignment
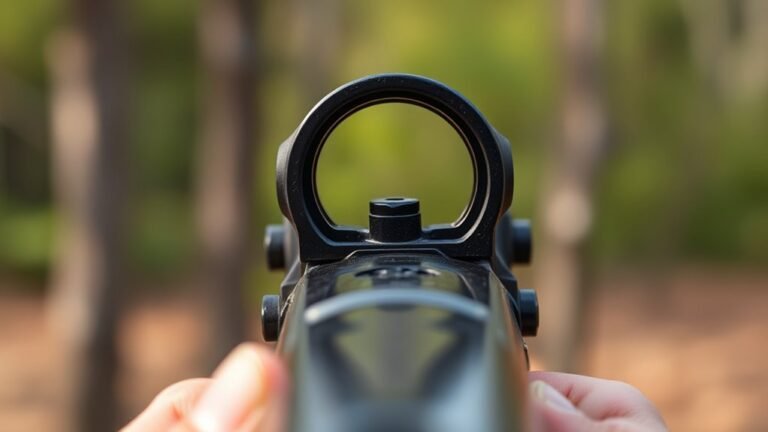
Before you take your first shot, bore sighting your rifle helps align the barrel with the scope’s reticle for a quick, accurate starting point.
To bore sight, you can use a laser boresighter that fits into the chamber and projects a laser beam aligned with the bore. Turn the laser on and aim the beam at your target set at a known distance.
Then, adjust your scope so the reticle centers on the laser spot. If you don’t have a laser, manually look through the bore to align the target and adjust the scope accordingly.
This initial alignment saves time and ammo by getting your shots close before live firing. Remember, bore sighting doesn’t replace fine zeroing but sets you up for success.
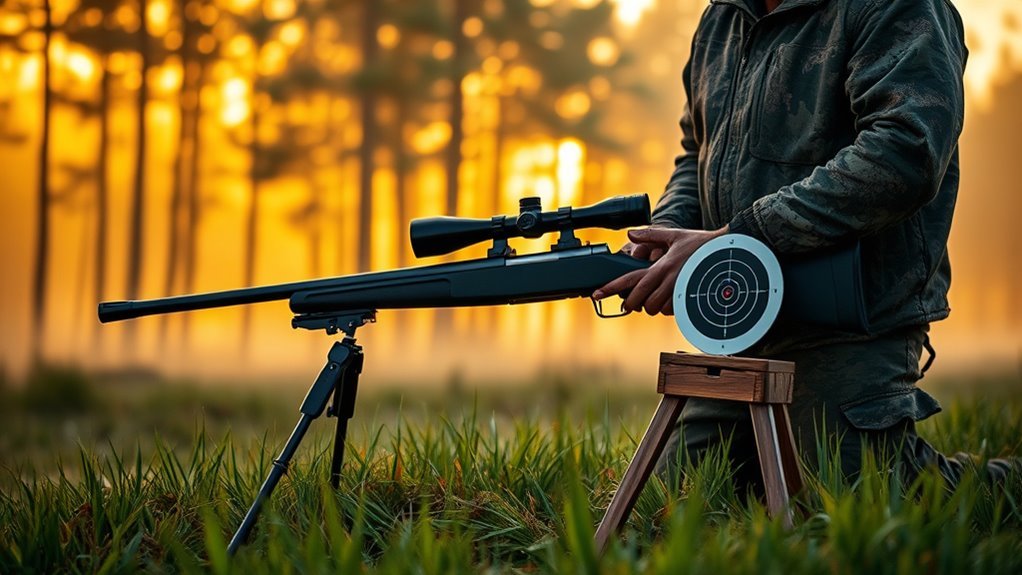
Choose Your Zeroing Distance and Set Up Target
When you choose your zeroing distance, think about your typical shooting scenarios to pick the most effective range. It could be 100 yards for general use or 25 yards for initial setup.
Next, focus on setting up your target properly. Place it on a stable, level surface at the chosen zeroing distance. Make sure the target is clearly visible and marks the center with a durable point like a bullseye or grid lines for precise aiming.
To ensure shooting stability, position your rifle consistently. Use a prone or supported stance to reduce human error.
Before taking your first shots, double-check that your scope is securely mounted and bore sighted. This careful preparation helps you achieve accurate zeroing and improves your overall shooting performance.
Establish a Stable Shooting Position
To get the most out of your sight rifle scope, you need a stable shooting position. Use support equipment like bipods or sandbags to minimize movement and recoil.
Keeping your body aligned consistently is key. This helps guarantee accuracy with every shot. So, take your time and set up right!
Choosing Support Equipment
Establishing a stable shooting position starts with choosing the right support equipment that keeps your rifle steady and minimizes movement during aiming and firing. Use a stable platform like a bench, bipod, or sandbags to guarantee your rifle stays firmly supported. This is vital for accurate zeroing.
This support equipment prevents shifting that can disrupt your shot grouping. Maintain a consistent shooting position—whether prone, sitting, or kneeling—to replicate your setup in future sessions.
If needed, add cushioning or padding to reduce movement caused by recoil or uneven surfaces. Adjust your support equipment so you achieve a natural, comfortable posture. This allows precise control over your rifle’s aim.
Prioritizing stable shooting through proper support equipment sets the foundation for effective scope sighting. It really makes all the difference when you’re trying to nail your shots.
Minimizing Movement and Recoil
Once you’ve secured the right support equipment, focus on minimizing your movement and managing recoil to keep your shots consistent. Use a stable shooting rest like a bench, bipod, or sandbags to reduce any unwanted motion.
Keep your body relaxed but firm, tucking your elbows close and maintaining a solid grip to control recoil’s impact. Establish a proper cheek weld and align your eye with the scope to maintain a steady aim throughout each shot.
Take slow, deliberate breaths and pause at your natural respiratory pause before squeezing the trigger. This approach guarantees your position remains steady, and recoil doesn’t throw off your follow-up shots.
Consistent Body Alignment
Although it may seem simple, maintaining consistent body alignment is essential for accurate shooting. Start by positioning your feet shoulder-width apart and square your body to the target to create a stable base.
Establish a proper cheek weld to align your eye perfectly with the scope’s reticle, ensuring a clear and accurate sight picture. To reduce movement, rest your elbows on a solid surface or use a bipod.
Remember to take deep breaths and exhale slowly before and during each shot to steady your hands and minimize tremors. Most importantly, maintain the same body position and grip for every shot.
This consistent body position and alignment will help you achieve repeatable, precise results every time you sight your rifle scope. It’s all about making your setup second nature.
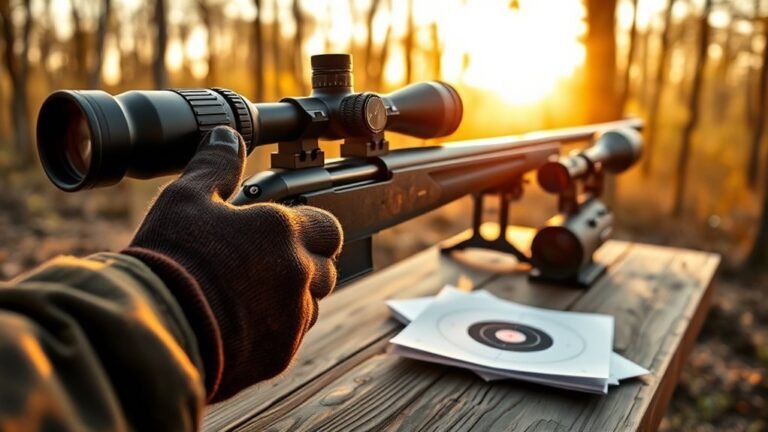
Fire the First Group of Shots
Before you make any adjustments, fire a three-shot group at 100 yards using a stable rest to get consistent results. Aim carefully at the center of the target and don’t adjust your scope between shots.
This initial group will give you a clear baseline of where your rifle is currently zeroed. Check out how tight the group is and see if the shots land high, low, left, or right of the bullseye.
Once you’ve fired, measure the distance from the center of the group to the target’s center. This measurement is super important for making precise scope adjustments later.
Measure Point of Impact Deviations
Now, walk downrange and measure the distance from your shot group’s center to the bullseye using a ruler or tape.
Make sure to note both the vertical (elevation) and horizontal (windage) deviations carefully. These measurements will guide your scope adjustments for better accuracy.
Taking your time here really pays off—accurate measurements mean better shots next time!
Measuring Impact Distance
When you’ve fired your shots, walk downrange to measure how far your group’s center is from the bullseye. Make sure to note the horizontal and vertical deviations in inches.
Use a ruler or tape measure to get precise impact measurements. These are vital for zeroing your scope accurately.
Record these deviations carefully to guide your scope adjustments.
| Measurement Aspect | Description |
|---|---|
| Horizontal Impact | Inches left or right |
| Vertical Impact | Inches high or low |
| Distance to Target | From group center |
| Tools Used | Ruler or tape measure |
| Purpose | Inform scope zeroing |
Accurate measuring of impact distance is key. It helps you adjust your scope turrets effectively and brings your shots closer to the bullseye.
Recording Elevation and Windage
After measuring how far your shot group is from the bullseye, you’ll need to record the elevation and windage deviations accurately. Start by measuring the vertical distance from the center of your shot group to the bullseye—that’s your elevation deviation.
Next, measure the horizontal distance, which gives you the windage deviation. Use a ruler or rangefinder for precise measurements, noting values in inches or centimeters.
Document these deviations clearly, for example, “2 inches high” or “3.5 inches right.” These numbers are vital for calculating your scope adjustments.
Knowing your scope’s adjustment increment, such as ¼ MOA per click, allows you to convert these deviations into the exact number of clicks needed to move your point of impact to the bullseye. Recording elevation and windage correctly ensures your scope adjustments are effective.
Calculate and Make Scope Adjustments
Because each click on your scope adjusts the point of impact by about ¼ MOA (roughly 0.25 inches at 100 yards), you can accurately correct your shot placement by calculating how many clicks to turn the turrets. Measure the vertical and horizontal deviations from your target, then divide each by 0.25 to find the number of clicks needed.
For example, if your shots are 2 inches high, dial 8 clicks down. Apply the same method for windage adjustments, turning the turret left or right accordingly.
Always make these scope adjustments incrementally to avoid overshooting. By carefully counting clicks and adjusting based on MOA, you’ll bring your point of impact closer to your point of aim with precision and confidence.
Fire a Second Group to Verify Corrections
Now that you’ve made adjustments, fire a second group to see if your shots are hitting closer to the target center. Shoot at least three rounds from a steady position and measure their grouping accuracy.
Use this data to decide if further tweaks are needed for consistent precision. This way, you can fine-tune your aim and get better results each time.
Assess Grouping Accuracy
When you fire a second group following adjustments, you verify whether your corrections have brought the impacts closer to the target center. Pay close attention to your grouping by maintaining consistent shooting conditions and a stable position.
Compare this new grouping’s point of impact with the bullseye—ideally, shots should cluster tightly within a sub-MOA radius if your adjustments are accurate. If your hits still stray from the center, measure the deviation carefully and apply small, incremental adjustments to your scope turrets.
Then, fire another group to confirm. This process of evaluating grouping accuracy and fine-tuning adjustments ensures your rifle scope zeroes precisely, reducing the chance of overshooting or undershooting targets during actual use.
Adjust for Consistency
To guarantee your scope adjustments are effective, fire a second group under the same conditions as before—using the same position, ammunition, and aiming point. This step helps you verify if your adjustments improved accuracy by checking if your grouping is consistently centered on the target.
Fire 3 to 5 shots and measure their impact points relative to the bullseye. If the grouping is still off-center, make small incremental adjustments and repeat the process.
Continue this cycle until your shots form a tight cluster around the target’s center. Confirming adjustments through a consistent second grouping ensures your scope is properly zeroed, giving you confidence in your accuracy before moving on to further shooting or hunting activities.
Fine-Tune Adjustments for Precise Zero
Although setting your scope close to zero is essential, fine-tuning adjustments with incremental turret clicks will guarantee pinpoint accuracy. After firing, measure how far your shots deviate from the target, then calculate how many clicks to make based on your scope turret’s adjustment unit, typically ¼ MOA per click.
To zero your rifle, turn the elevation turret up or down to correct vertical deviations and adjust the windage turret for horizontal shifts. Make the adjustment carefully, then fire additional groups to confirm your impact points align with the bullseye.
Keeping track of each adjustment and its results helps you fine-tune your zero quickly in future sessions. That way, you’ll ensure consistent, precise shots every time you hit the range.
Document Settings and Maintain Your Zero
Since maintaining your zero depends on consistency, you should always document your initial scope settings, including turret positions, target distance, rifle, ammunition, and environmental conditions.
Use a zeroing log or digital app to record turret adjustments, noting each click and its effect on the impact point. After zeroing, reset turret adjustments to zero or a baseline to avoid confusion.
Keep your zero documentation updated, especially when changing ammo, mounts, or shooting conditions. This organized approach lets you replicate or troubleshoot your zero quickly.
| Parameter | Details Recorded | Notes |
|---|---|---|
| Turret Adjustments | Number of clicks, direction | Reset to zero after zeroing |
| Target Distance | Measured in yards/meters | Consistency aids accuracy |
| Rifle & Ammunition | Model and ammo type | Changes require re-zeroing |
| Environmental Conditions | Wind, temperature, humidity | Record for comparison |
| Zeroing Log | Date, time, adjustments | Use app or notebook |
Conclusion
Now that you’ve followed these essential steps, your rifle scope will be so perfectly sighted, you could hit a target the size of a grain of rice from a mile away! Patience and precision are your best friends during this process.
Keep practicing, fine-tuning, and documenting your settings to maintain that perfect zero. With dedication, you’ll turn every shot into a masterpiece of accuracy.
Remember, sighting a rifle scope takes time, but the payoff is worth it. Happy shooting!