10 Steps to Zero a Red Dot on Your Pistol
To zero your red dot on a pistol, start by setting up a stable shooting environment. Make sure your iron sights are working correctly as a backup.
Next, securely mount the red dot sight on your pistol. Choose a zero distance that suits your shooting needs—this will help with accuracy downrange.
Begin by bore sighting to get an initial alignment. Then, fire a test group to see where your shots land.
Carefully analyze the shot placement and adjust the windage and elevation turrets on your red dot accordingly.
Confirm your zero by shooting multiple groups.
Finally, regularly check your settings to maintain accuracy over time. Follow these simple steps, and you’ll quickly boost your precision and confidence with your red dot sight.
Prepare Your Shooting Environment
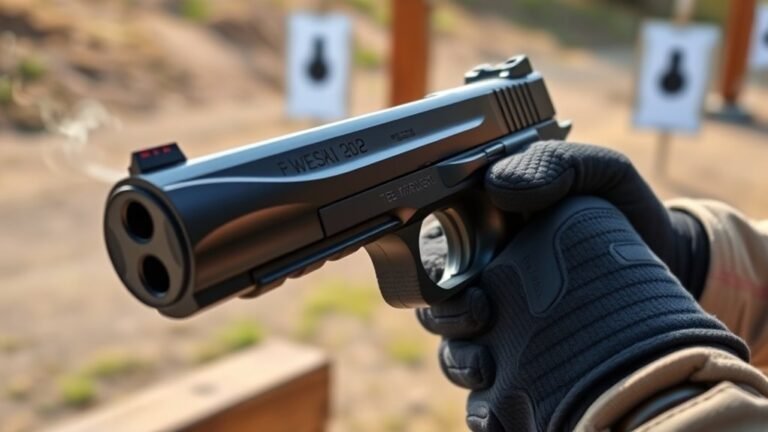
Before you begin zeroing your red dot, set up your shooting environment carefully to guarantee accuracy. Start by choosing a stable, flat surface like a bench or table to support your pistol securely. Use additional shooting supports such as bipods, sandbags, or lead sleds to minimize movement, helping you maintain consistent shot placement.
Position your target at the desired zeroing distance, typically between 7 and 25 yards, depending on your needs. Make sure your firearm is properly mounted and the red dot sight is securely attached according to the manufacturer’s instructions.
Finally, adopt consistent shooting techniques—including a firm grip, stable stance, and smooth trigger control—to enhance accuracy. By preparing your environment thoughtfully, you set the foundation for precise and reliable zeroing of your red dot sight.
Test Your Iron Sights First
Before you mount your red dot, make sure your iron sights are accurate and aligned. Use them to establish a baseline aim, so you know how the red dot should be adjusted.
Checking your iron sights first helps you spot any needed corrections early in the zeroing process. It’s a simple step that can save you time and frustration later on.
Assess Iron Sight Accuracy
Start by shooting a few rounds at a close target to verify your pistol’s iron sights are properly aligned. Use a steady position like a bench rest to check accuracy and consistency.
Note where the shots land relative to the sights. If they’re off-center, you’ll need to adjust or replace the iron sights before zeroing your red dot.
Tracking this accuracy ensures you set realistic expectations for your red dot’s zeroing. Here’s a quick way to assess your iron sights:
| Shot Number | Point of Impact (Relative to Sights) |
|---|---|
| 1 | Slightly Left |
| 2 | Center |
| 3 | Slightly Right |
| 4 | Center |
| 5 | Slightly Left |
Confirming iron sight accuracy first guarantees you avoid frustrating zeroing issues later.
Establish Baseline Aim
To establish a reliable baseline aim, fire a group of shots at a target about 7 yards away using your pistol’s iron sights. This step confirms that your iron sights are properly aligned and provides a clear measure of your current accuracy.
Focus on the point of aim and carefully record where your shots impact the target. Comparing this point of impact with your intended point of aim is vital—it establishes a reference before installing the red dot sight.
If you notice a consistent deviation, consider adjusting or replacing your iron sights to make certain they’re accurate. Testing your iron sights first gives you a solid foundation, so any adjustments made to the red dot are based on true, reliable sighting data.
This approach improves your overall shooting precision. It’s all about getting your sights dialed in right from the start.
Identify Sight Adjustments
Although it might be tempting to jump straight to zeroing your red dot, you need to test your iron sights first to establish an accurate baseline. Before zeroing a rifle or pistol’s red dot, confirm your iron sights are properly zeroed.
If they’re off, your red dot will require extra sight adjustments. Use a stable platform to shoot groups at 7 or 10 yards, recording the point of impact compared to your aim and point. Adjust the iron sights until consistent and centered.
| Test Element | Purpose |
|---|---|
| Iron Sight Grouping | Check baseline accuracy |
| Point of Impact | Measure aim vs. actual shot |
| Sight Adjustments | Align sights before red dot zeroing |
Securely Mount the Red Dot Sight
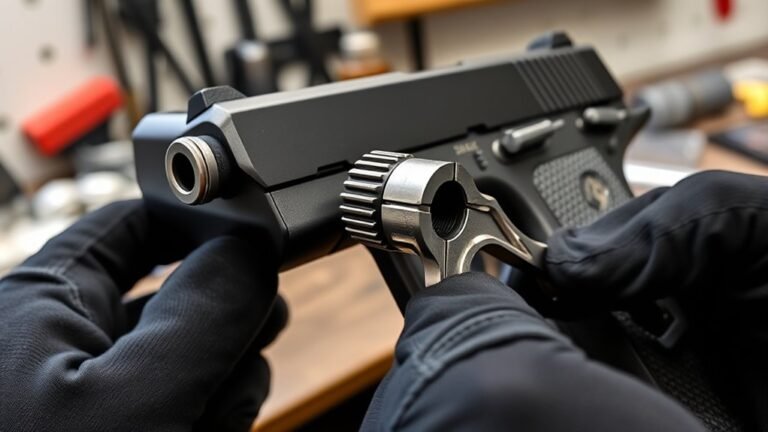
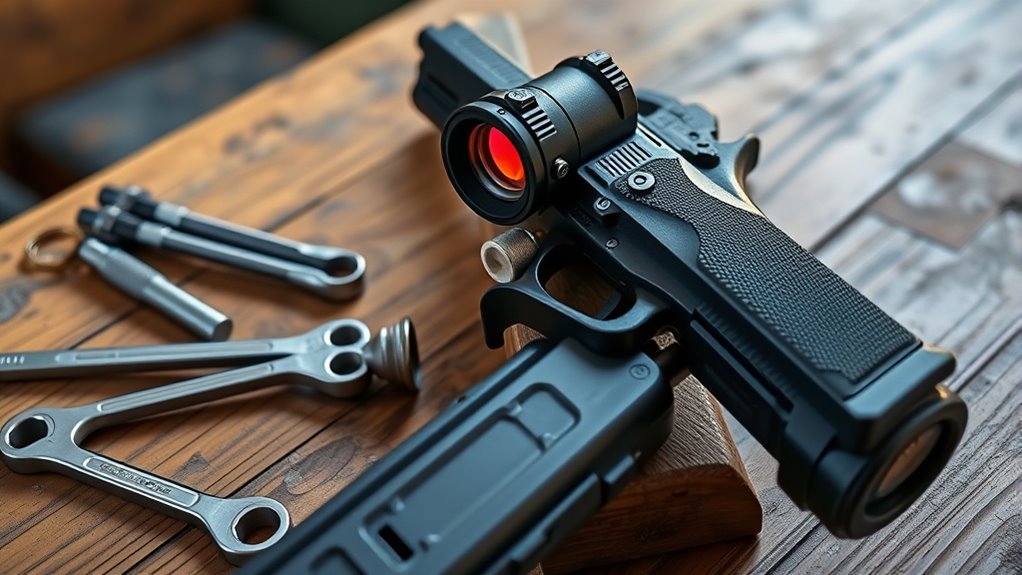
When you mount your red dot sight, following the manufacturer’s instructions is essential to guarantee it stays secure during use. Start by selecting a high-quality mount designed specifically for your pistol and sight to prevent any shifting under recoil.
Confirm the sight sits flush and level on the slide before tightening. Use a torque wrench to tighten all mounting screws to the recommended torque settings, avoiding overtightening that could damage components.
Applying a threadlocker like Blue Loctite to the screws helps keep them from loosening over time. Double-check the sight’s alignment and security before moving on.
Proper mounting ensures consistent performance and accuracy, making the zeroing process smoother and more reliable. So, take your time here—it really pays off in the long run.
Choose the Appropriate Zero Distance
Since your pistol’s purpose influences how it performs, you should select a zero distance that matches your typical shooting environment. Choosing the right zero distance ensures your aim aligns closely with the point of impact, increasing accuracy in real scenarios.
For example, self-defense pistols benefit from a zero around 10 yards, where most encounters happen. Competition shooters often prefer 20 to 25 yards for versatility.
| Purpose | Recommended Zero Distance | Benefit |
|---|---|---|
| Home Defense | 10 yards | Matches close-range threats |
| Competition | 20-25 yards | Balances close and medium |
| Recreational | 15-20 yards | General accuracy |
| Too Close (<10) | Not recommended | Causes bullet deviation |
Choose a zero distance that keeps your point of aim and point of impact consistent for your intended use. It’s all about making sure you hit what you’re aiming for, no matter the situation.
Perform Bore Sighting for Initial Alignment
Now it’s time to perform bore sighting to get your red dot roughly aligned before live firing. You can use a laser bore sight that fits into your barrel or chamber to project a point on a distant target. Or, if you don’t have a laser tool, you can manually align your bore with a target.
Adjust your red dot so it matches the laser or your manual alignment. This sets a solid foundation for fine-tuning later. It makes the whole process easier when you start live firing.
Using Laser Bore Sights
Although it may seem like an extra step, using a laser bore sight can save you time and ammo by providing an accurate initial alignment for your red dot sight. Start by inserting the laser bore sight into your pistol’s chamber, then project the laser onto your target at the desired zero distance.
Keep your firearm steady and supported, and align the laser with the target’s center. Next, adjust your red dot sight’s elevation and windage controls so the reticle matches the laser point.
This process helps establish a reliable starting point for zeroing, reducing guesswork when you shoot live rounds. If needed, repeat these steps at various distances to confirm consistency before heading to the range.
Using a laser bore sight streamlines your zeroing process efficiently. It really makes the whole setup easier and more precise.
Manual Bore Alignment
When you perform manual bore alignment, you insert a bore sight into your pistol’s chamber and make sure it seats properly to get an accurate initial reference. Next, aim the bore sight at a distant target, typically 25 yards or more, to establish a solid baseline for zeroing.
Adjust your red dot’s elevation and windage controls so the reticle aligns perfectly with the bore sight’s point of aim. After that, remove the bore sight and fire a group of 3-5 shots at the target to confirm your initial alignment.
Finally, fine-tune the red dot’s settings based on the shot grouping to achieve precise zeroing at your desired distance. This method guarantees your red dot is accurately aligned from the start.
Fire Your First Test Group
Firing your first test group is a crucial step in zeroing your red dot sight accurately. Start by setting up a stable shooting surface like a bench or sandbags to maintain consistency.
Load your pistol with quality, inexpensive ammunition to reduce variables during zeroing. Aim carefully at a target placed at your chosen zero distance, typically 10 to 15 yards.
Fire a 5-round test group, focusing on steady trigger control. After shooting, observe the impact points relative to your point of aim, noting any horizontal or vertical shifts.
Make sure to record these impact points meticulously, as they provide essential data for adjusting your red dot sight. This initial test group lays the foundation for precise zeroing and improved accuracy on future shots.
Analyze Shot Grouping and Impact Points
After shooting your first test group, the next step is to carefully analyze the shot grouping and impact points. Look at how tightly your shots cluster on the target—tight shot grouping means good consistency, which is key for accuracy.
Analyze your first test group’s shot clustering to assess consistency and accuracy before making adjustments.
Check where the center of this cluster lies in relation to your target’s point of aim. If the impact points are grouped but off-center, it indicates your red dot needs slight adjustment.
Measure the distance between the center of your group and the bullseye to determine how far off you are. Recording these impact points after each round of shooting helps track your progress and guarantees you make precise corrections to zero your red dot effectively.
This detailed analysis sets the foundation for achieving maximum accuracy.
Adjust Windage and Elevation Settings
Since your shot grouping reveals where your rounds land relative to your point of aim, you can now adjust the windage and elevation settings to bring the impacts in line.
Turn the right or left turret to adjust windage (horizontal), and the top turret to adjust elevation (vertical). Each click usually equals 1/2 or 1 MOA, shifting impacts accordingly at your zero distance.
Fire a group, then rotate the turrets in the needed direction to align impacts with your point of aim.
| Adjustment | Turret Location | Effect |
|---|---|---|
| Windage | Right/Left | Moves reticle left/right |
| Elevation | Top | Moves reticle up/down |
| Click Size | Turret markings | Typically 1/2 or 1 MOA/click |
Confirm Zero With Multiple Groups
Once you adjust the windage and elevation, you’ll want to confirm your zero by shooting multiple groups. This step guarantees your red dot is centered for reliable accuracy and consistency.
Here’s how to do it:
- Shoot 3-5 shot groups at your zero distance to gather solid data on your grouping.
- Analyze the center of each group to check if the point of impact aligns with the red dot.
- Mark bullet impacts on the target to track any shifts or inconsistencies over time.
- Repeat the process until your groupings consistently hit the intended point of aim.
This way, you can be confident that your red dot sight is dialed in just right. It might take a few tries, but it’s worth it for consistent accuracy.
Maintain and Recheck Your Zero Regularly
Although you’ve carefully zeroed your red dot, it’s essential to maintain and recheck it regularly to guarantee consistent accuracy. Make it a habit to verify your zero at least every 100-200 rounds or quarterly.
After any impact or bump to your pistol or optic, immediately conduct a verification check and adjust the zero if needed. Before critical shooting scenarios like competitions or self-defense drills, perform a zero check on a known-distance target.
Always use a stable shooting platform and proper support during these checks to ensure precise verification. Finally, record your zero settings and shooting conditions to track any changes over time.
Staying diligent with maintenance and verification helps you preserve ideal accuracy every time you shoot. So, don’t skip these steps—they really make a difference!
Conclusion
Zeroing your red dot sight might seem tricky at first, but following these 10 steps makes it straightforward and reliable. You might worry it takes too much time, but investing a few minutes guarantees better accuracy and confidence with every shot.
Remember, a properly zeroed sight isn’t just a luxury—it’s essential for consistent performance. Keep practicing and maintain your zero regularly.
You’ll see how much easier and more enjoyable shooting becomes when your red dot is perfectly zeroed. Consistent zeroing ensures every shot hits closer to your target, boosting your confidence and skill. So take the time to zero your red dot sight—it’s one of the best steps you can take for improved accuracy and overall shooting success.